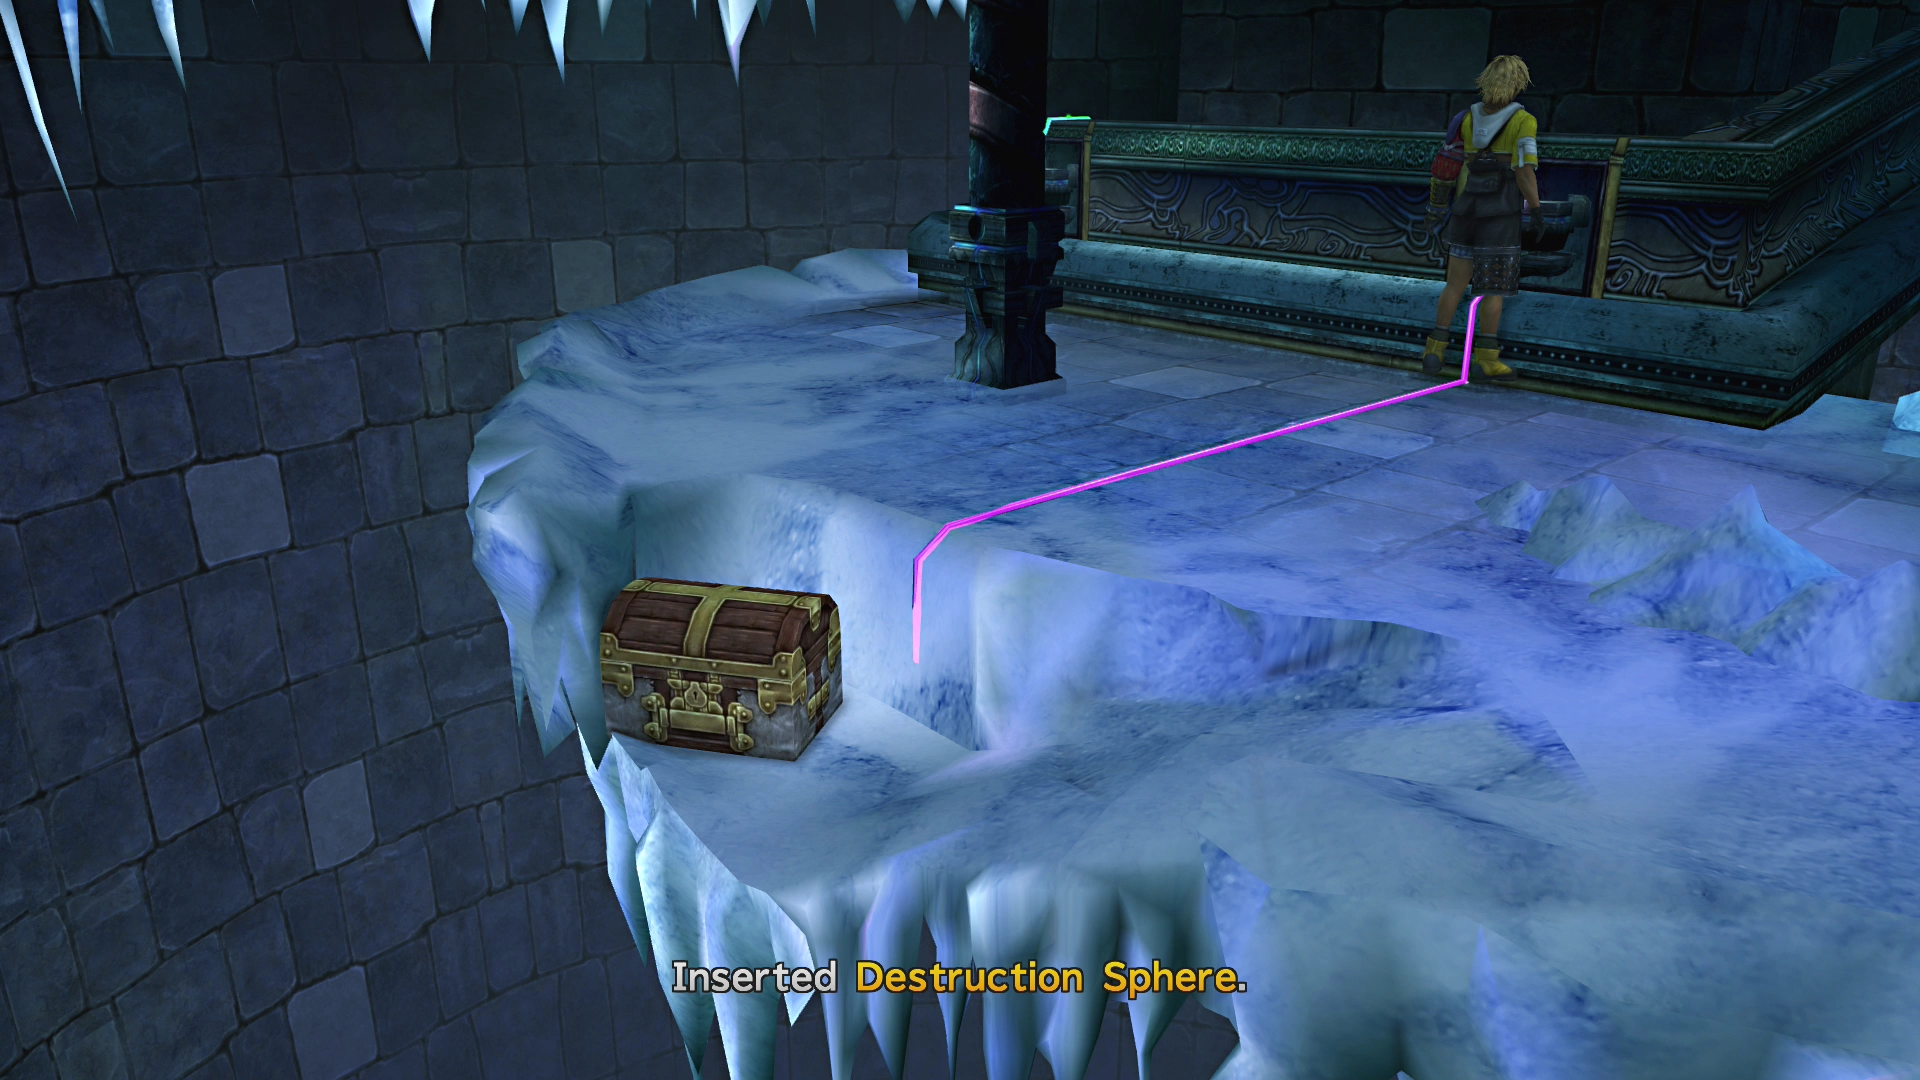
Macalania's Cloister of Trials is the fourth temple puzzle in Final Fantasy X. The ice makes everything slippery here, and pedestals transform when you push them down slopes. It's trickier than the previous temples. Don't skip the Luck Sphere if you want Anima later.
Step-by-Step Solution
1. Upper Level - Take the Glyph Sphere

Head down the left ramp and grab the Glyph Sphere from the center pillar. Put it in the pedestal nearby.
2. Push the Pedestal
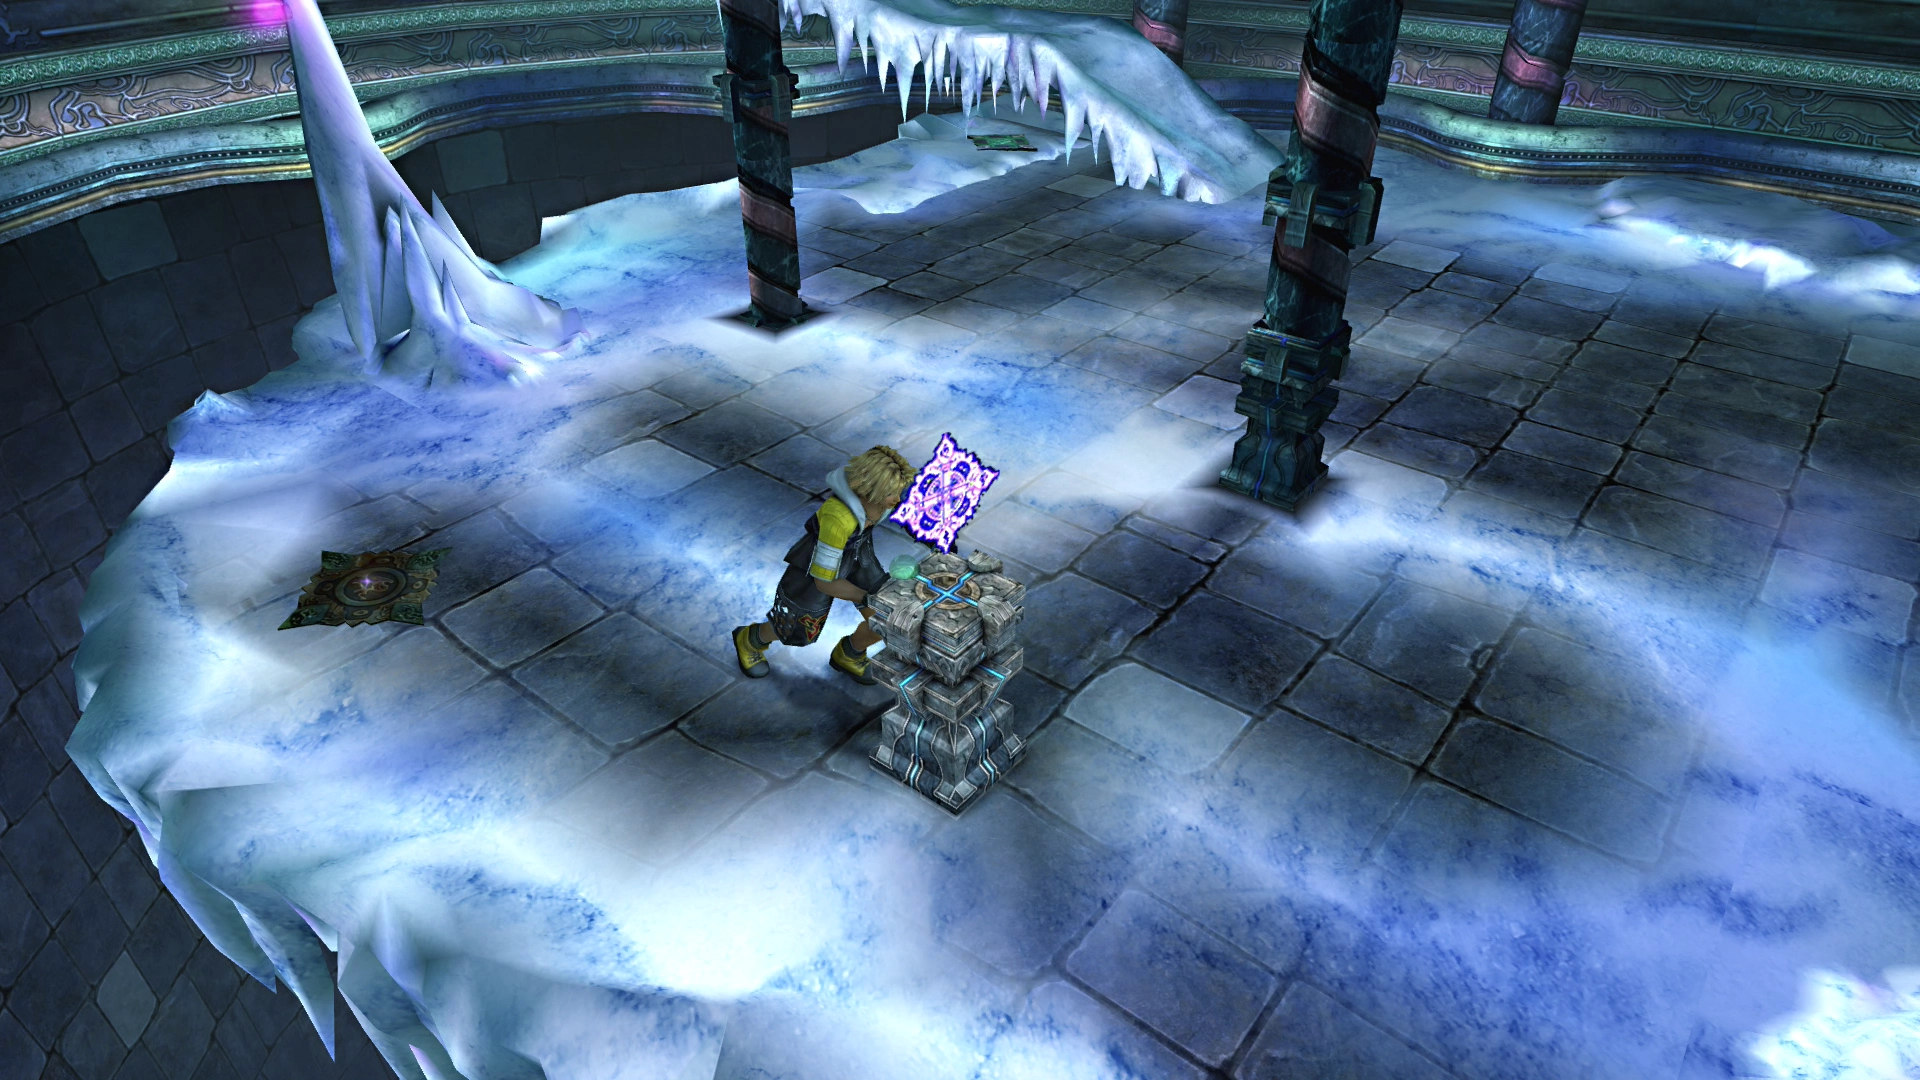
Push the pedestal east into an icicle (this stops it), then north into another one. It'll drop down to the lower pathway.
3. Lower Level - Place the Glyph Sphere
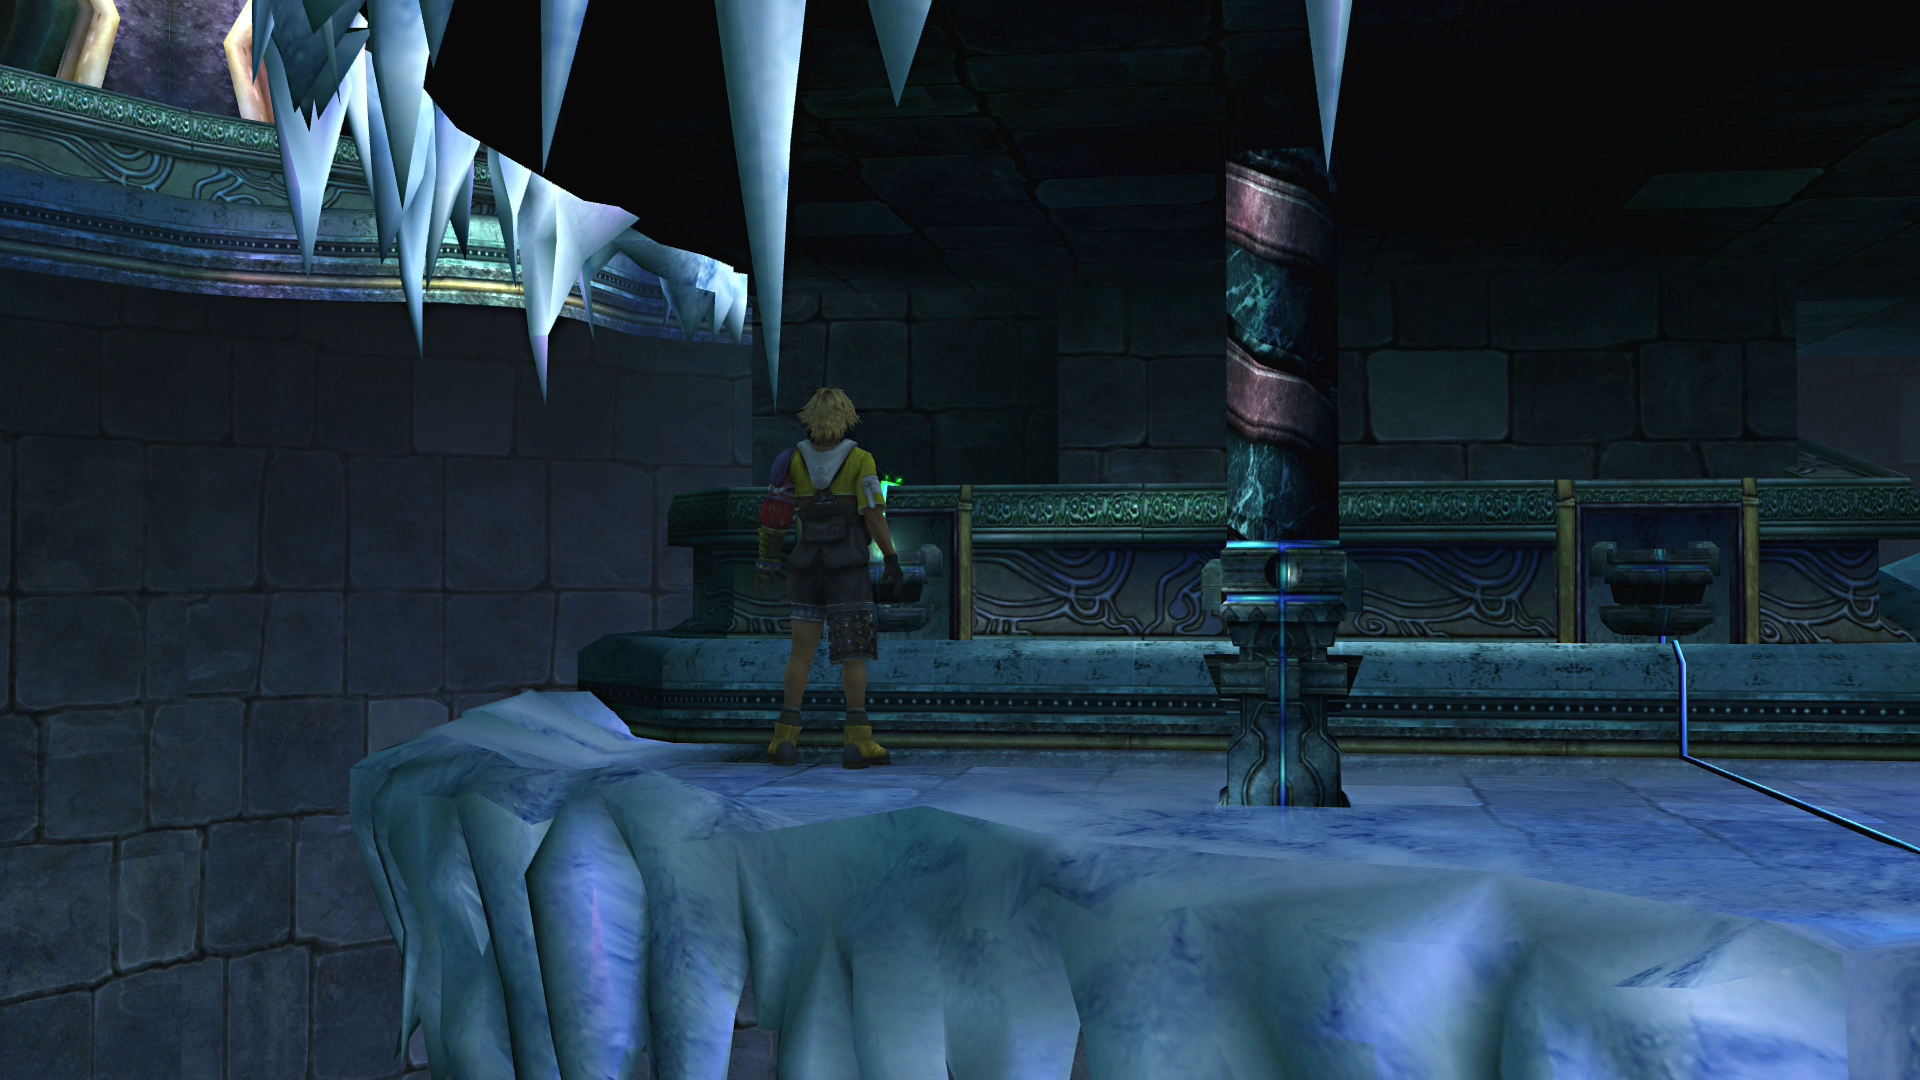
Go down to the lower level. Take the Glyph Sphere out of the pedestal and put it in the leftmost wall recess. A Macalania Sphere appears.
4. Restore First Ice Pathway Section
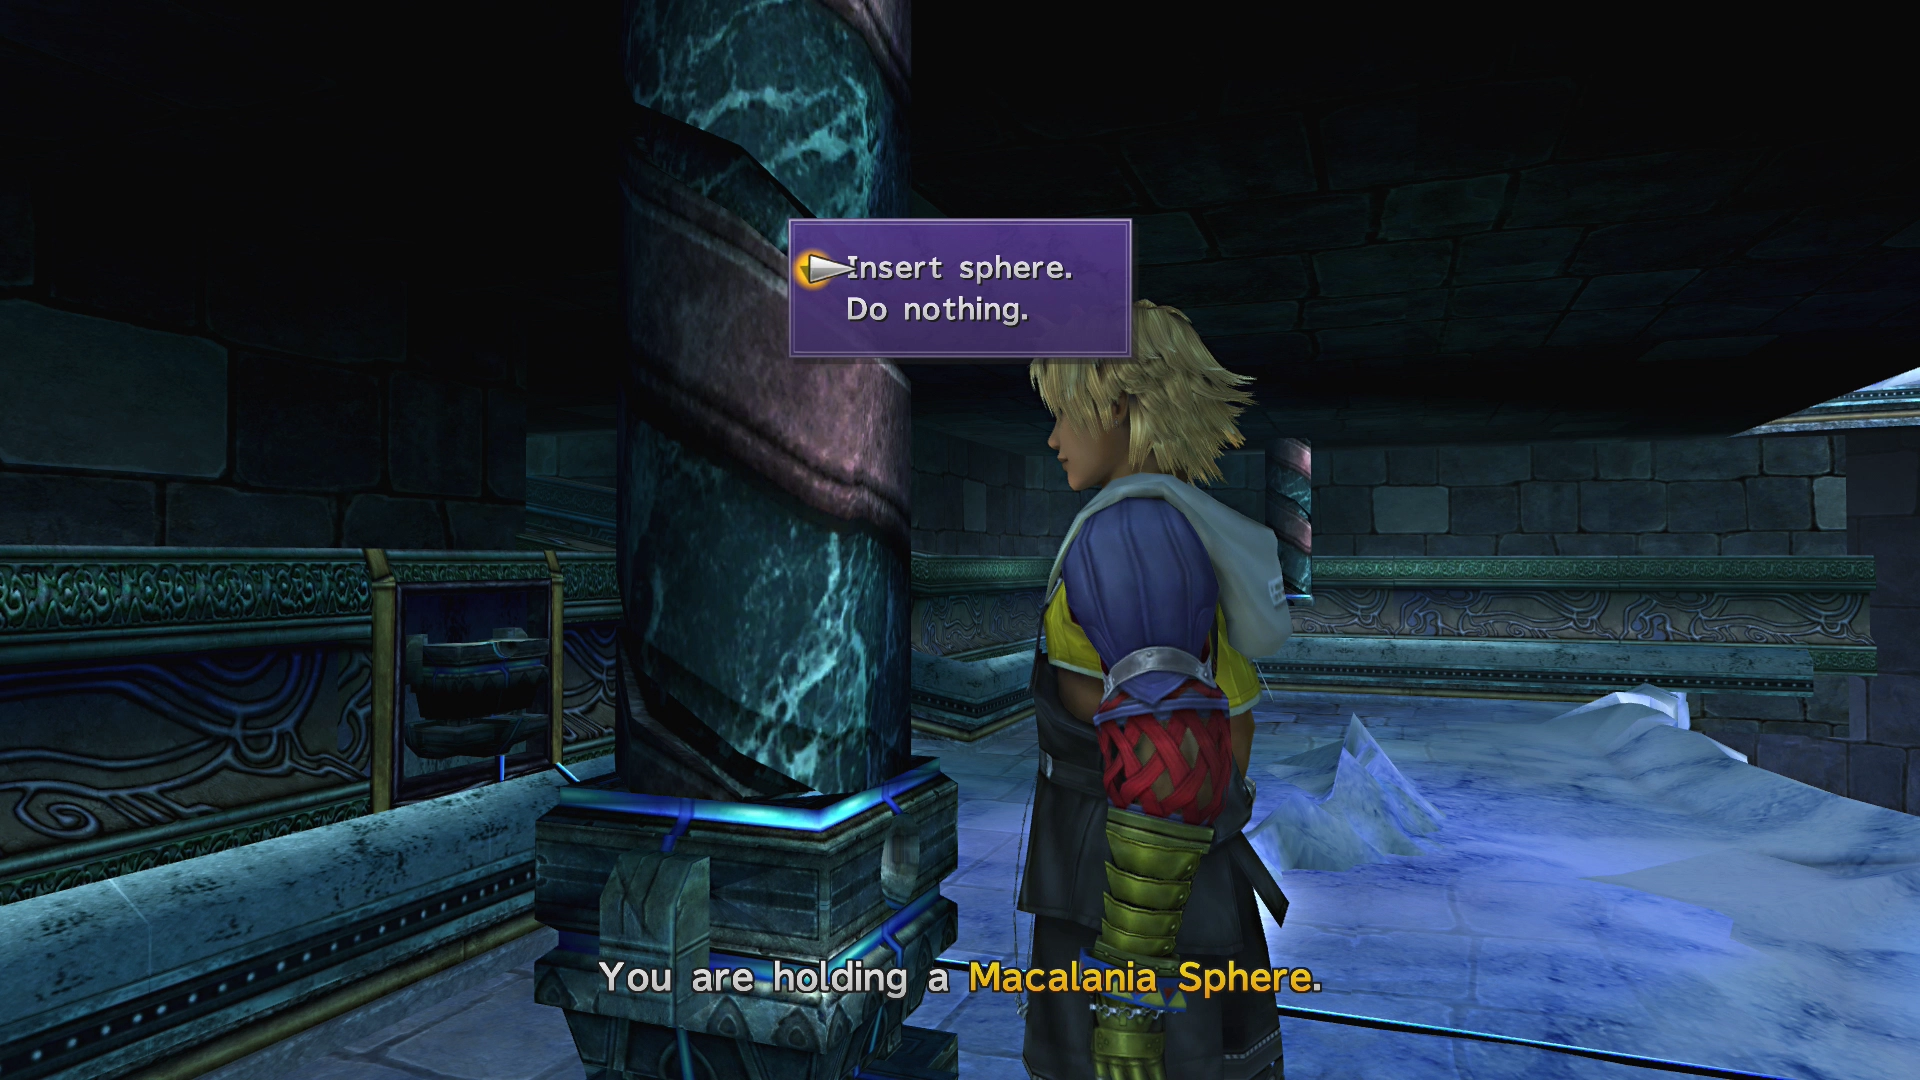
Grab that Macalania Sphere and put it in the lower pillar. One section of the ice pathway reforms.
5. Remove Upper Macalania Sphere
Go back up to the main level. Remove the Macalania Sphere from the far-right wall recess; the icicle blocking that area vanishes.
6. Push Pedestal Under Pillar
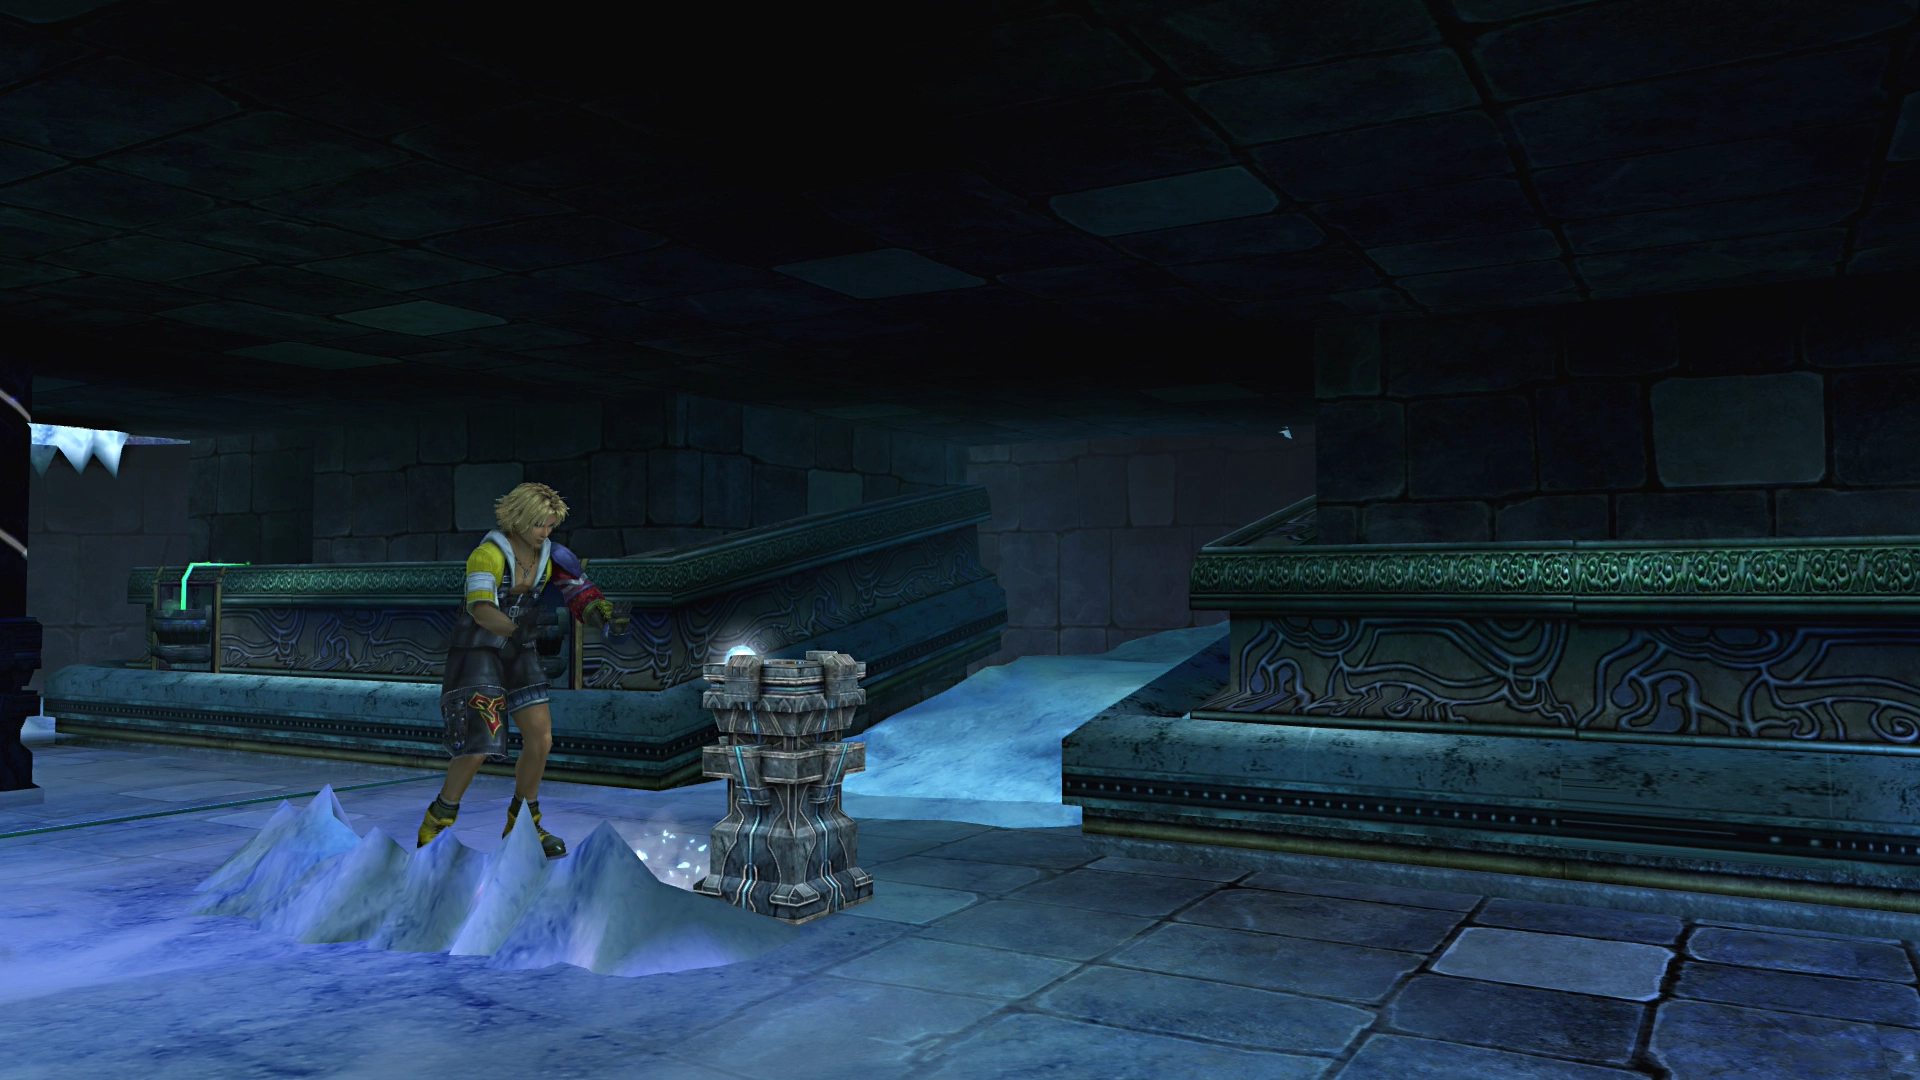
Put the Macalania Sphere in the lower pedestal and push it right. The pedestal slides under the pillar, restoring another section of the pathway.
7. Remove Back Wall Sphere
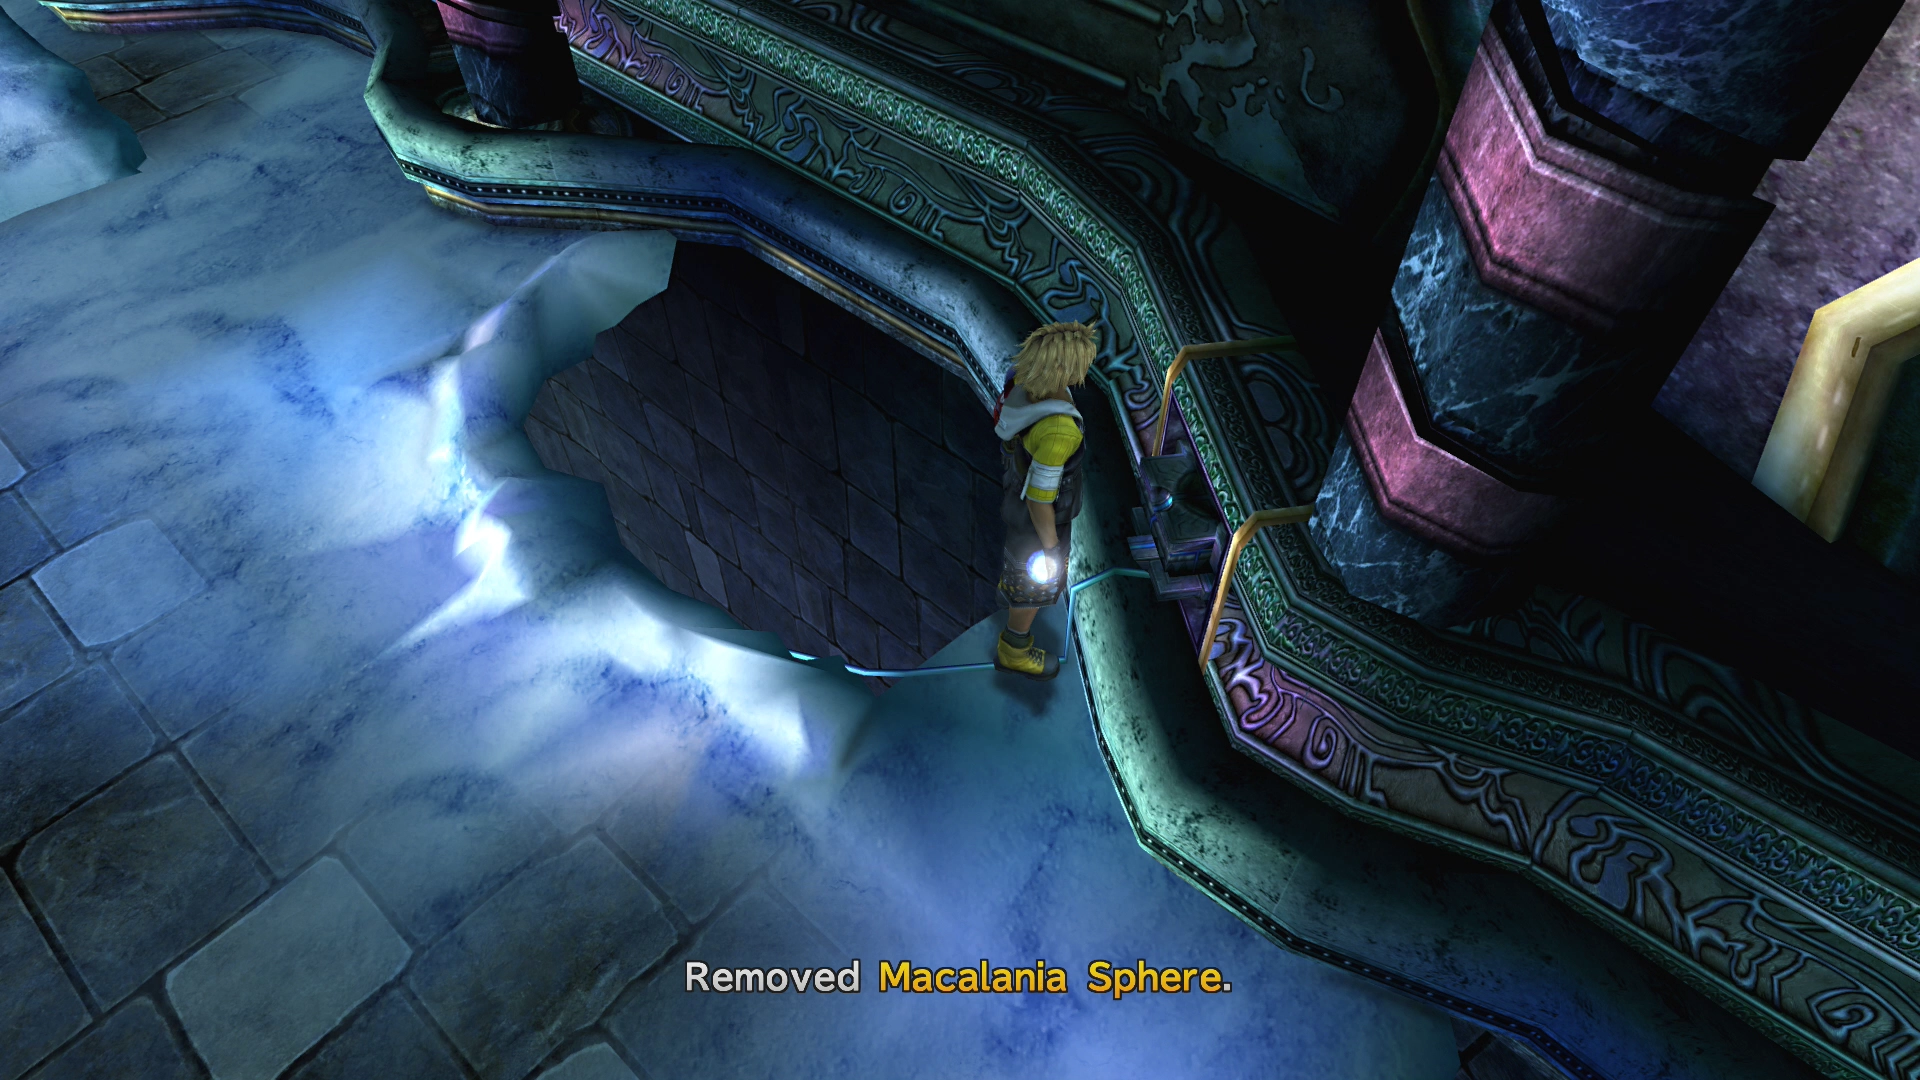
Take the Macalania Sphere from the back wall. The ramp to the lower level disappears. That's fine.
8. Complete the Ice Pathway
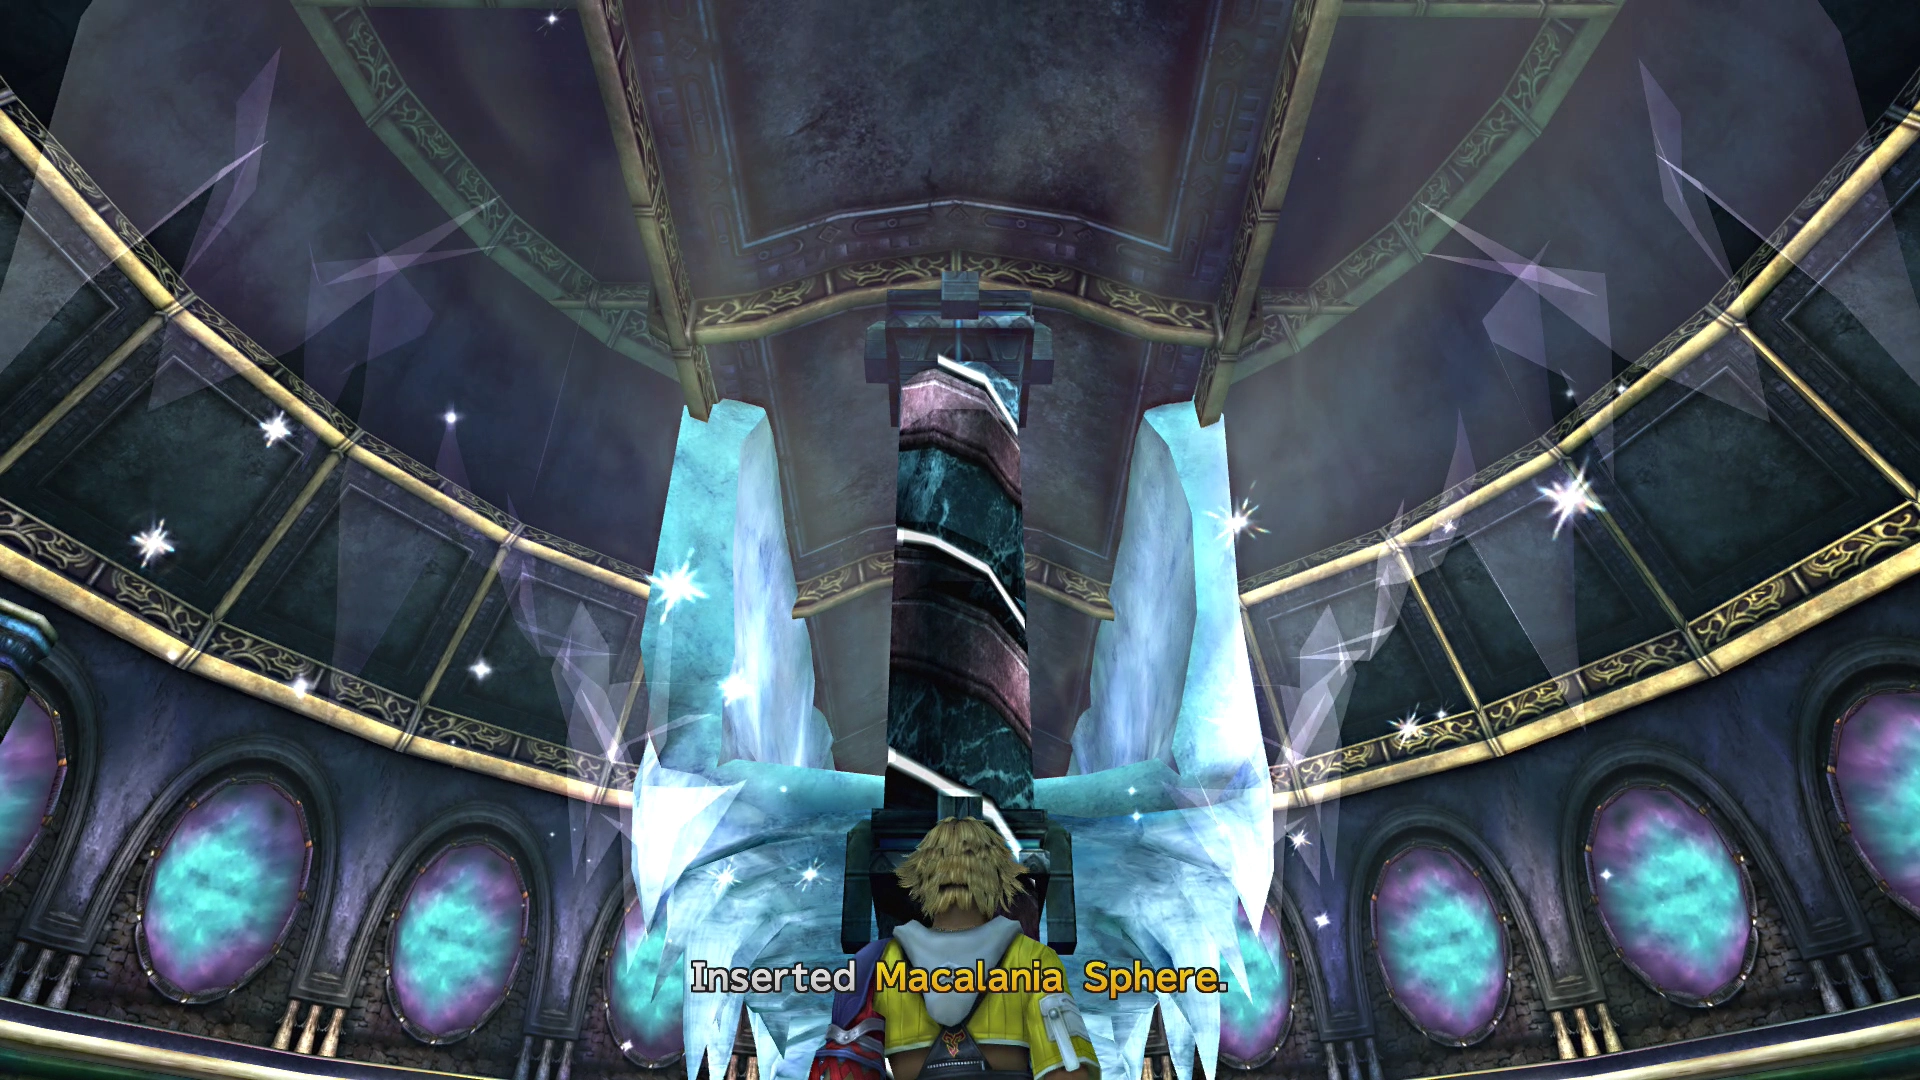
Put the Macalania Sphere in the center pillar. That's the final ice pathway section done.
9. Trigger the Pedestal Glyph
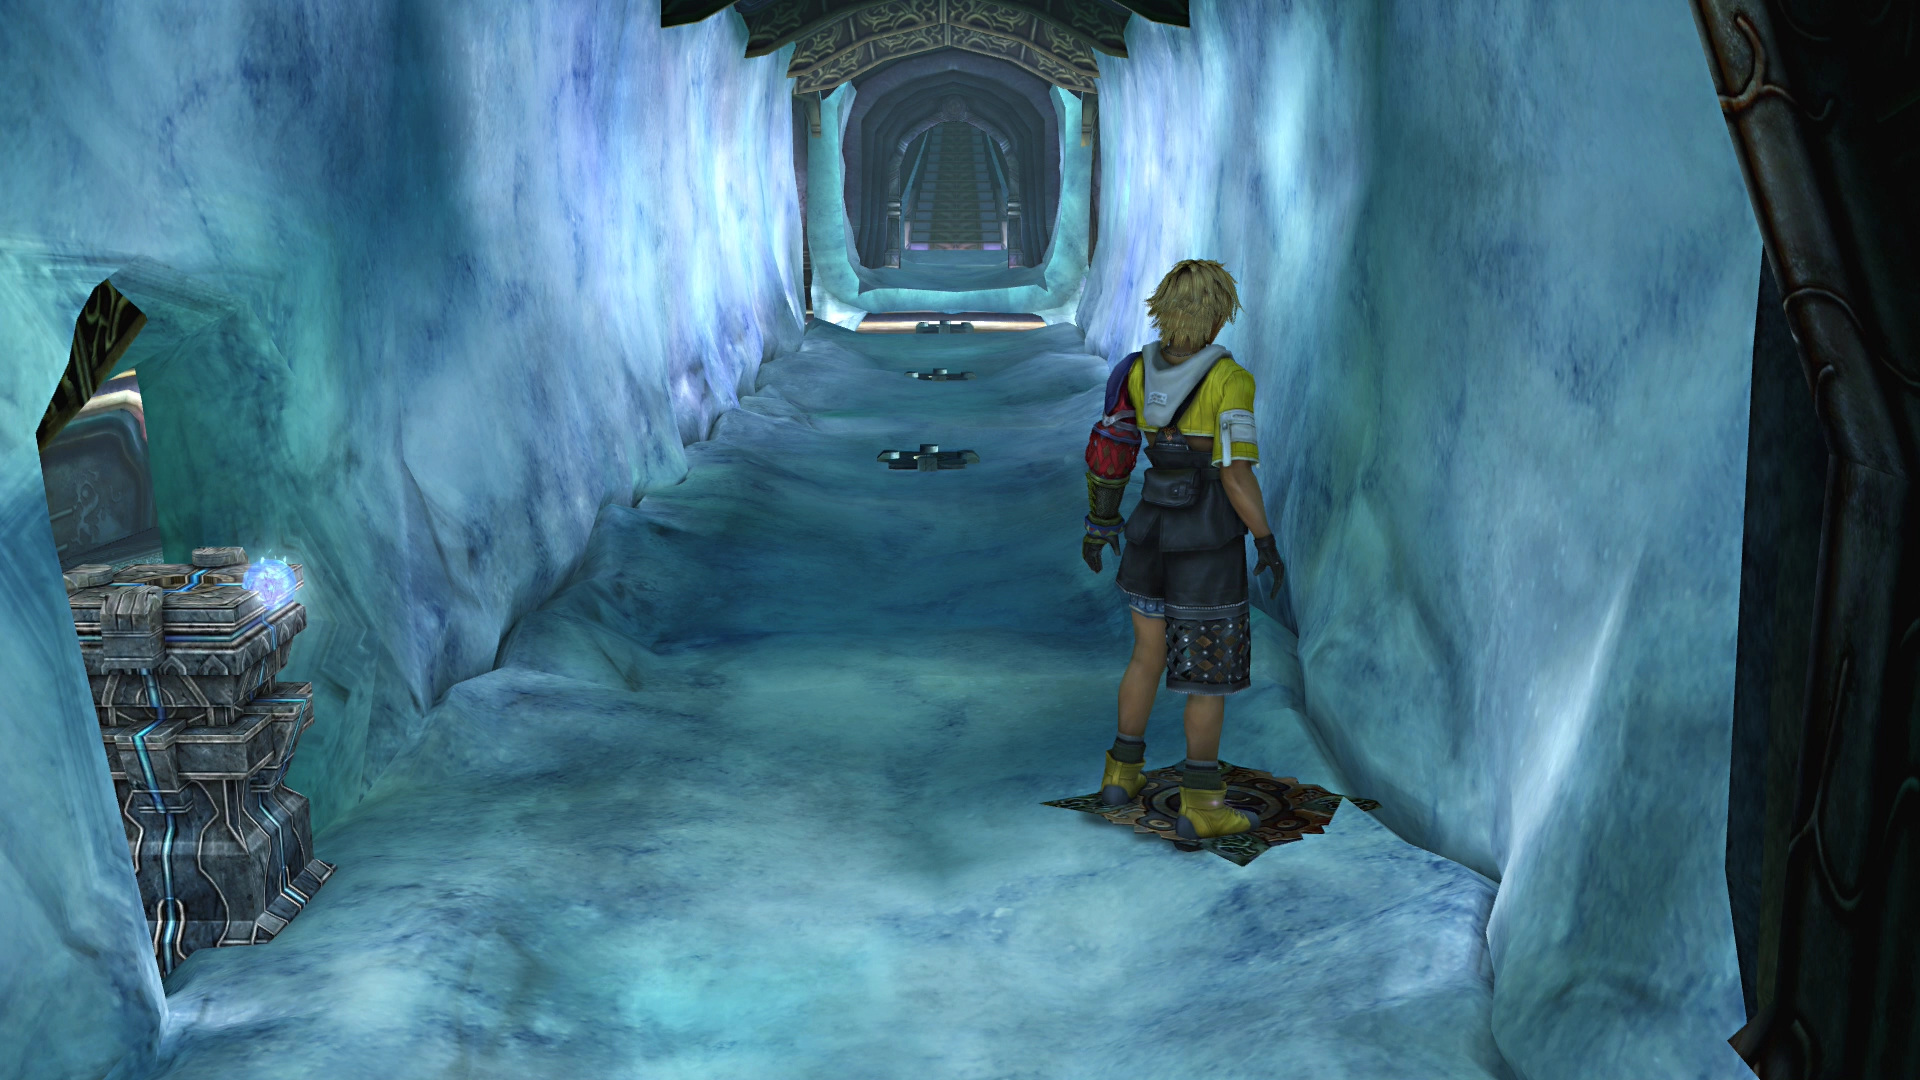
Walk up the ice pathway and step on the glyph at the top. A pedestal appears on the path.
10. Destruction Sphere Transformation
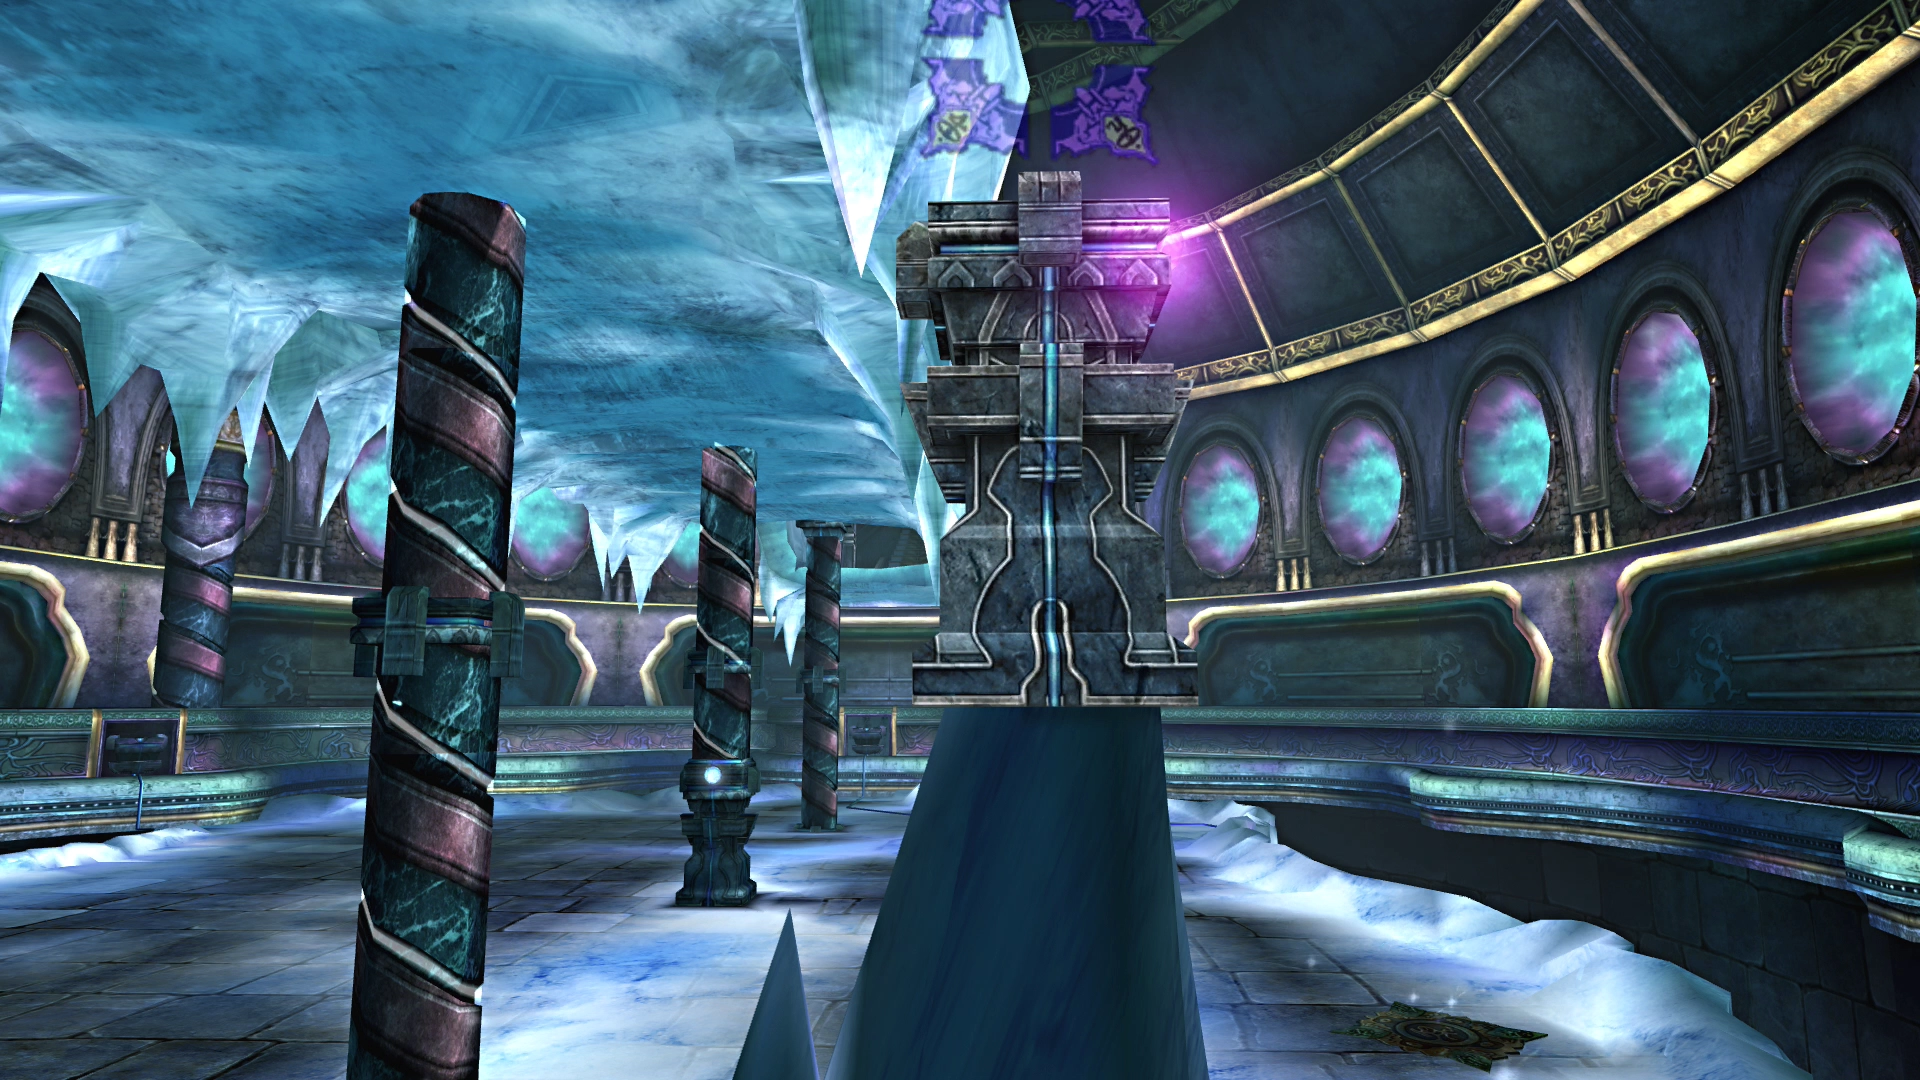
Push the pedestal down. As it slides, it transforms into the Destruction Sphere.
11. Reposition the Pedestal

Step on the lower glyph to reposition the pedestal, then remove the Macalania Sphere from the center pillar.
12. Restore the Lower Ramp

Put the Macalania Sphere in the far north wall recess. The lower-level ramp comes back.
13. Replace Right Side Icicle

Grab the lower-level Macalania Sphere and put it in the right-side wall recess. The icicle's back.
15. Final Pathway Reconstruction
Put the Destruction Sphere back in the pedestal. Step on the top glyph, push the pedestal down (it converts back to a Macalania Sphere), then work the pedestal through a series of pushes to rebuild the pathway. Head to the Chamber of the Fayth.
Warning: Don't step on the glyph after you've finished the puzzle. It resets everything.
Quick Summary
- Take Glyph Sphere from center pillar, place in pedestal
- Push pedestal east then north to drop it to lower level
- Place Glyph Sphere in left wall recess, reveals Macalania Sphere
- Insert Macalania Sphere in lower pillar (restores ice path)
- Remove Macalania Sphere from upper right wall (icicle disappears)
- Put sphere in pedestal, push right (slides under pillar)
- Take Macalania Sphere from back wall, insert in center pillar (path complete)
- Step on top glyph, push pedestal down (becomes Destruction Sphere)
- Remove center sphere, place in north wall (restores ramp)
- Move lower Macalania Sphere to right wall (icicle returns)
- Place Destruction Sphere in unused recess, get Luck Sphere
- Rebuild pathway and proceed to Chamber of the Fayth
After the Trial: Yuna emerges with her fourth Aeon, Shiva.
