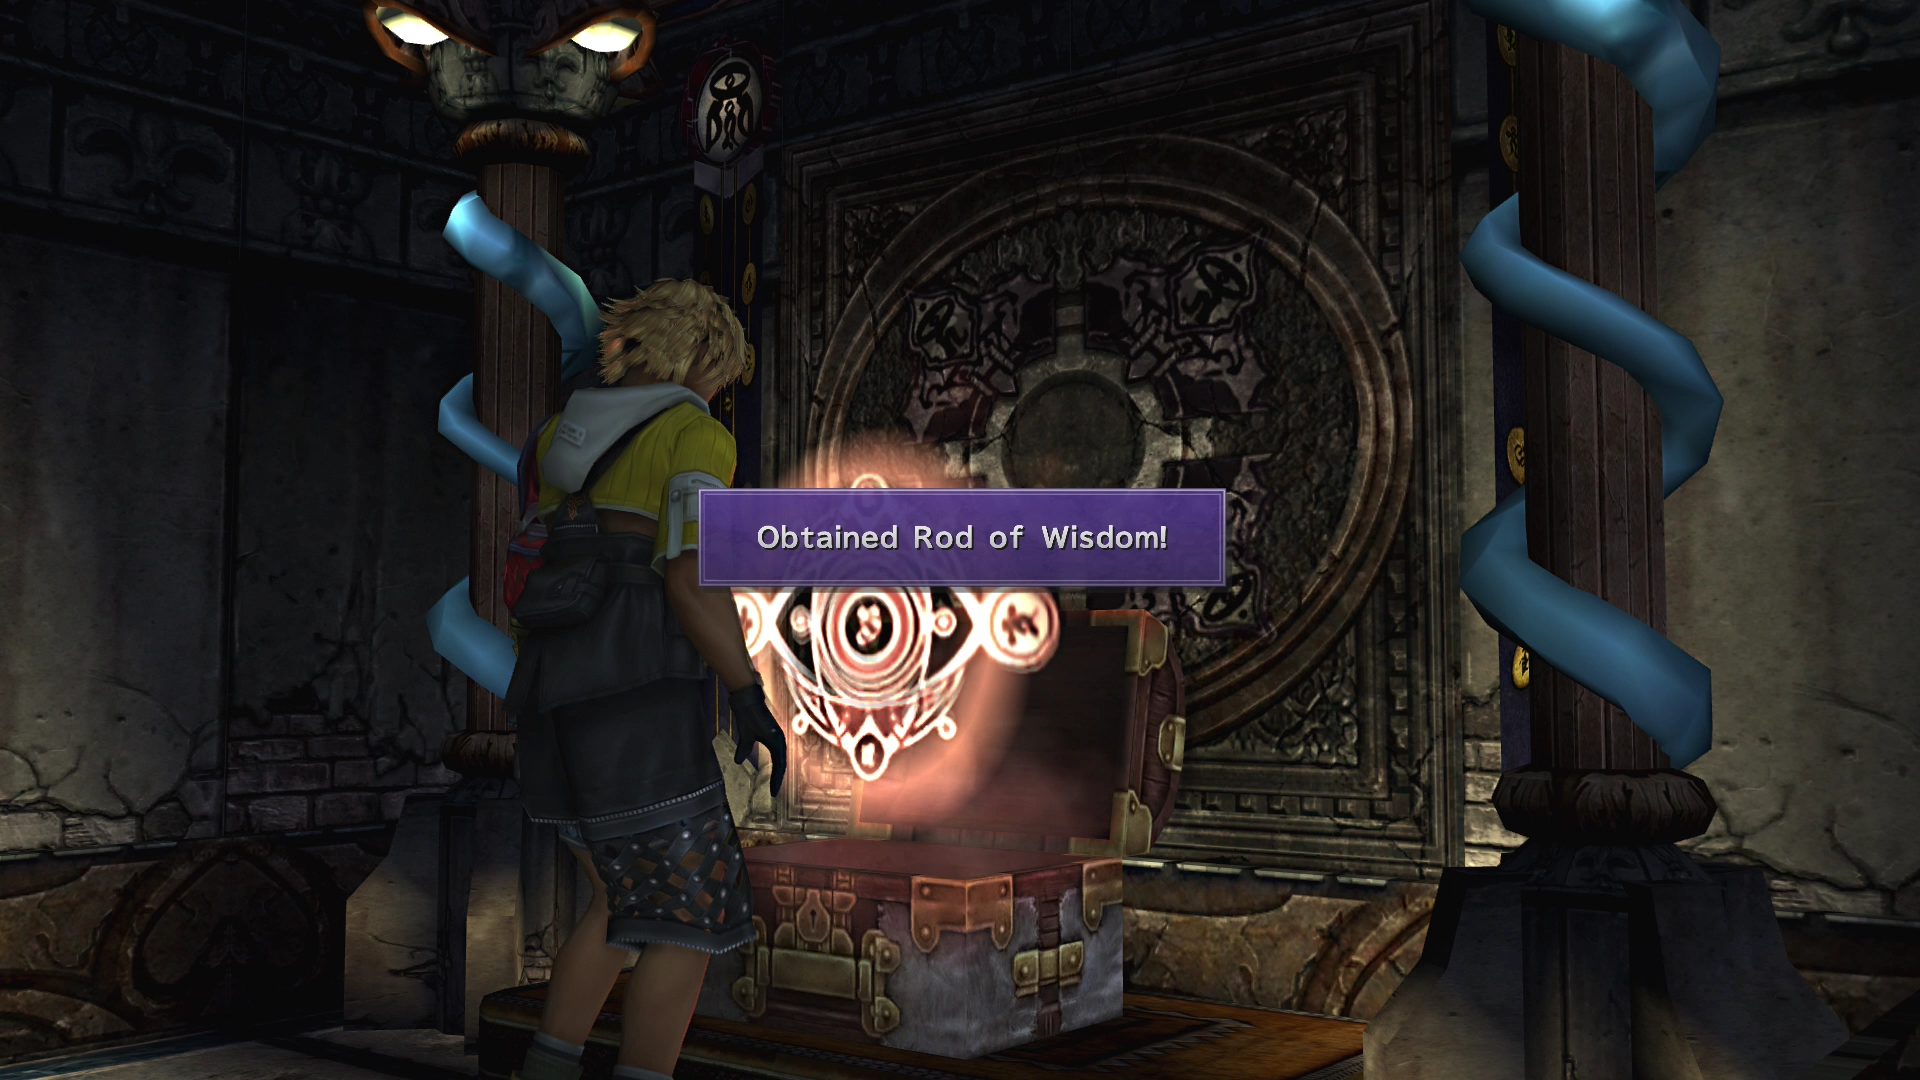
The Besaid Cloister of Trials is your first temple puzzle in Final Fantasy X. It's basically a tutorial for the sphere mechanics you'll see throughout the game. Simple stuff. But don't skip the Destruction Sphere treasure; you'll need all six for Anima, a powerful secret Aeon.
Step-by-Step Solution
1. Entrance - Activate Glyphs

Touch the glyph on the front wall. A second glyph appears on the east wall. Touch that one too, and the way forward opens.
2. Stairwell - Glyph Sphere
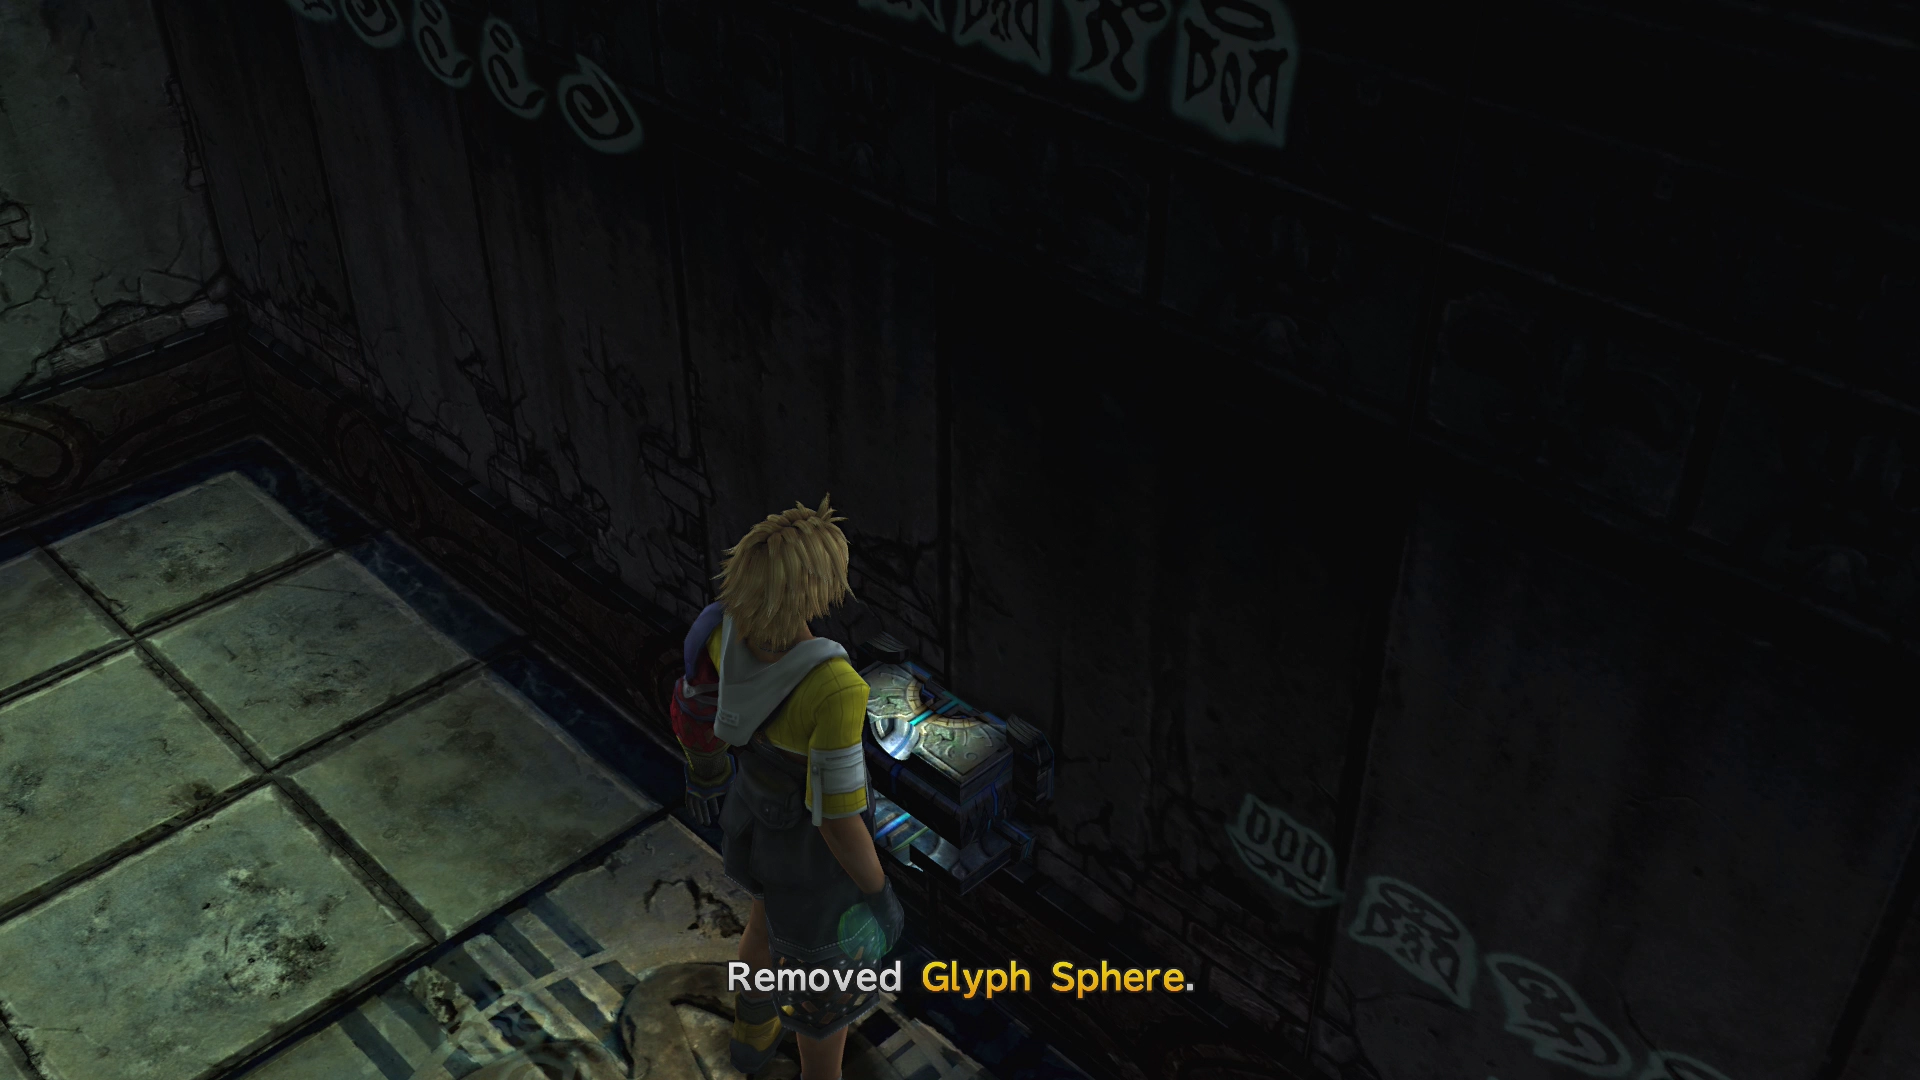
Descend the stairs and collect the Glyph Sphere from the wall.
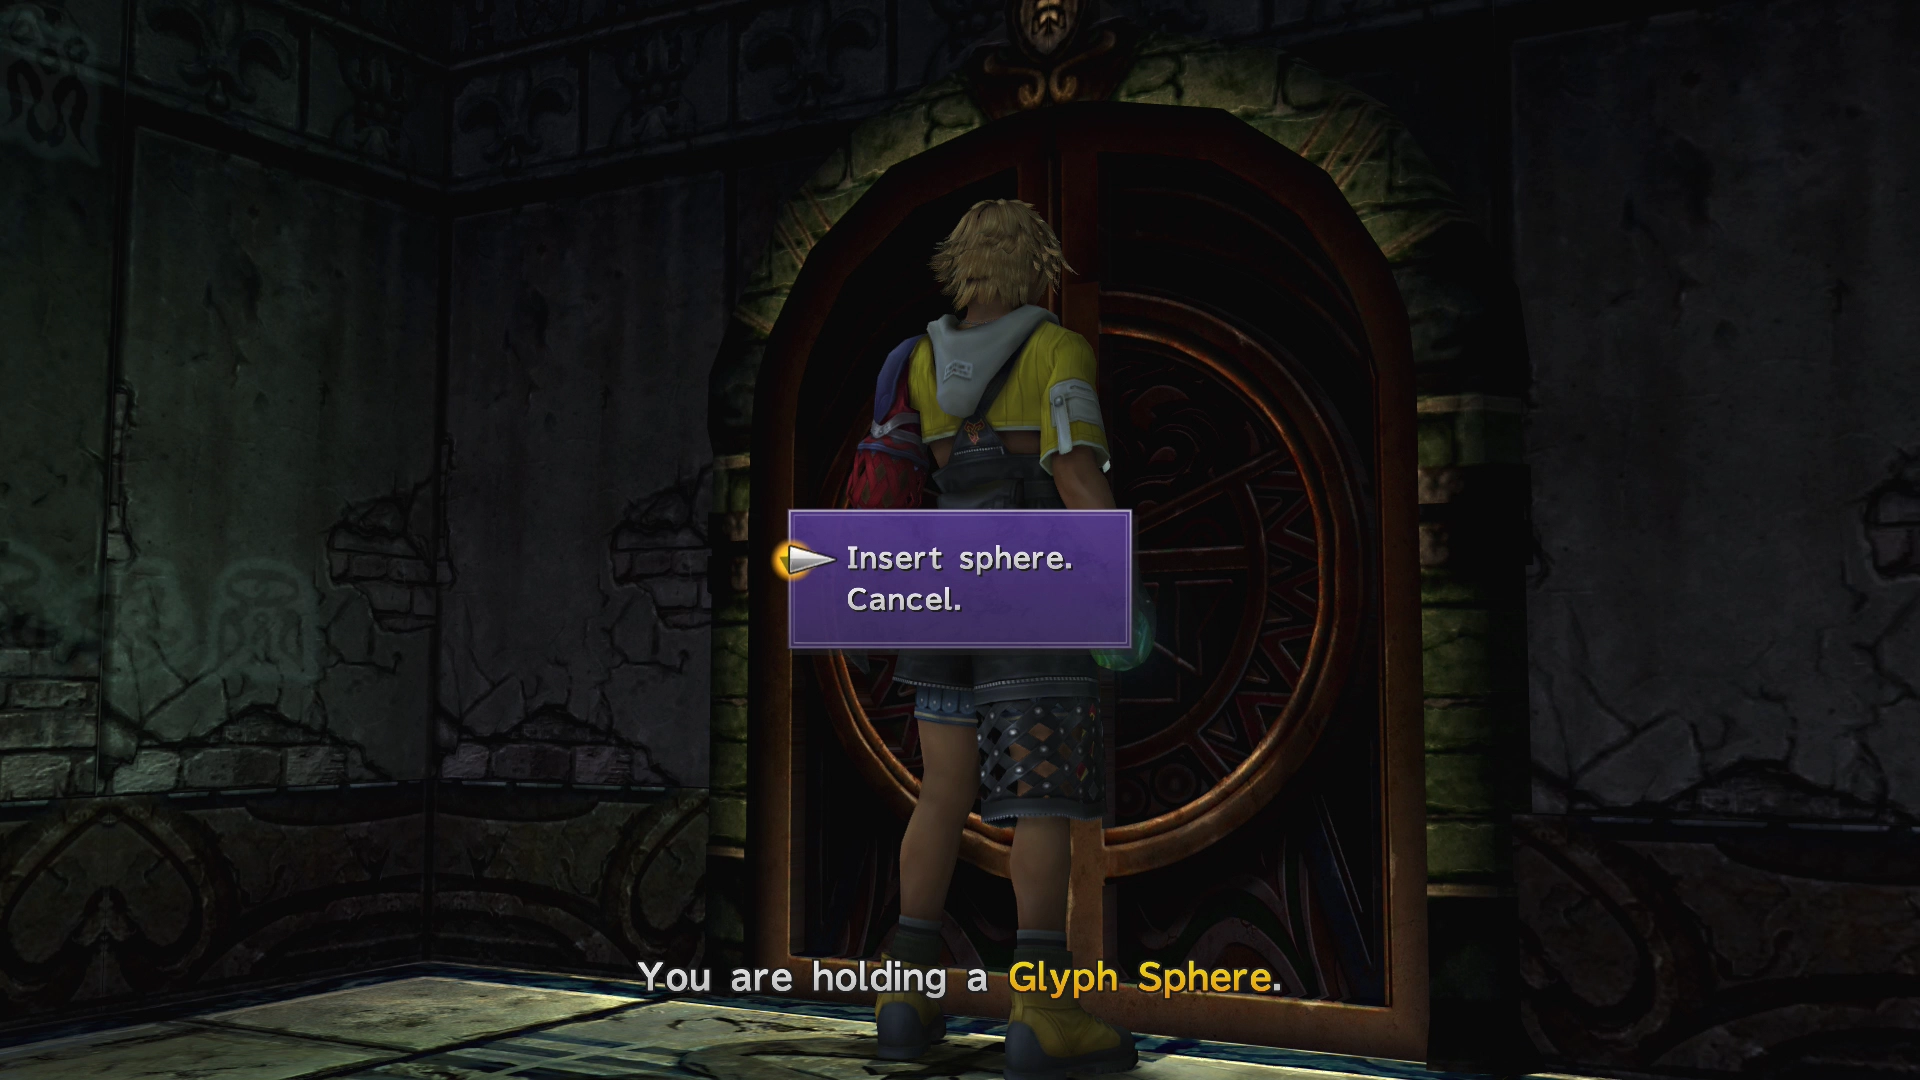
Insert it into the door recess at the bottom to unlock the passage.
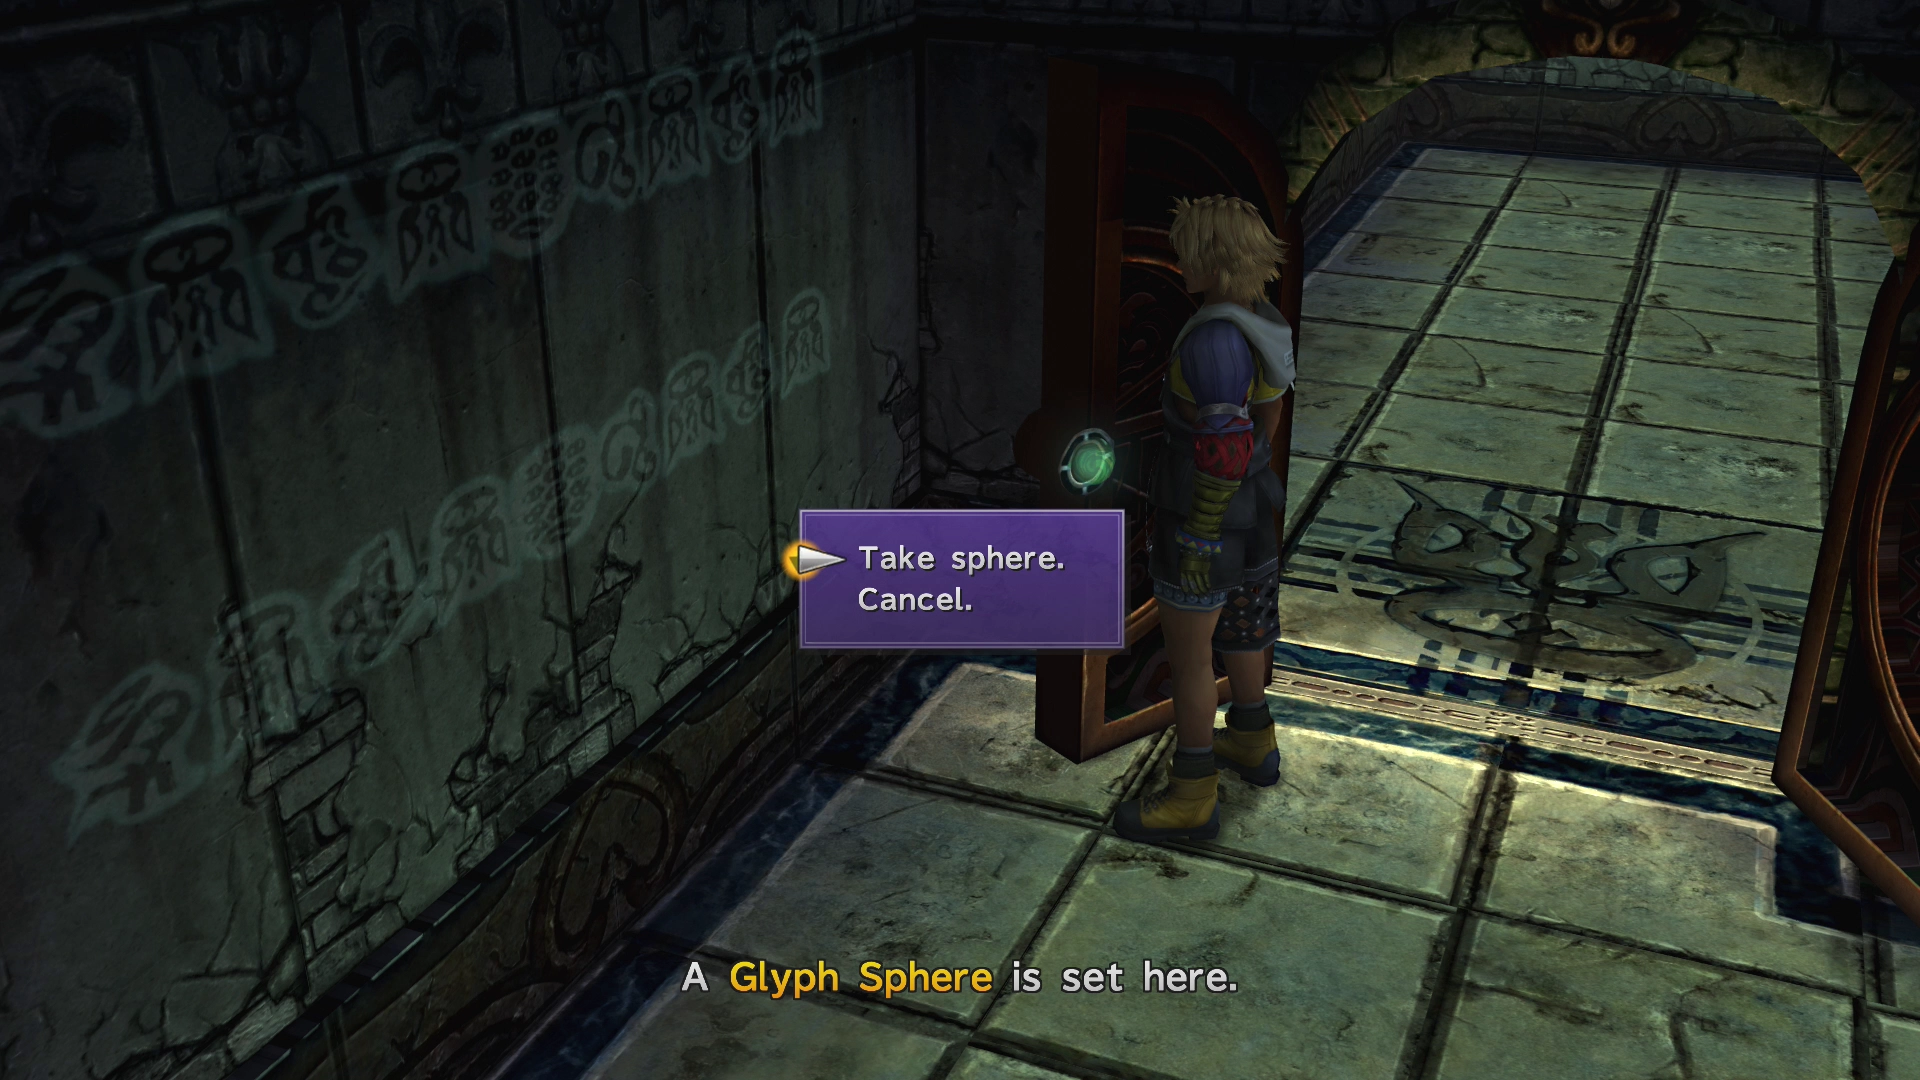
Remove the Glyph Sphere and continue forward.
3. Hallway - Reveal Destruction Sphere
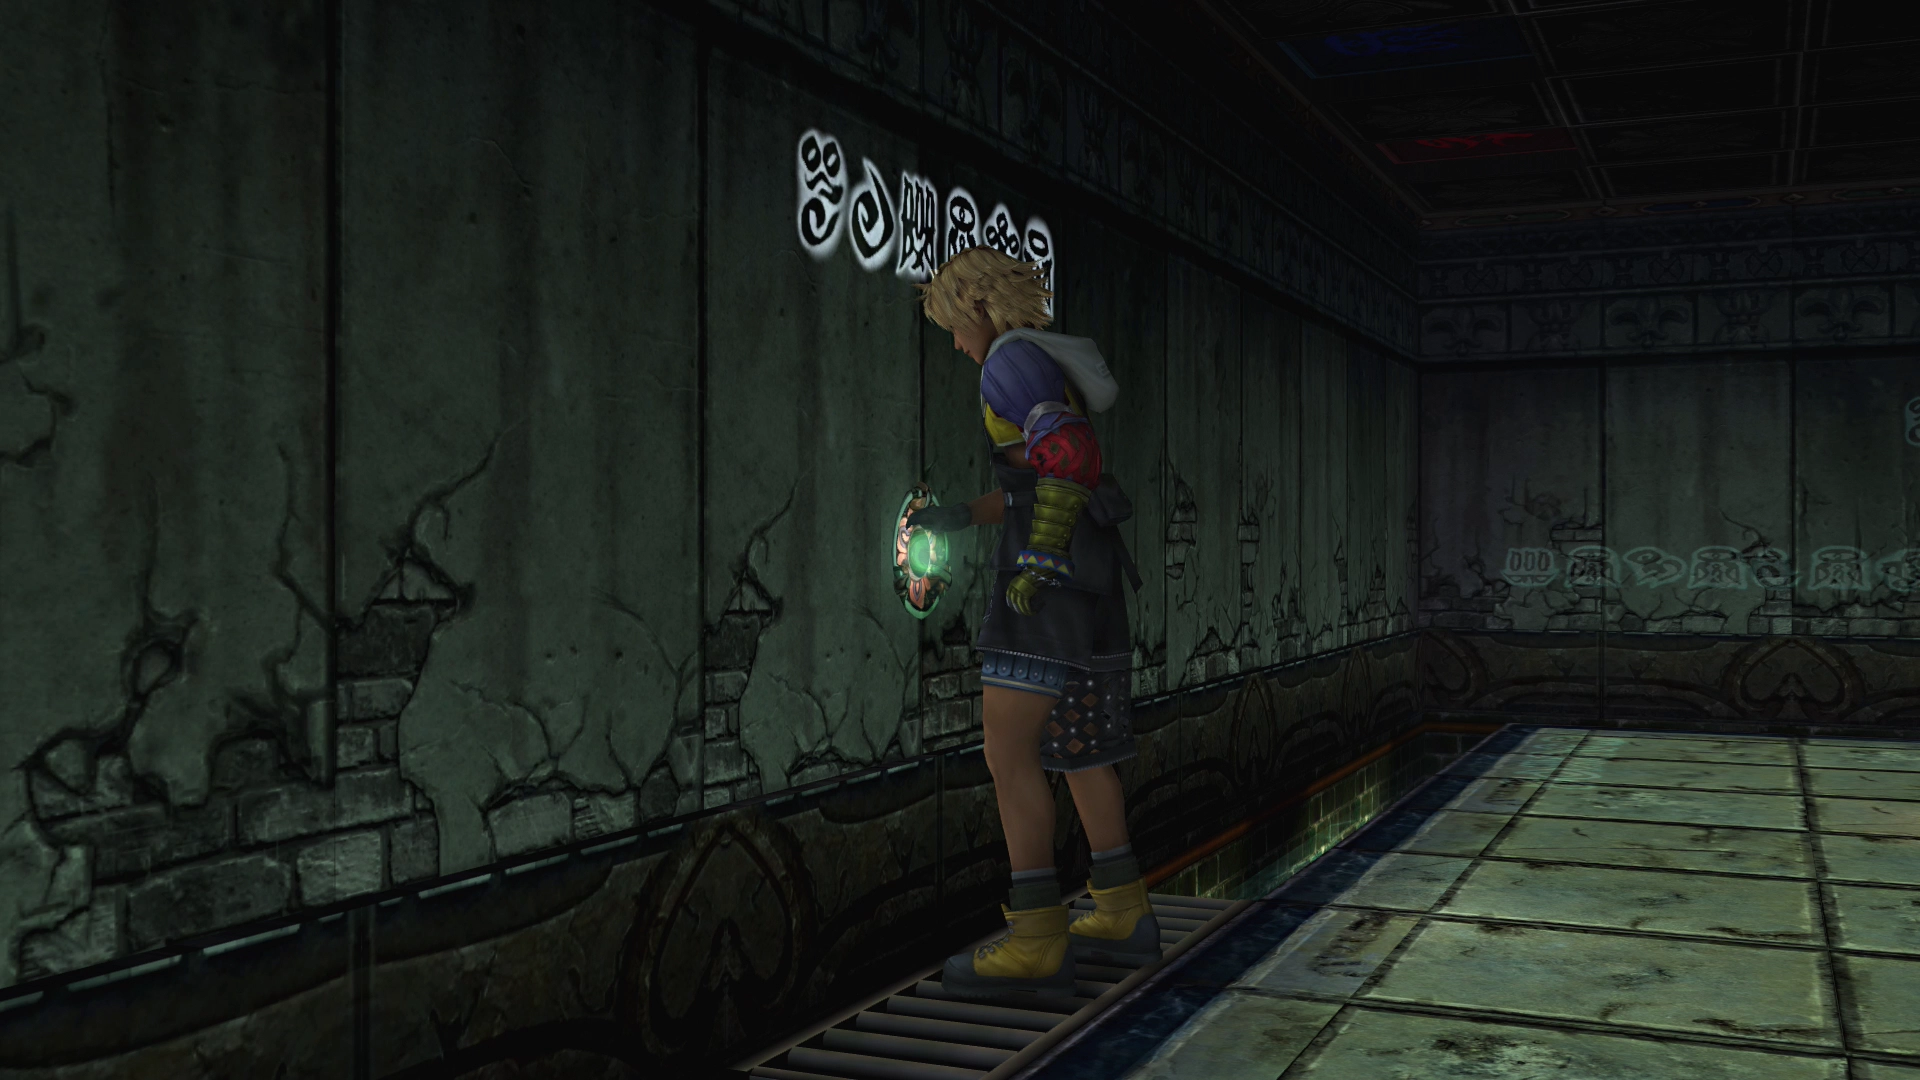
Place the Glyph Sphere into the left wall recess. This reveals the purple Destruction Sphere. Leave it for now.
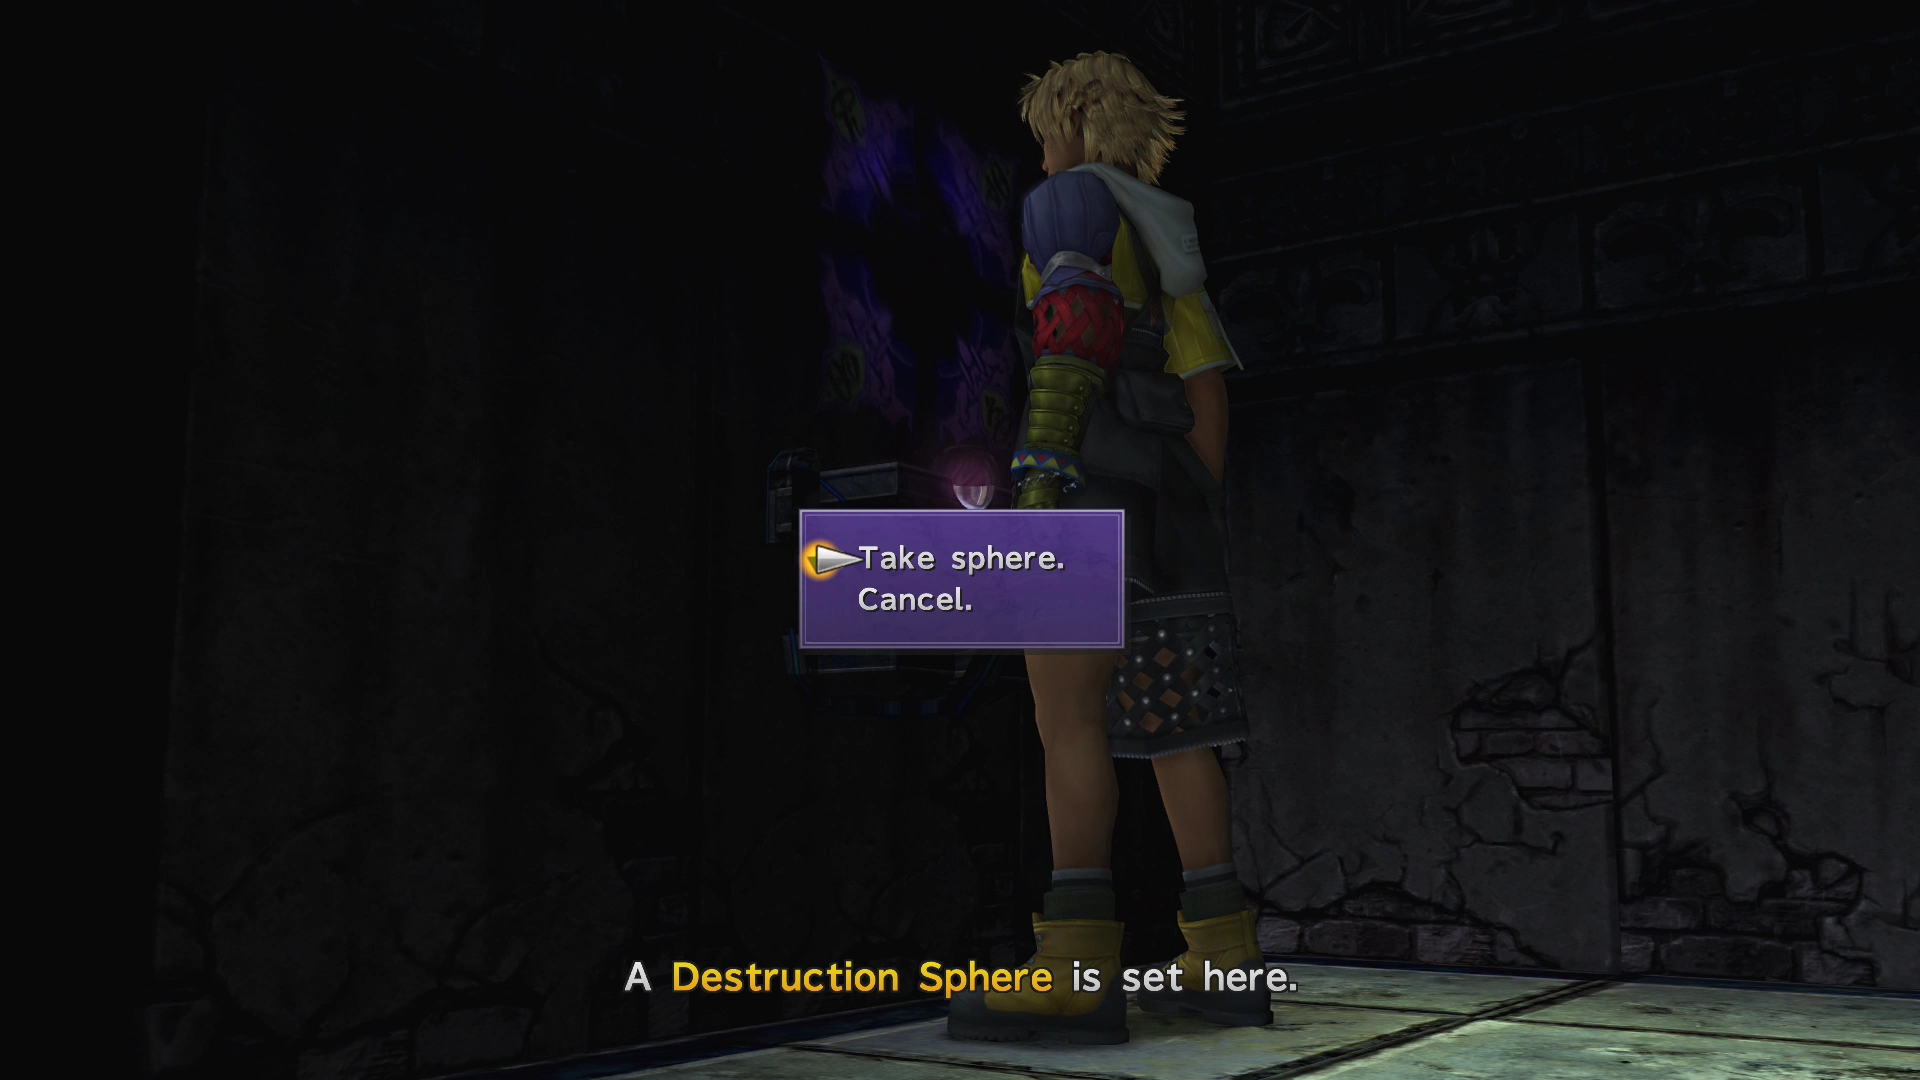
4. Besaid Sphere

Touch the glyphs across from the pedestal to open the adjacent room. Collect the Besaid Sphere inside.
5. Activate the Pedestal
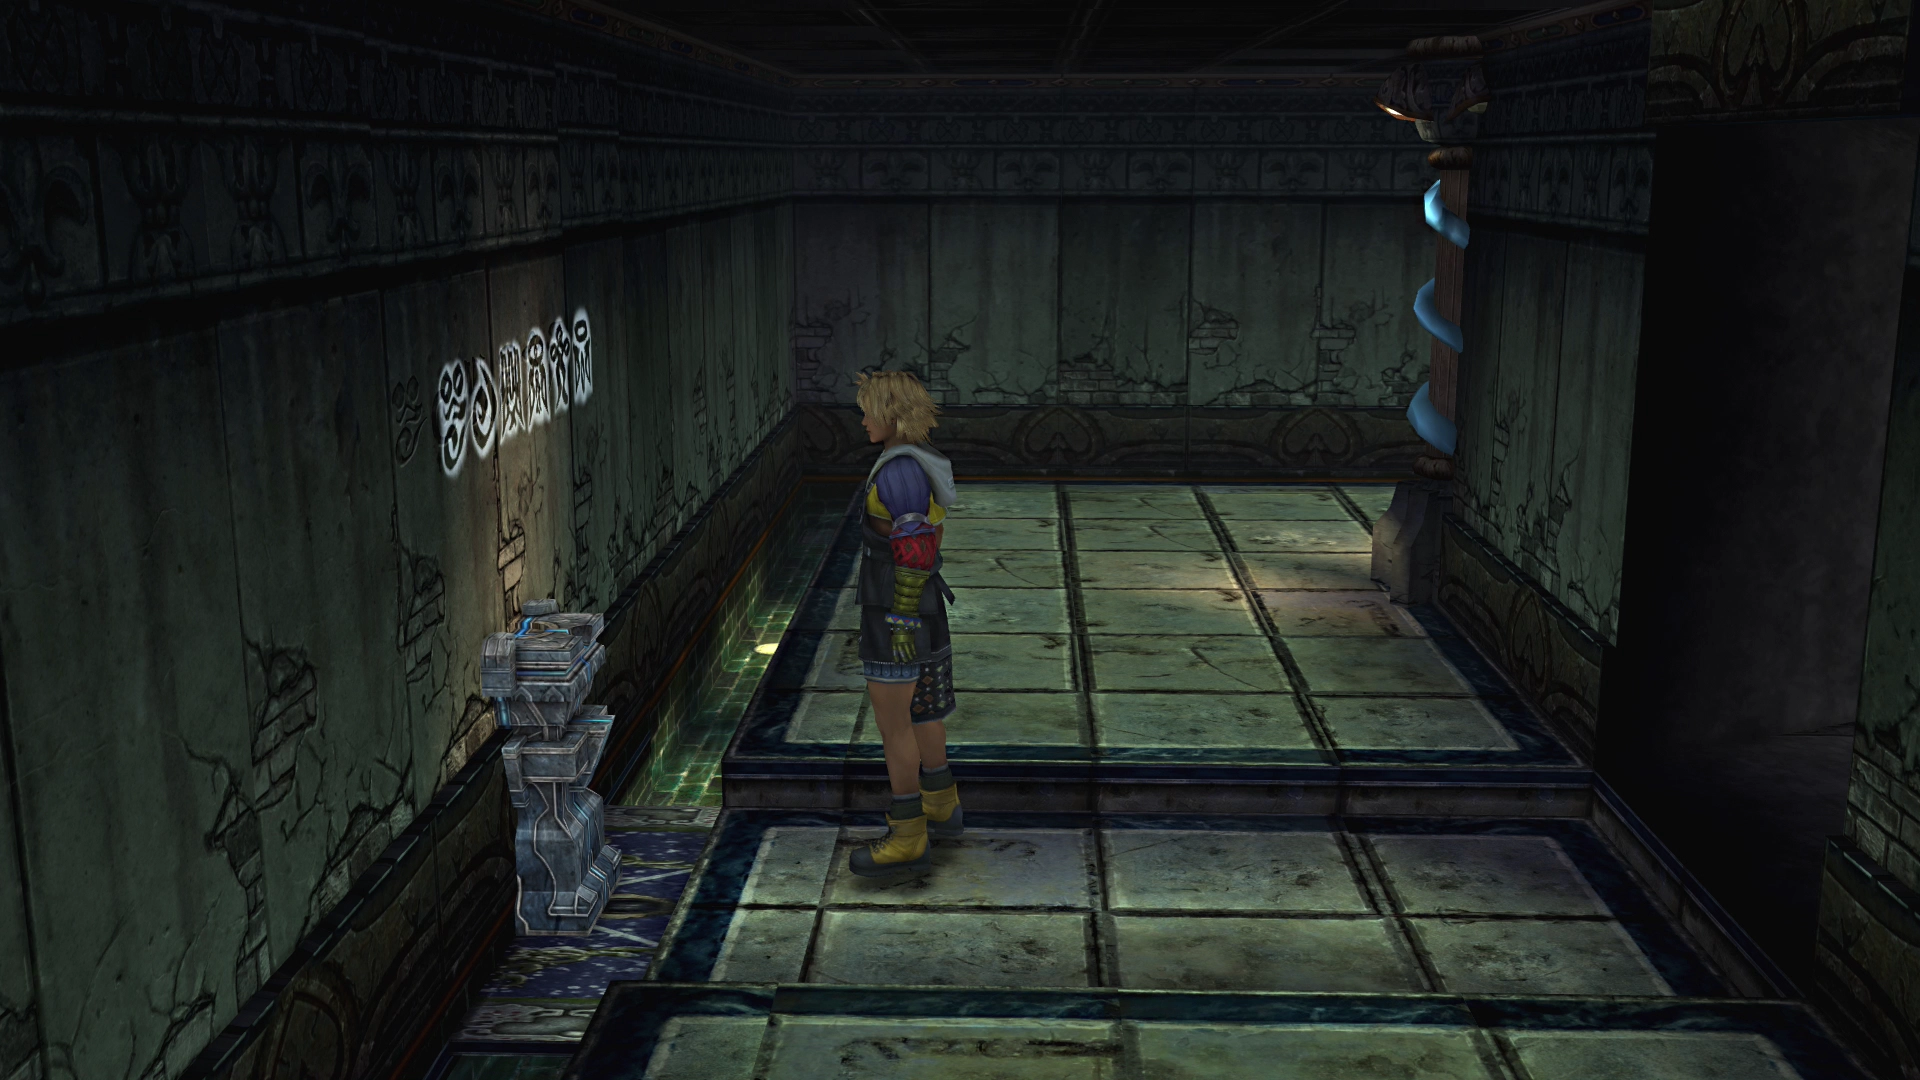
Insert the Besaid Sphere into the pedestal. The wall behind it disappears, letting you push it into the main room.
7. Complete the Trial
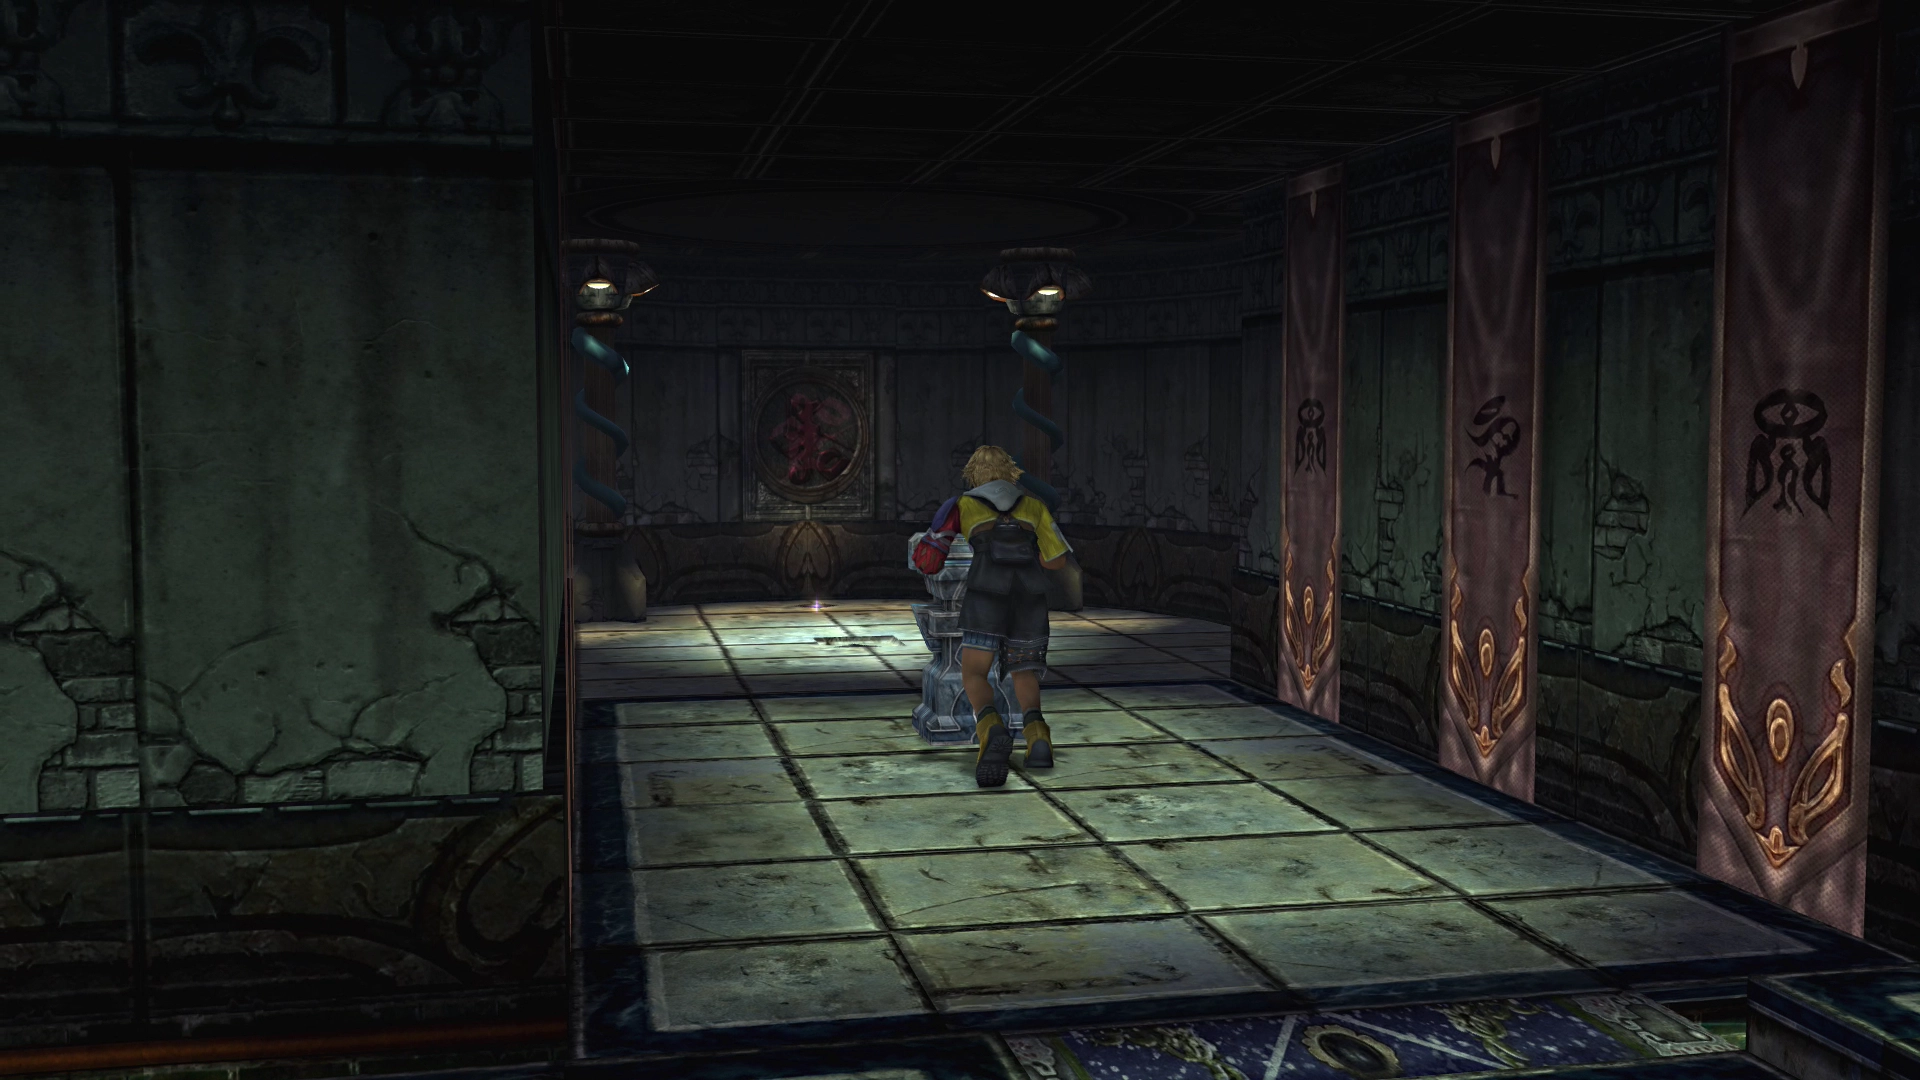
Push the pedestal to the center of the room. Done. You can now enter the Chamber of the Fayth.
Quick Summary
- Touch front wall glyph → touch east wall glyph
- Collect Glyph Sphere from stairs
- Insert in door → remove and continue
- Insert Glyph Sphere in left recess → reveals Destruction Sphere
- Touch glyphs → enter side room → collect Besaid Sphere
- Insert Besaid Sphere in pedestal → pedestal moves
- Get Destruction Sphere → place where Besaid Sphere was → reveals Rod of Wisdom
- Push pedestal to center → trial complete
After the Trial: Yuna will emerge from the Chamber of the Fayth with her first Aeon, Valefor. You'll also earn the "The Right Thing" trophy/achievement.
Continue the walkthrough where Yuna emerges with Valefor and the party prepares to depart for Kilika.

