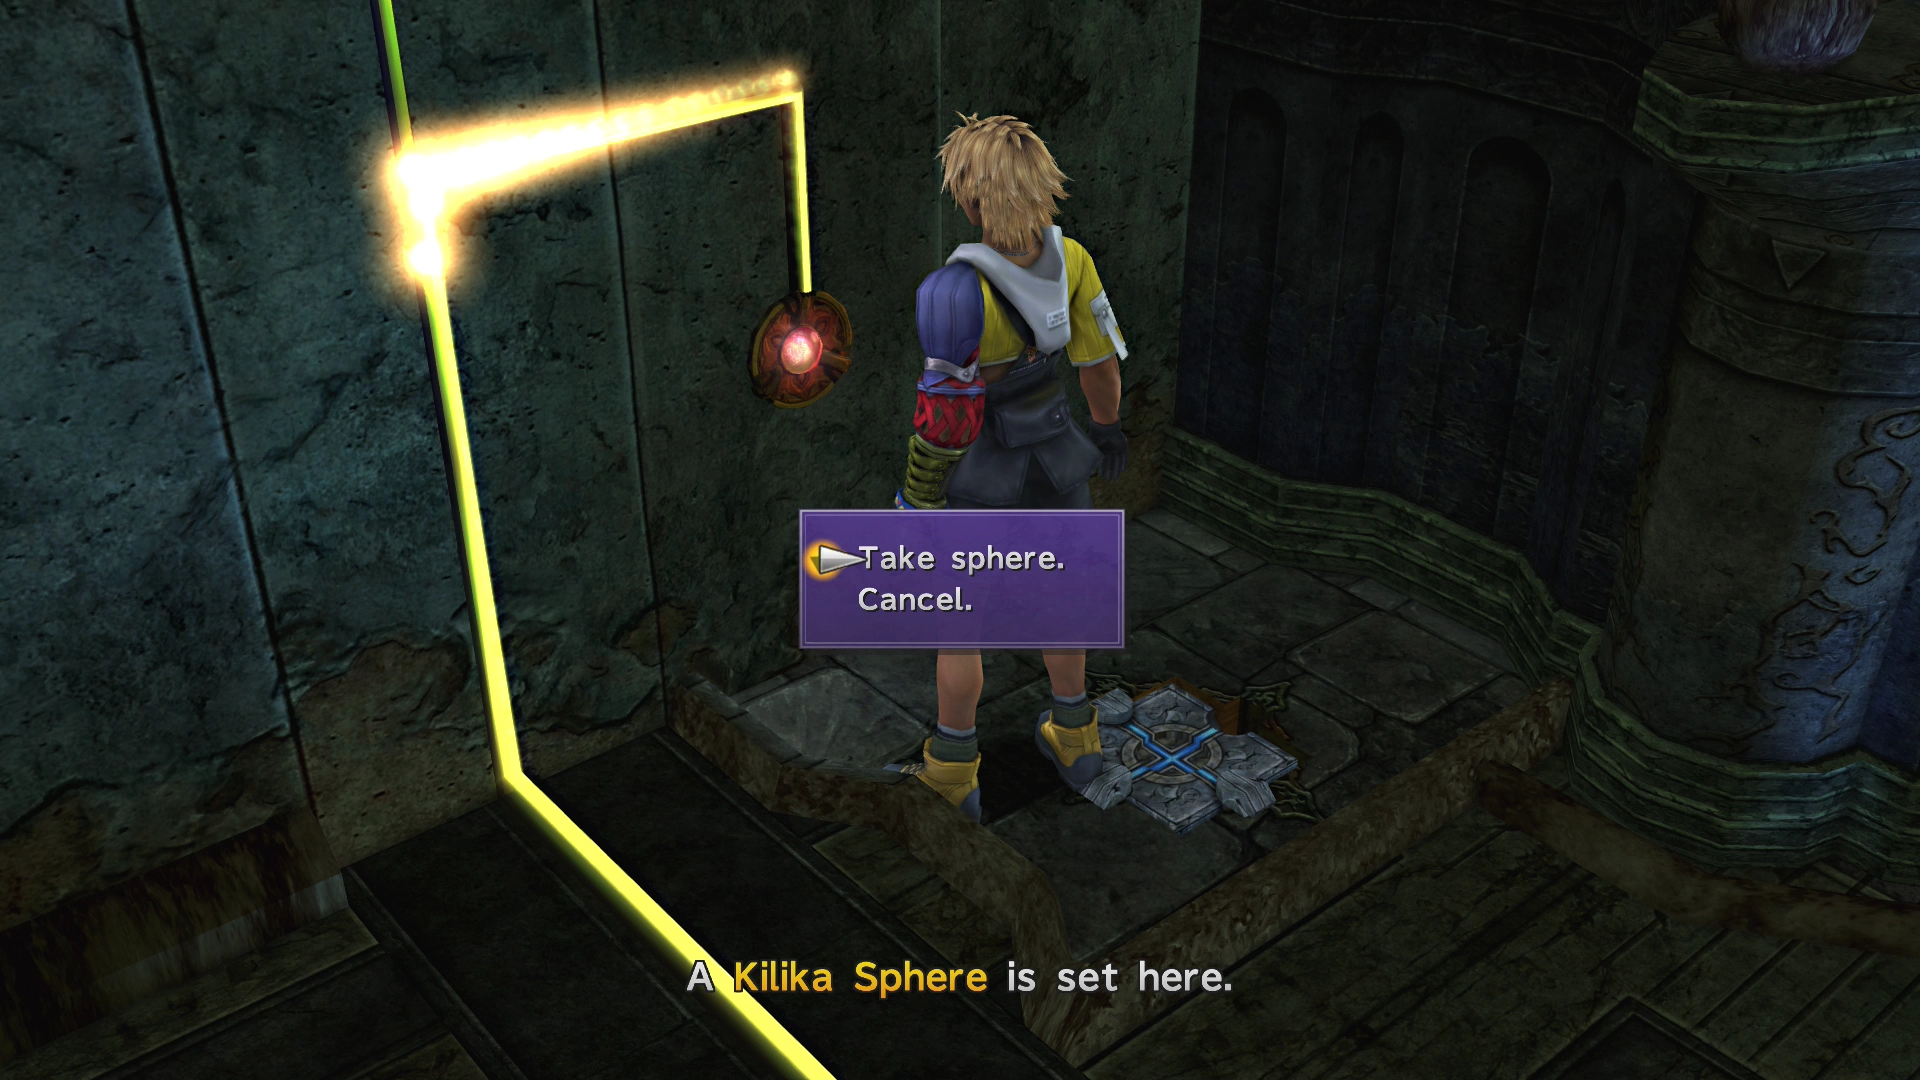
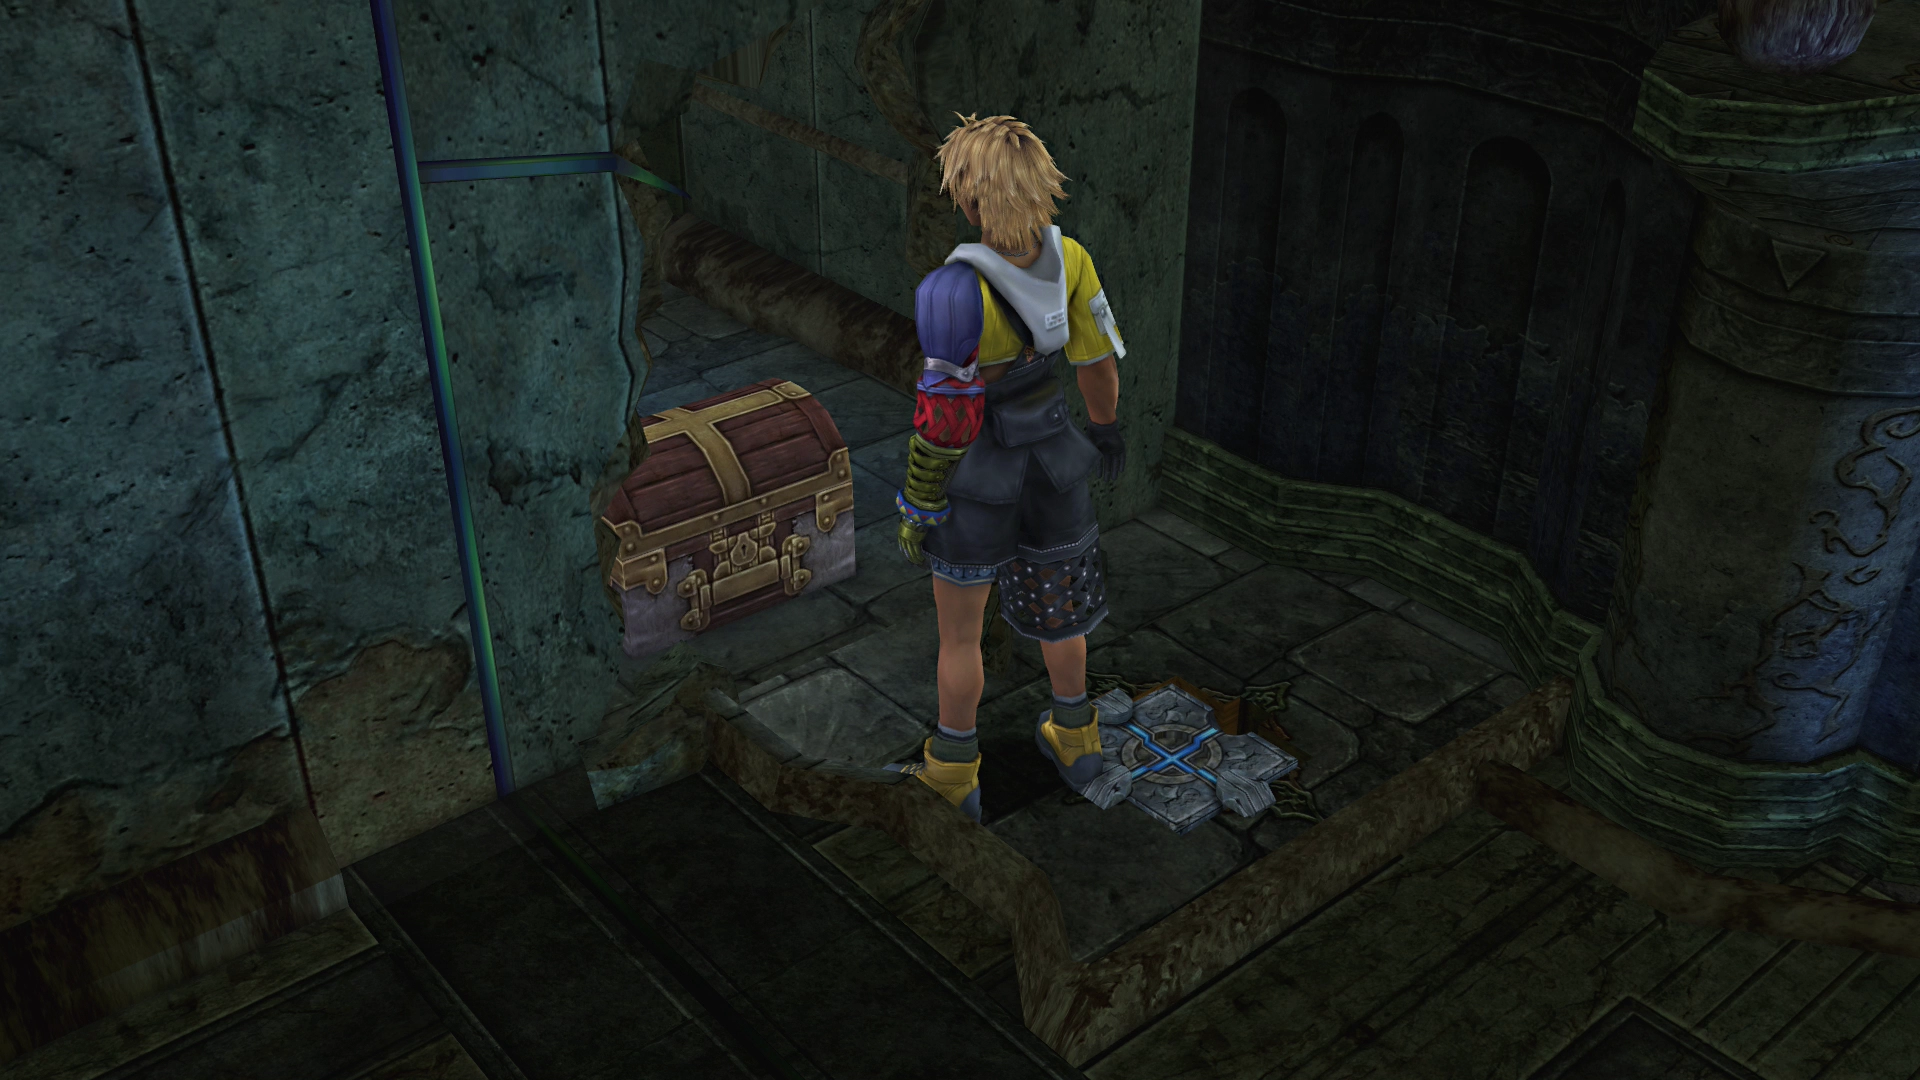
Kilika's Cloister of Trials is the second temple puzzle in Final Fantasy X. Fire-based mechanics make this one trickier than Besaid—you'll need to manage burning spheres and a lowering floor platform. Don't skip the Destruction Sphere treasure (Red Armlet) if you want Anima later.
Step-by-Step Solution
1. Initial Chamber - Burn the Door
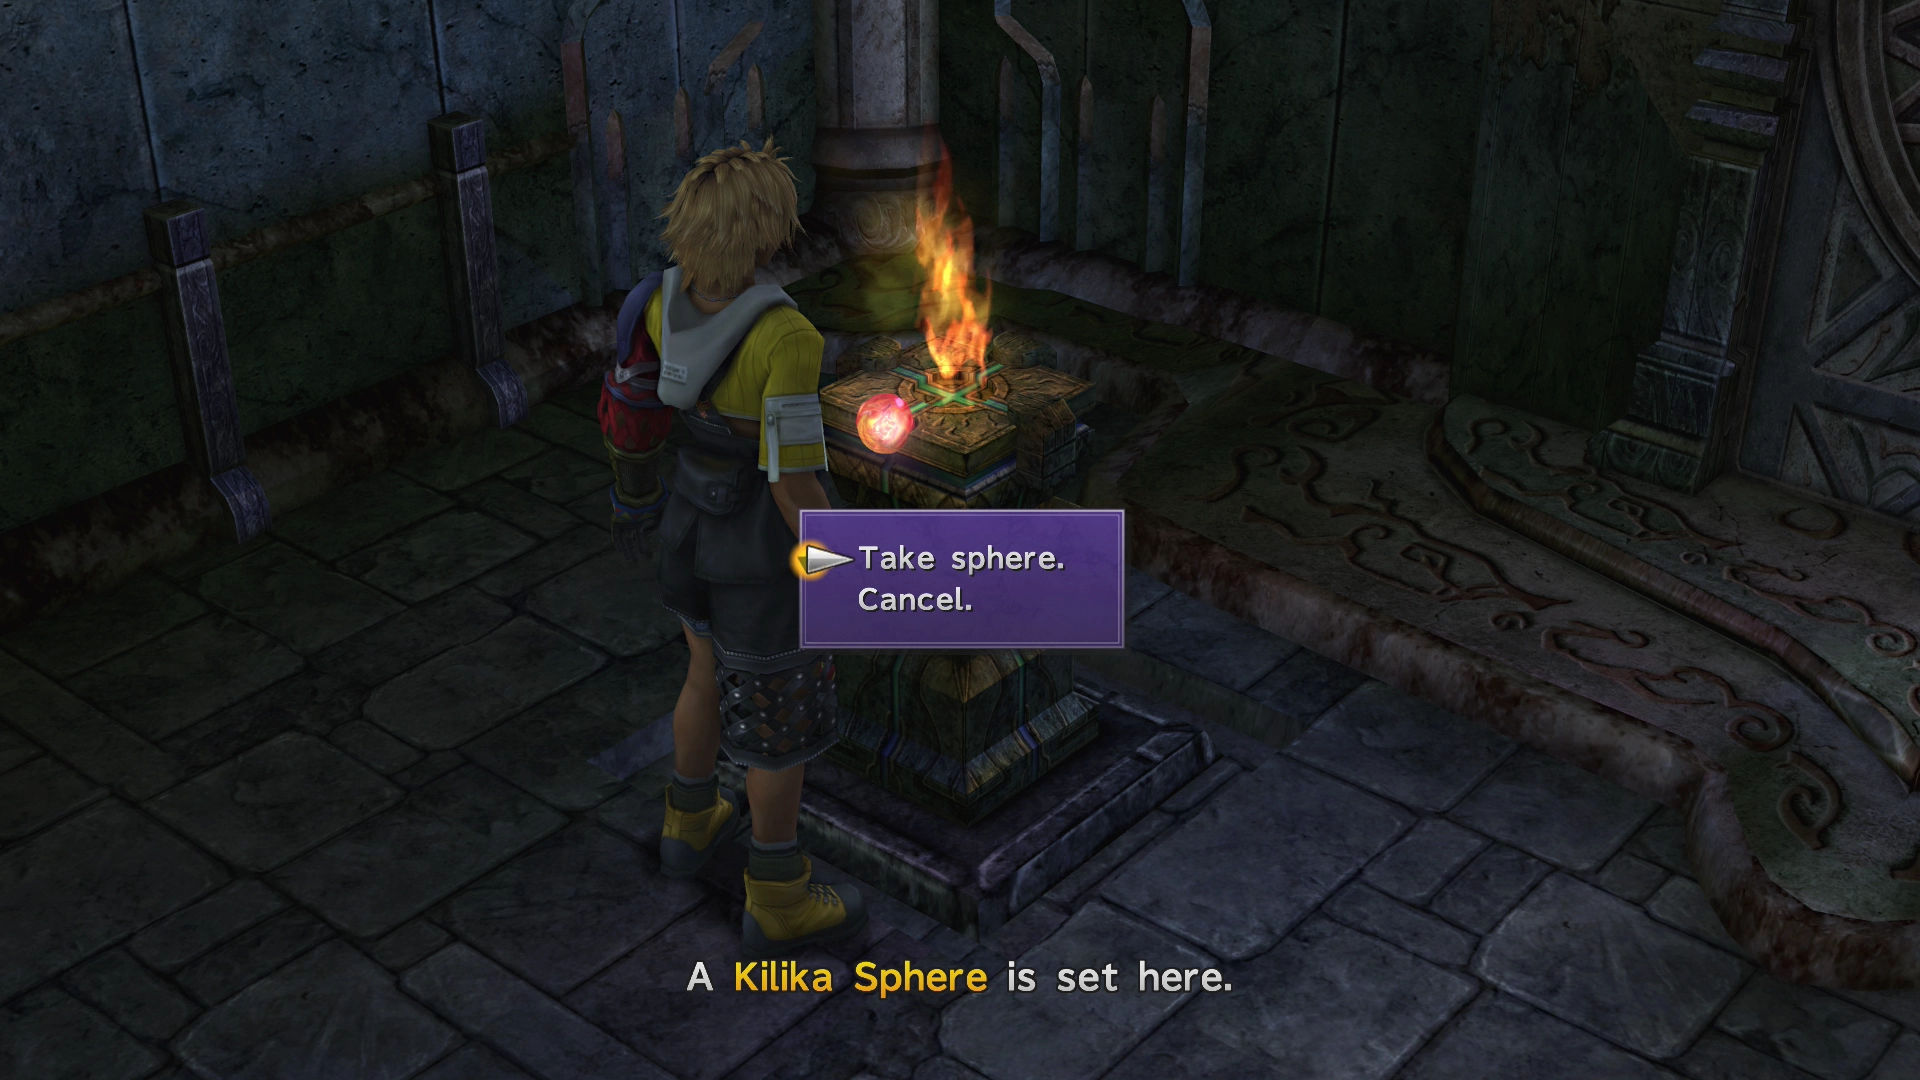
Take the burning Kilika Sphere from the pedestal.
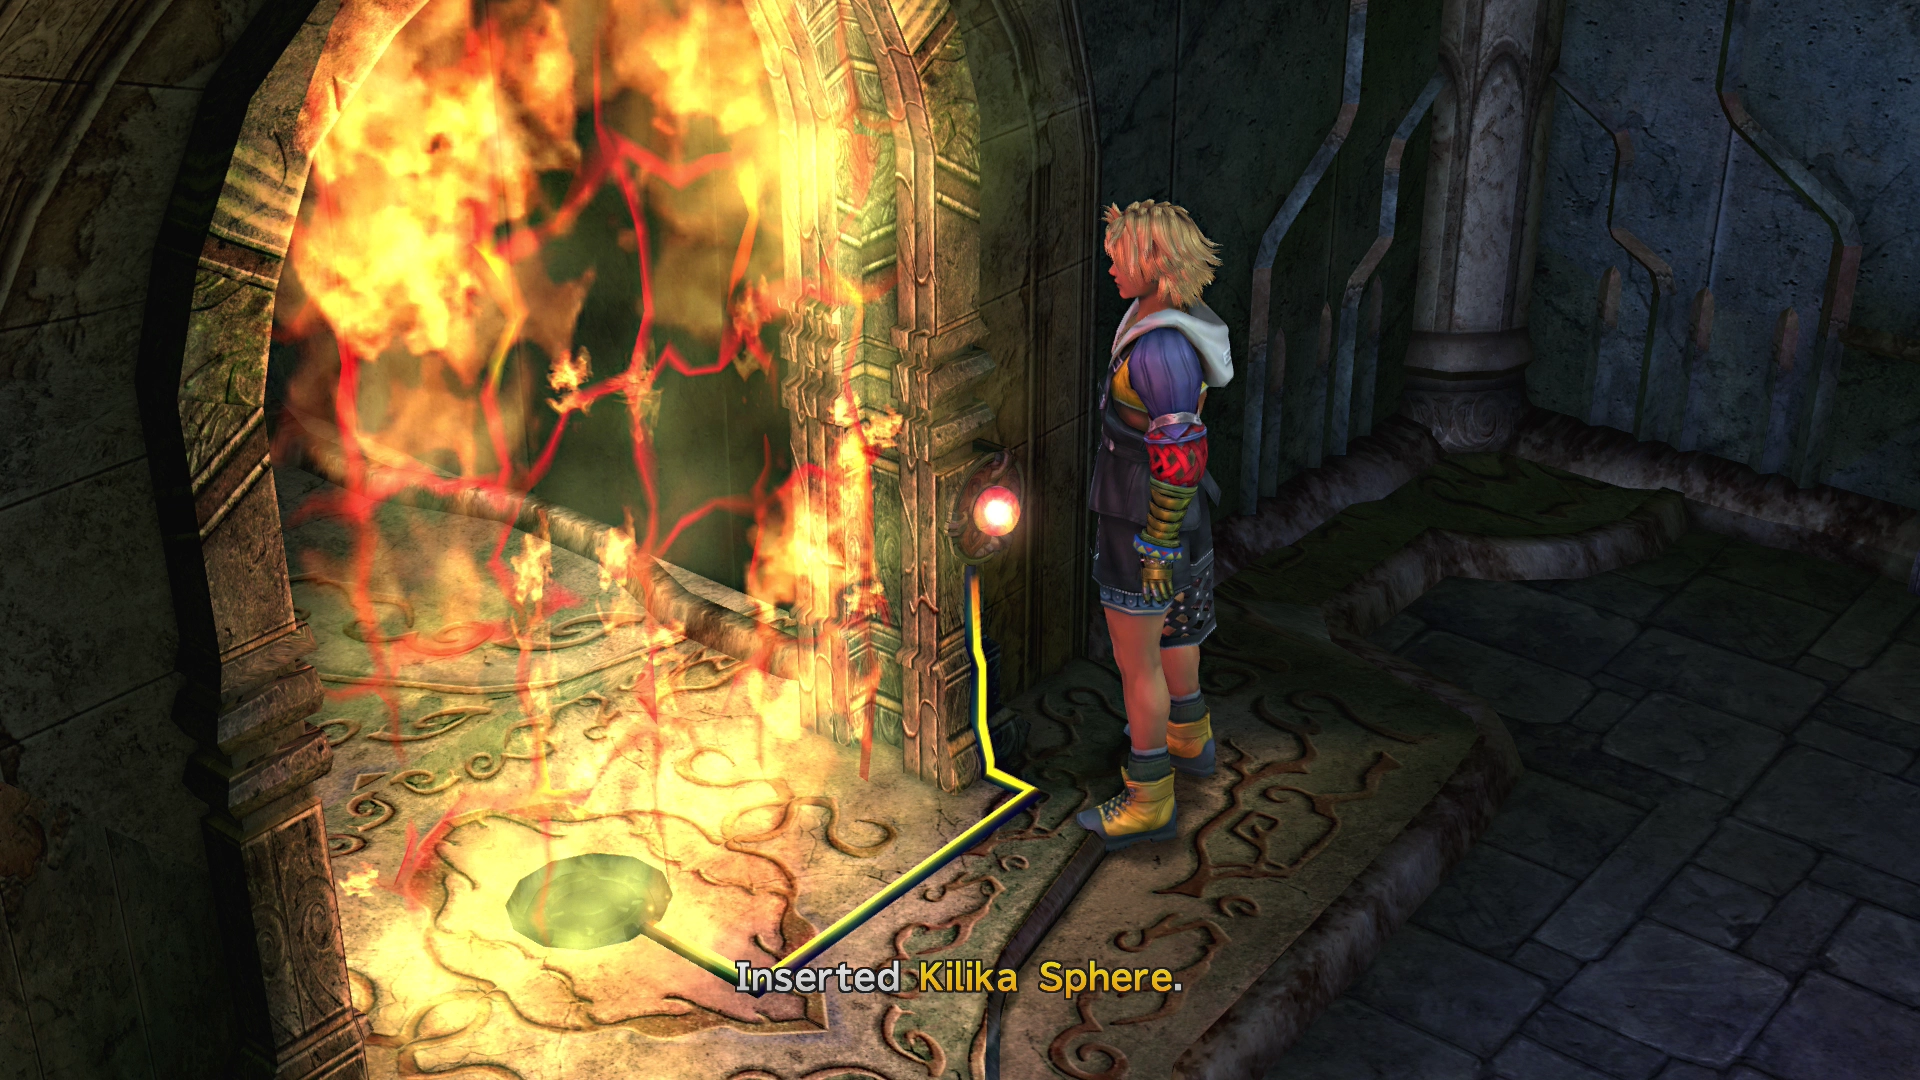
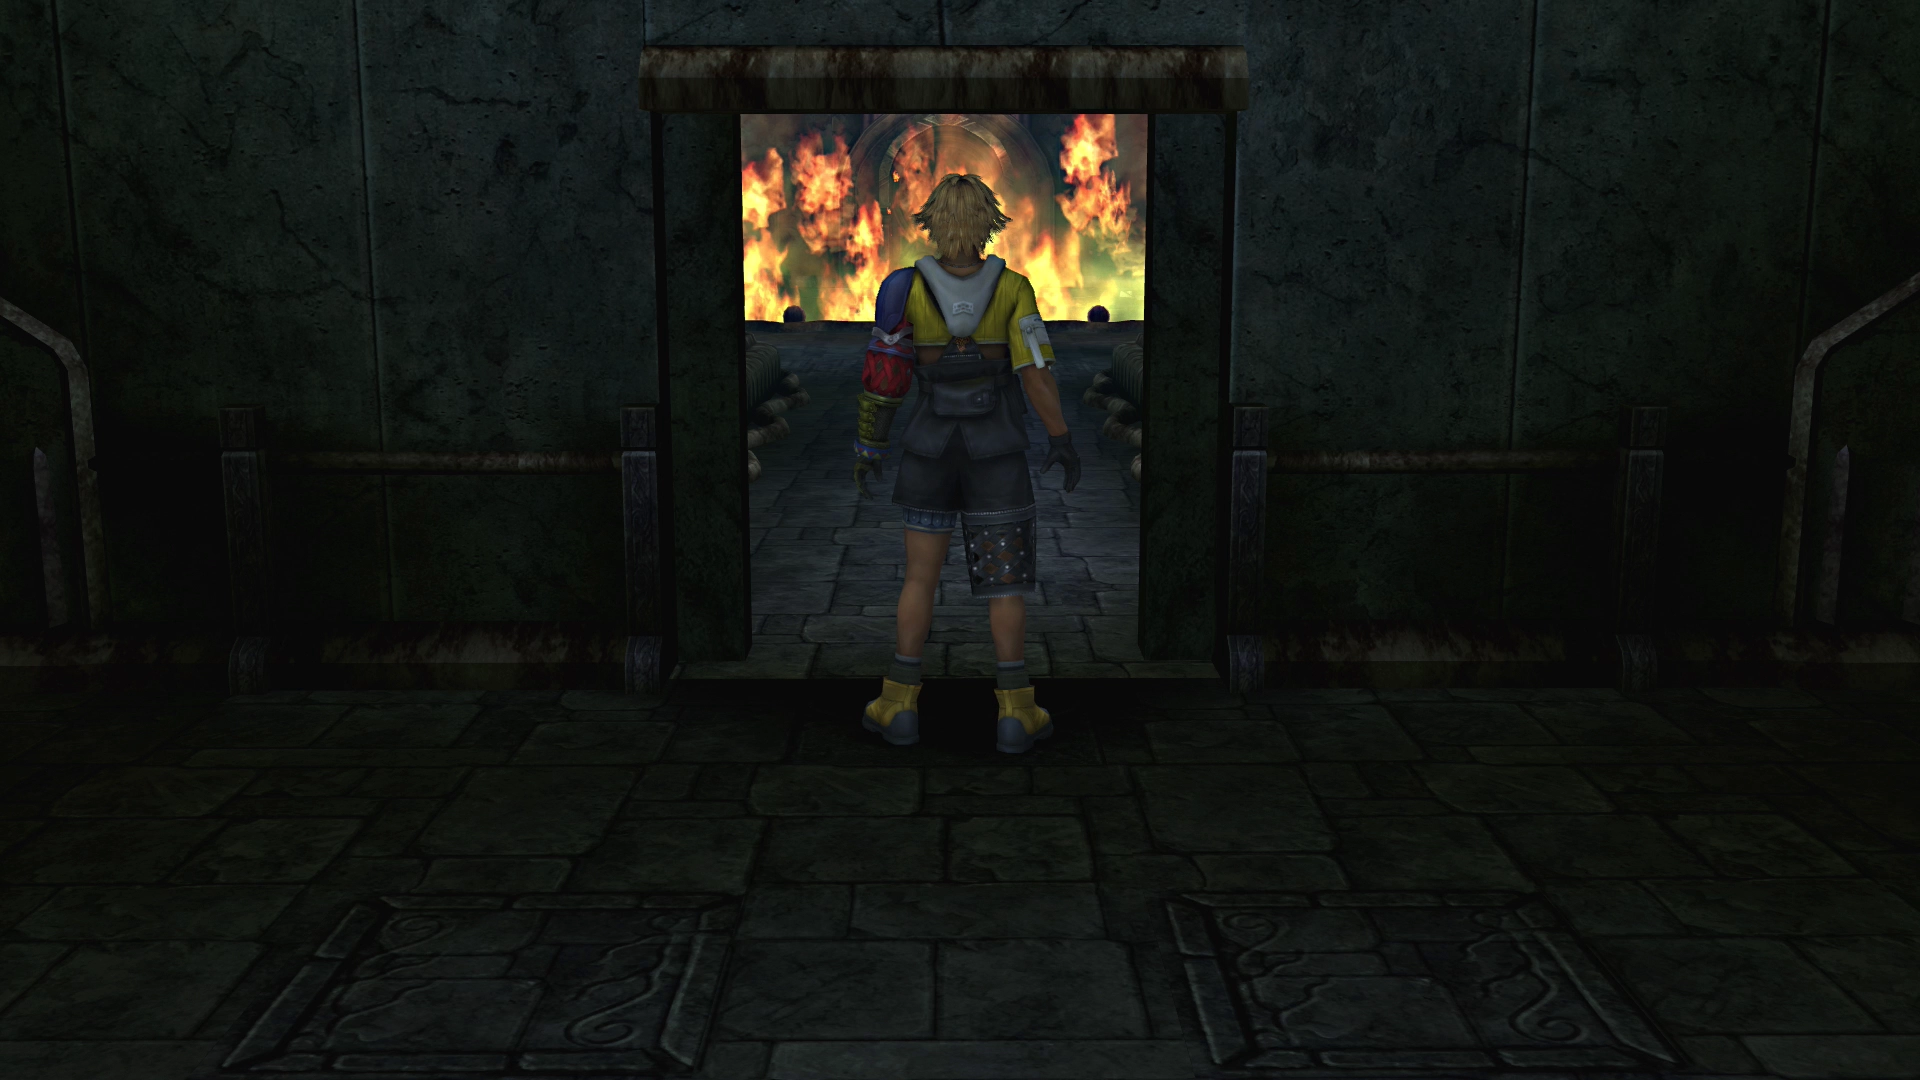
Place it in the door recess at the back. The door partially burns away. Remove the sphere and reinsert it—the rest of the door dissolves. Grab the sphere again and head through.
2. Second Chamber - Reveal the Glyph
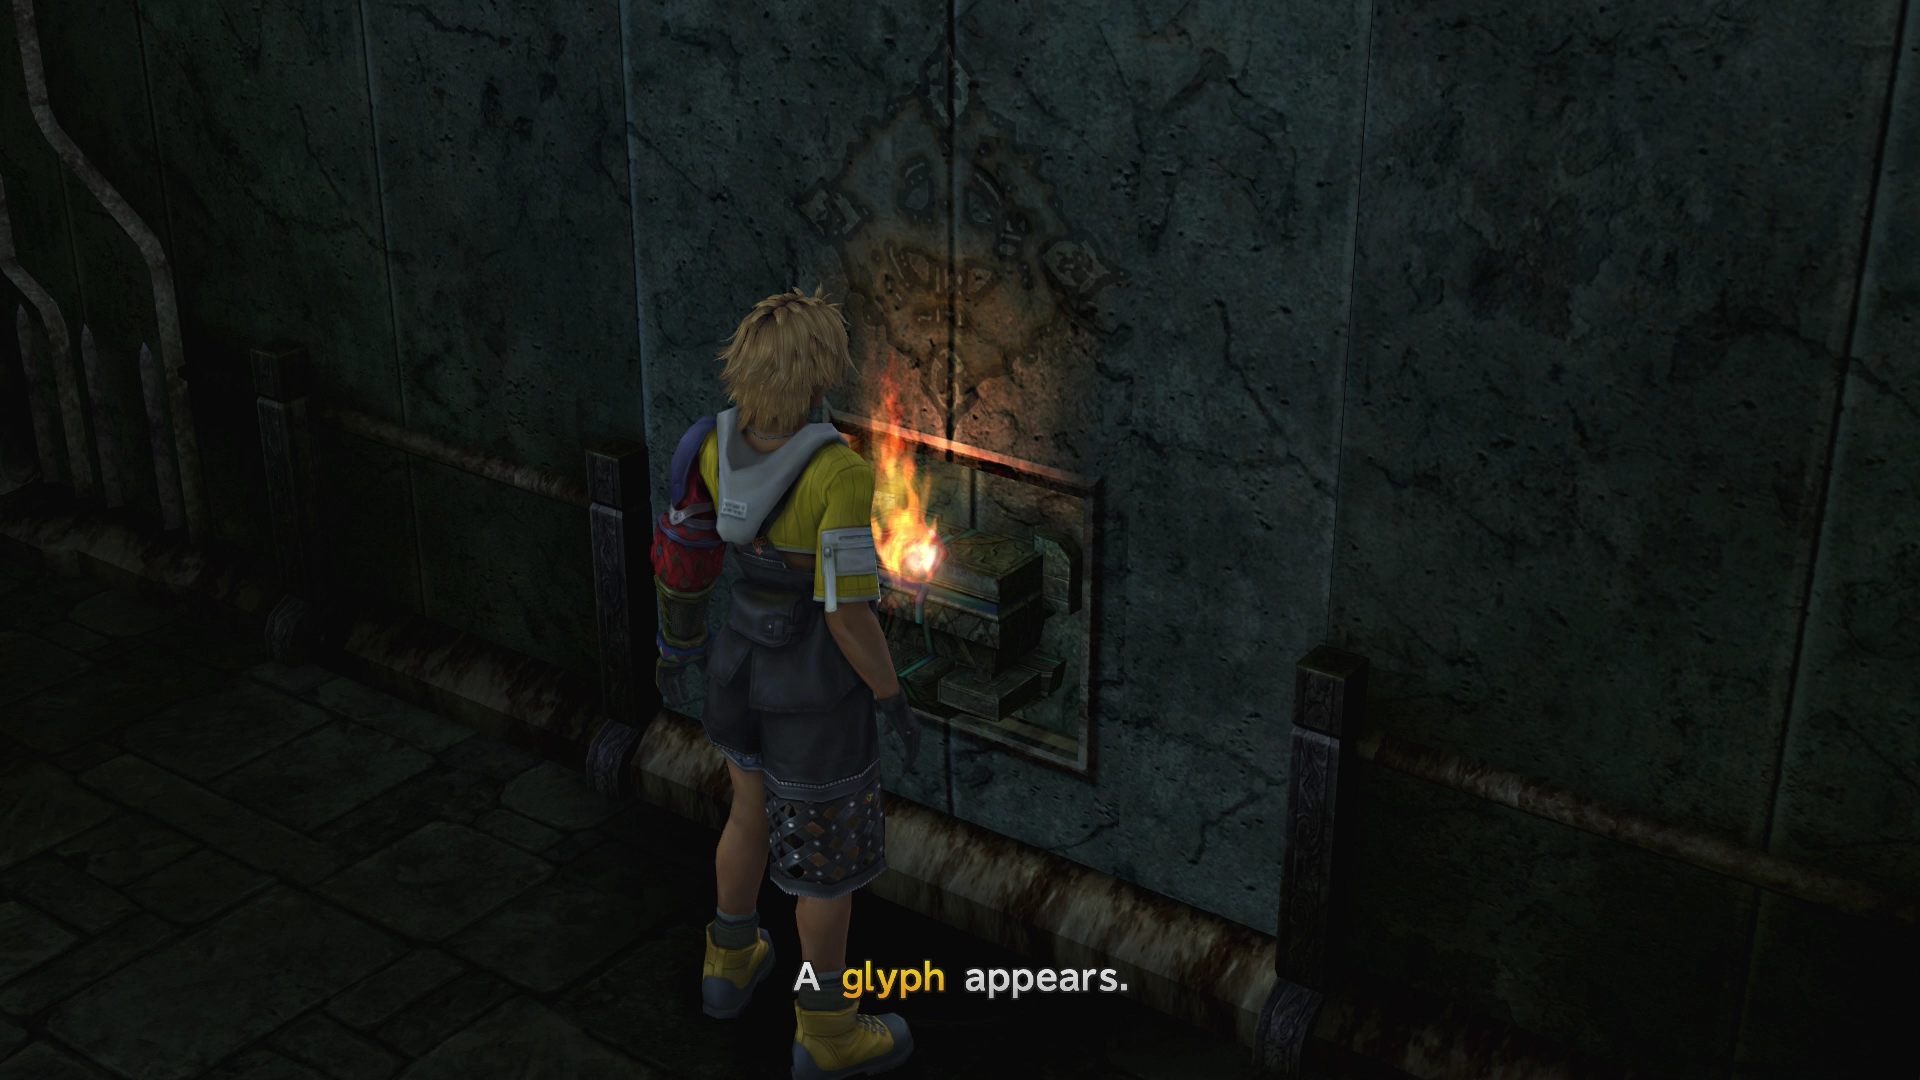
Insert the Kilika Sphere into the back wall recess. This triggers a glyph to appear on the north wall.
Can't touch the glyph while the burning sphere is in there. Remove the Kilika Sphere and place it in one of the two side wall recesses. Touch the glyph to open the next room.
3. Flaming Room - Second Kilika Sphere
Enter the newly accessible chamber. Take the Kilika Sphere from the east wall recess. Return to the previous room and place this sphere in the opposite side recess (so you have one sphere on each side wall).
4. Glyph Sphere - Extinguish the Flames
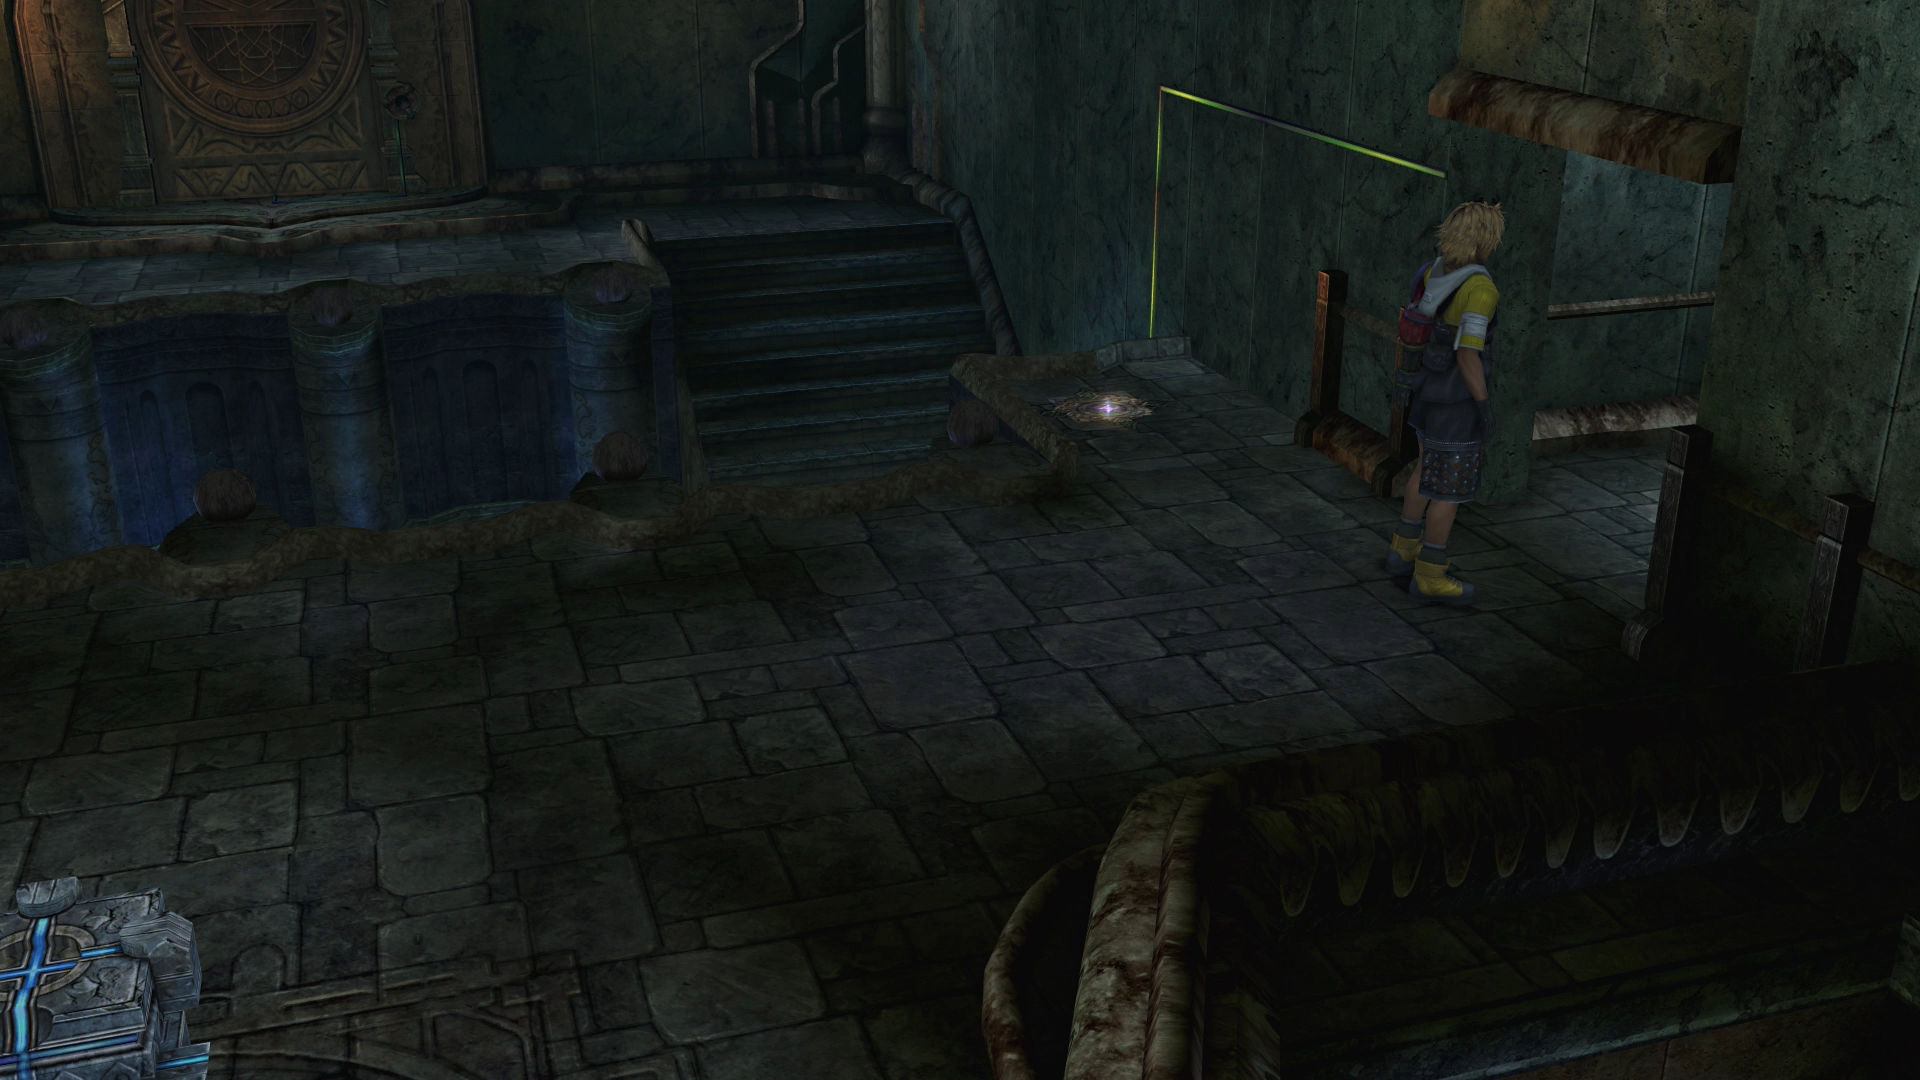
Back in the flaming room, step on the east-side switch to bring a pedestal into this space. Remove the Glyph Sphere from the pedestal and insert it where you took the second Kilika Sphere (east wall recess). Flames go out. A hidden chamber opens up with the Destruction Sphere inside. Leave it for now.
5. Lower the Floor
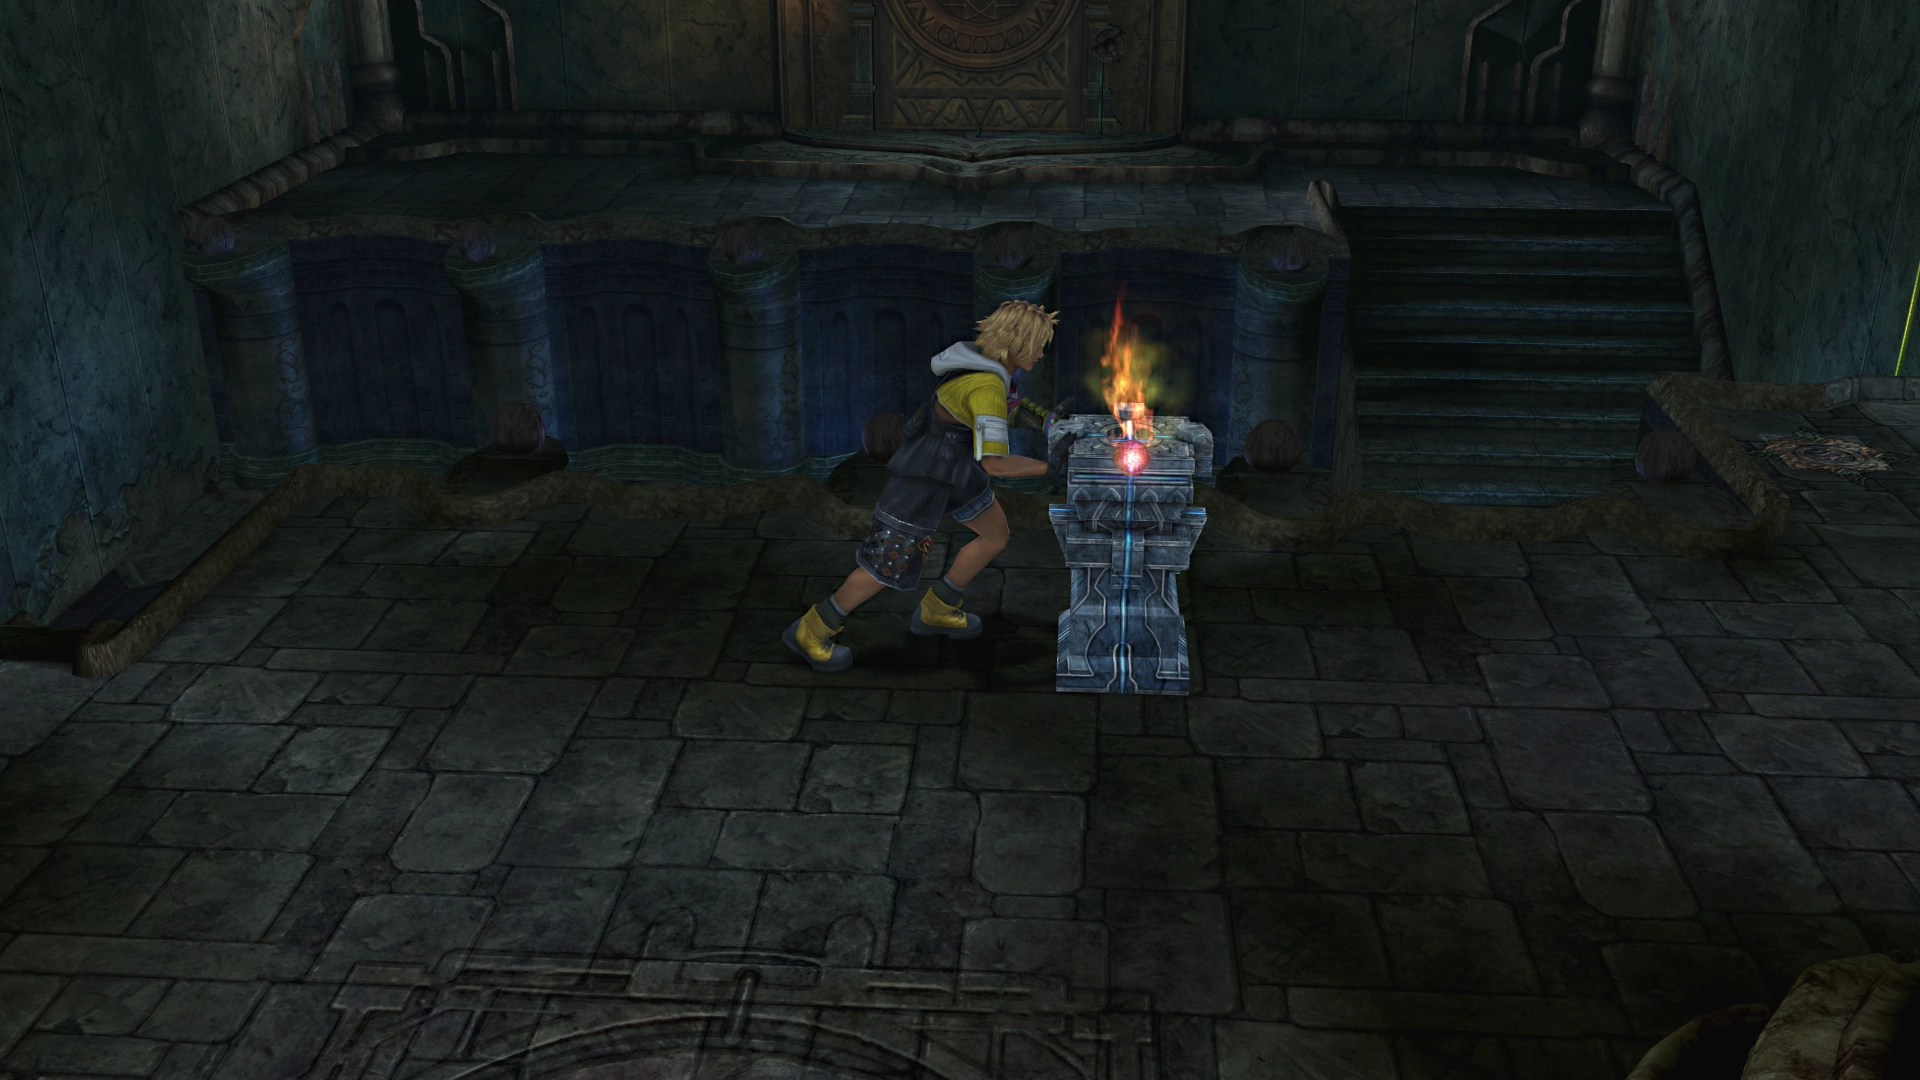
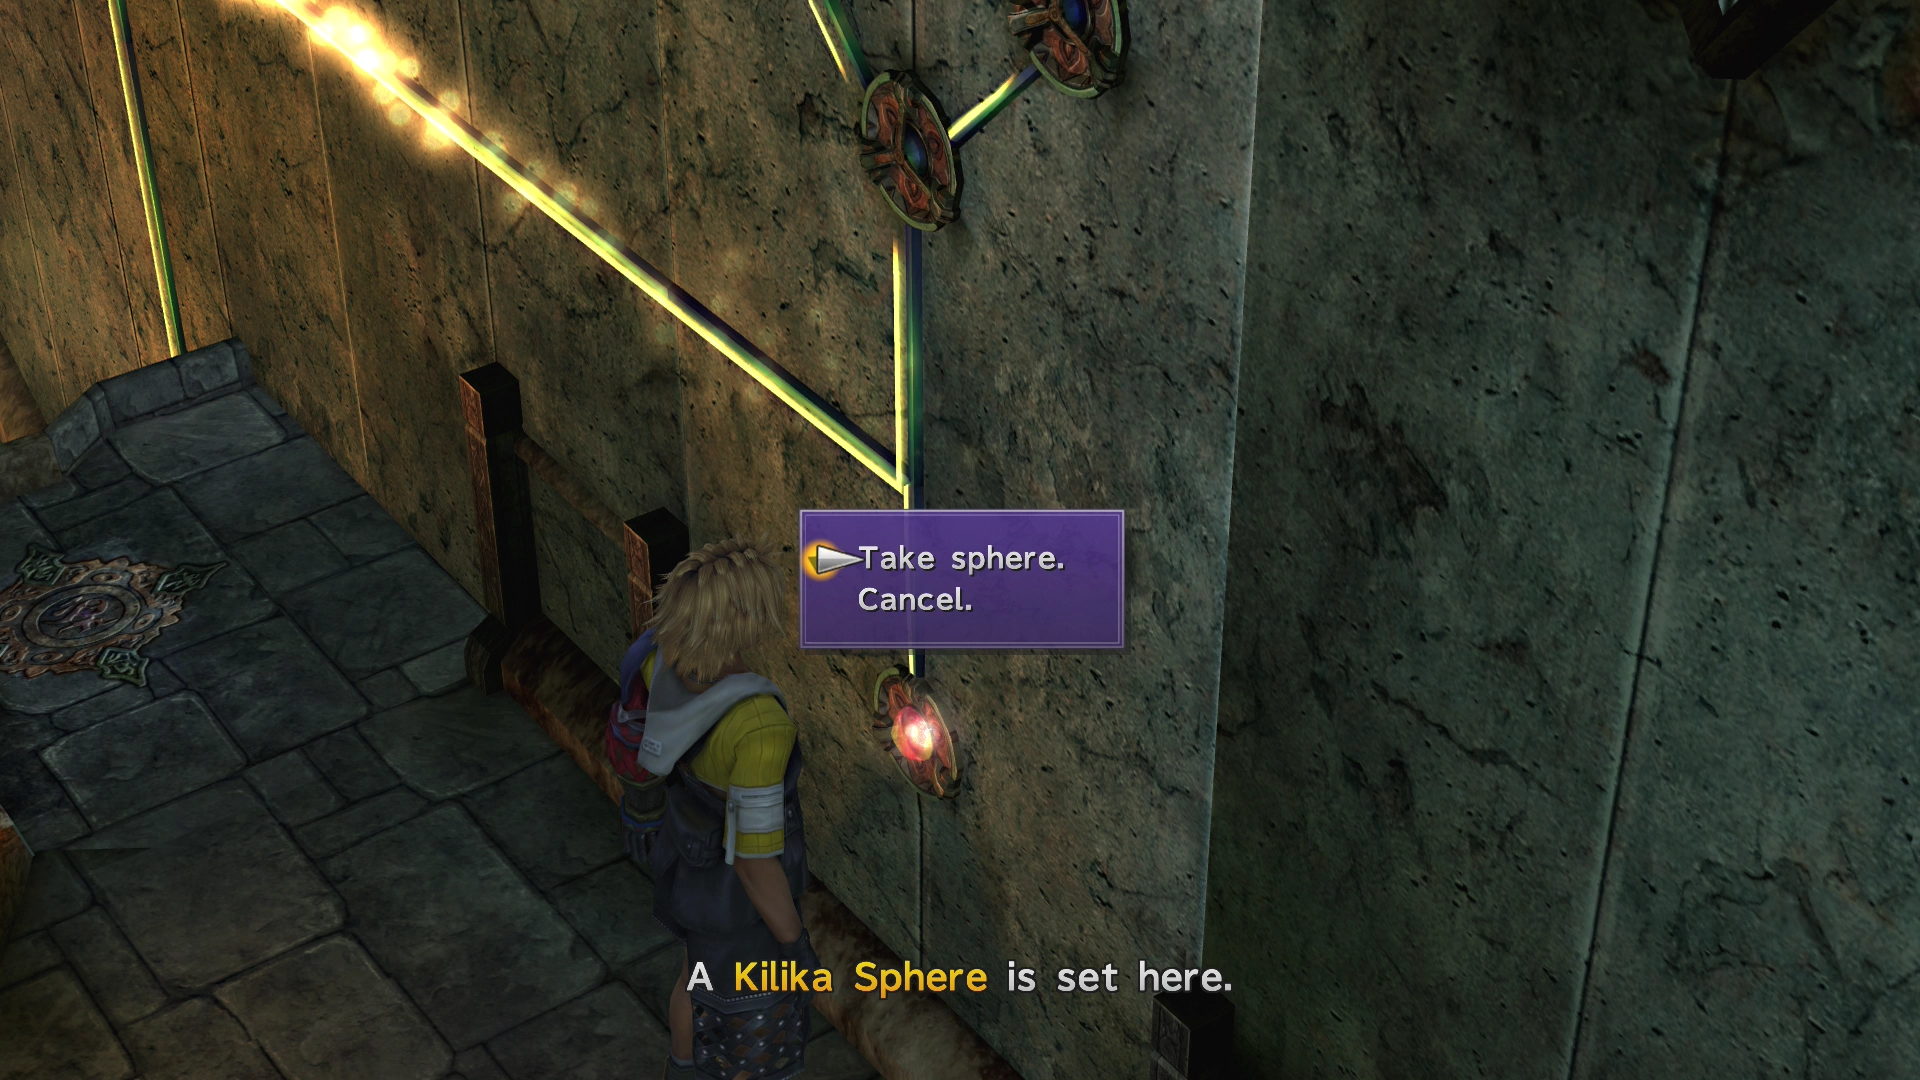
Return to the second chamber and take one of the Kilika Spheres from the side recesses. Place it in the pedestal, then push the pedestal onto the glowing switch. Floor drops. You'll see a new Kilika Sphere in the wall below.
7. Complete the Trial
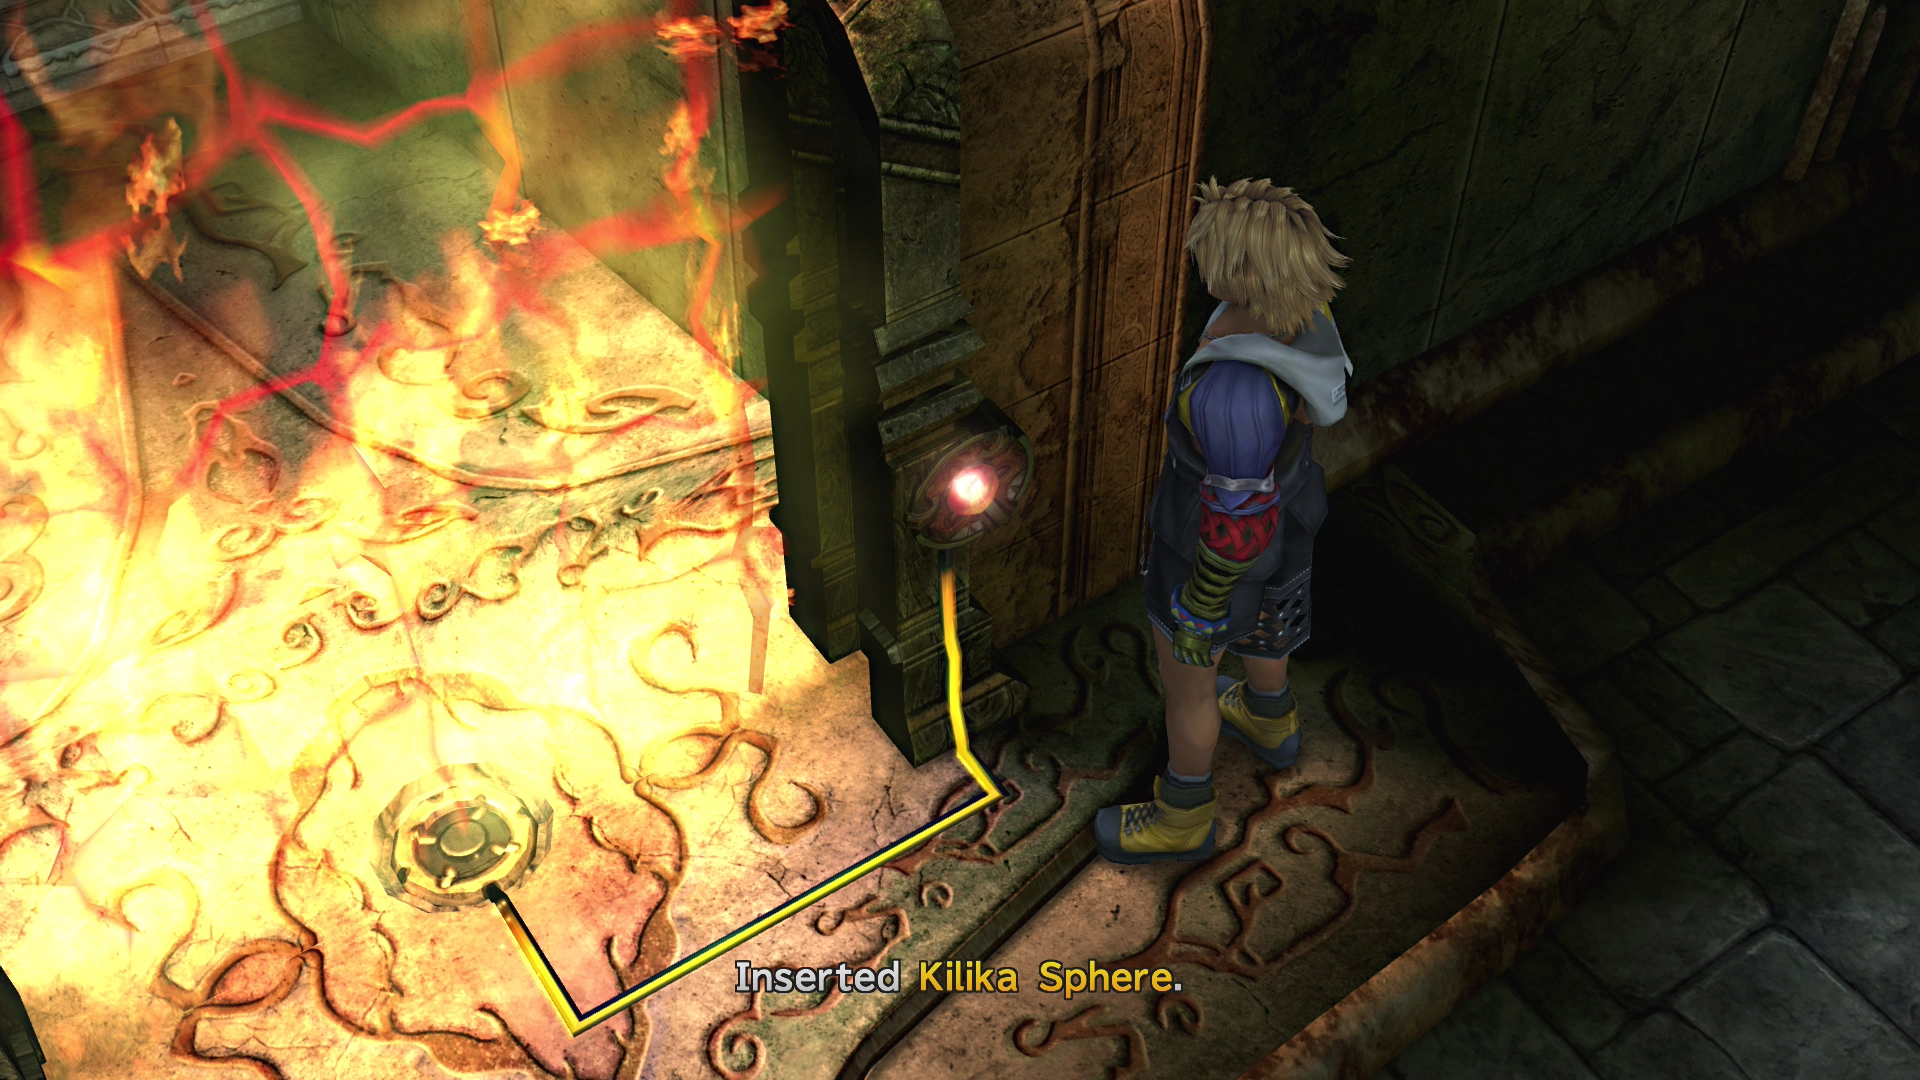
Collect the Red Armlet. Remove the final Kilika Sphere from the door and head through to the Chamber of the Fayth.
Quick Summary
- Take Kilika Sphere from pedestal → insert in door twice to dissolve it
- Insert sphere in back wall → glyph appears → move sphere to side wall → touch glyph
- Take second Kilika Sphere from new room → place in opposite side wall
- Activate switch → take Glyph Sphere from pedestal → insert where second sphere was → flames out, Destruction Sphere revealed
- Take side sphere → put in pedestal → push onto switch → floor lowers
- Take revealed sphere → insert in door → get Destruction Sphere → reveals Red Armlet
- Remove door sphere → enter Chamber of the Fayth
After the Trial: Yuna emerges with her second Aeon, Ifrit. Outside the temple, you'll face Sinspawn Geneaux.
