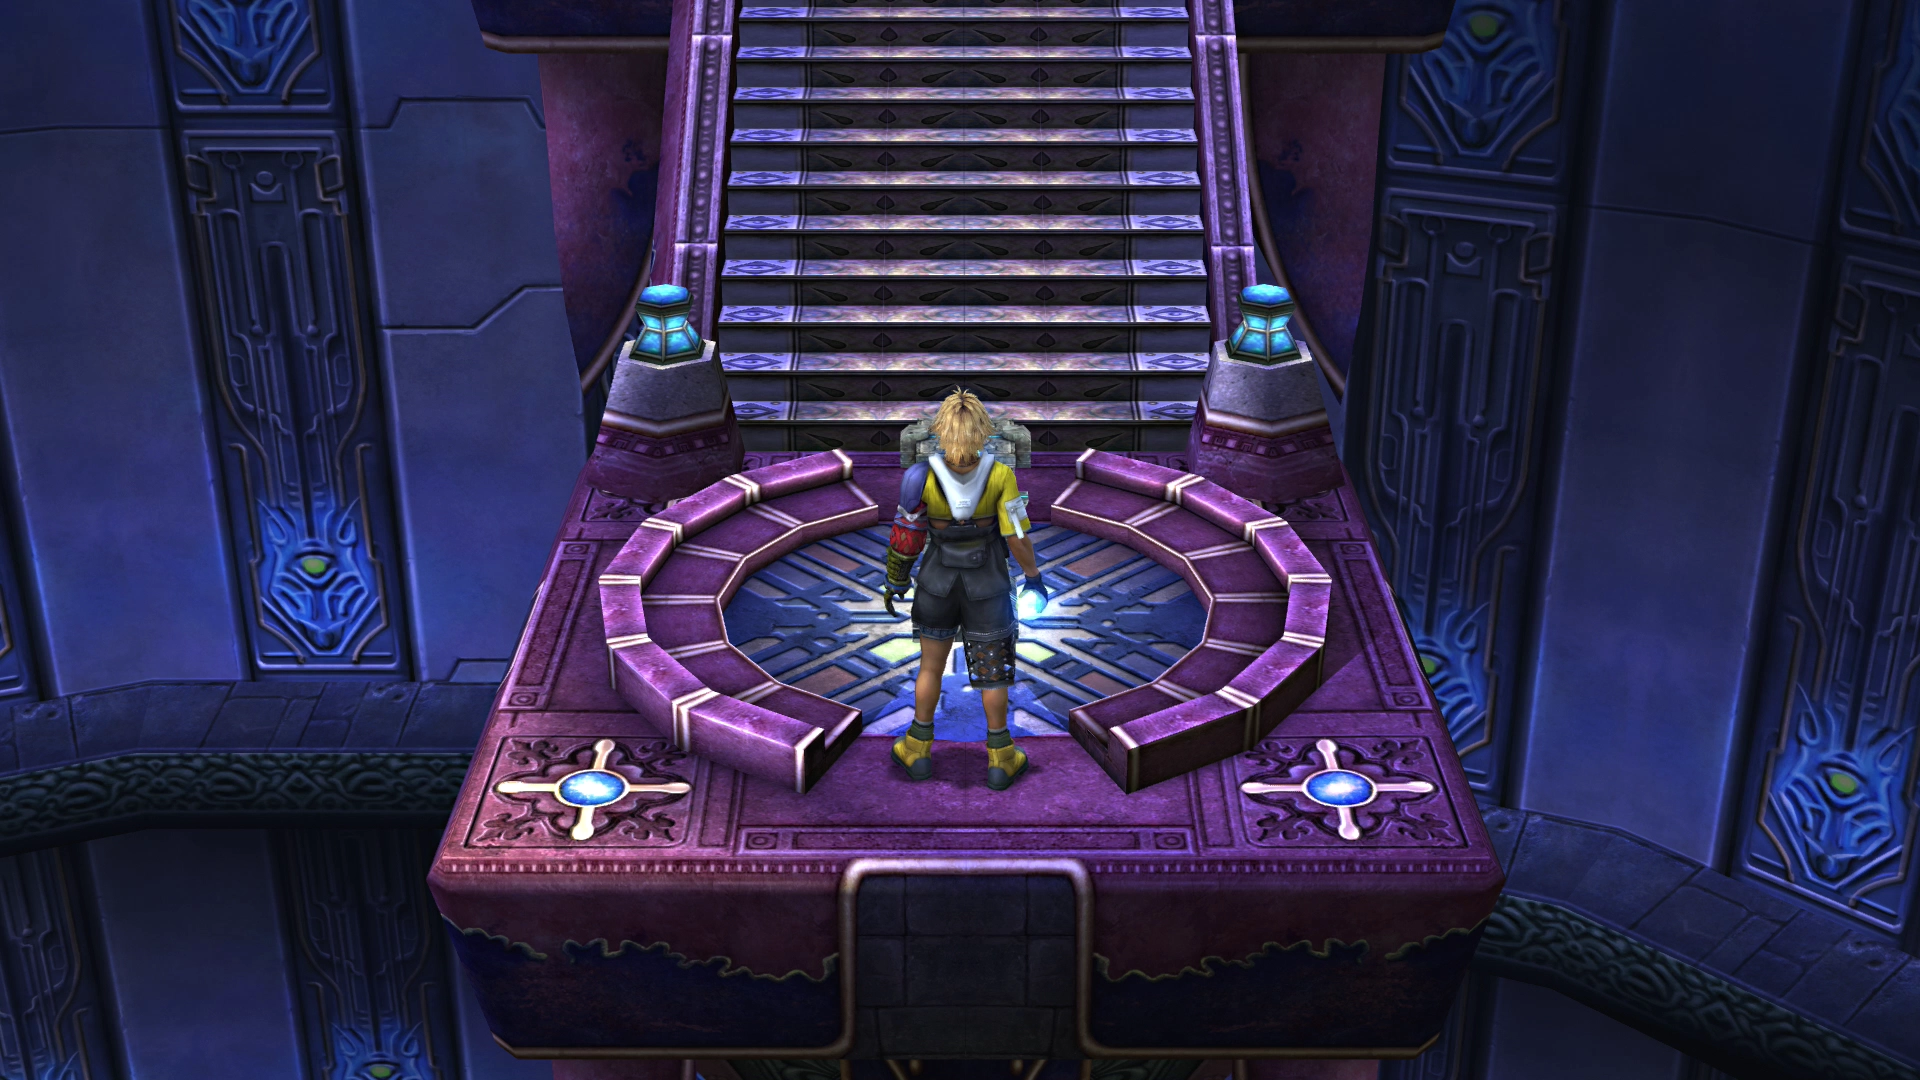
Bevelle's Cloister of Trials is the fifth temple puzzle in FFX. It's completely different from the others - instead of walking around, you'll ride a moving platform through the trial. Press directional buttons at the right moments to change where you're going. Don't skip the Destruction Sphere treasure (HP Sphere) if you want Anima later; you can't come back here.
Step-by-Step Solution
1. Activate the Platform
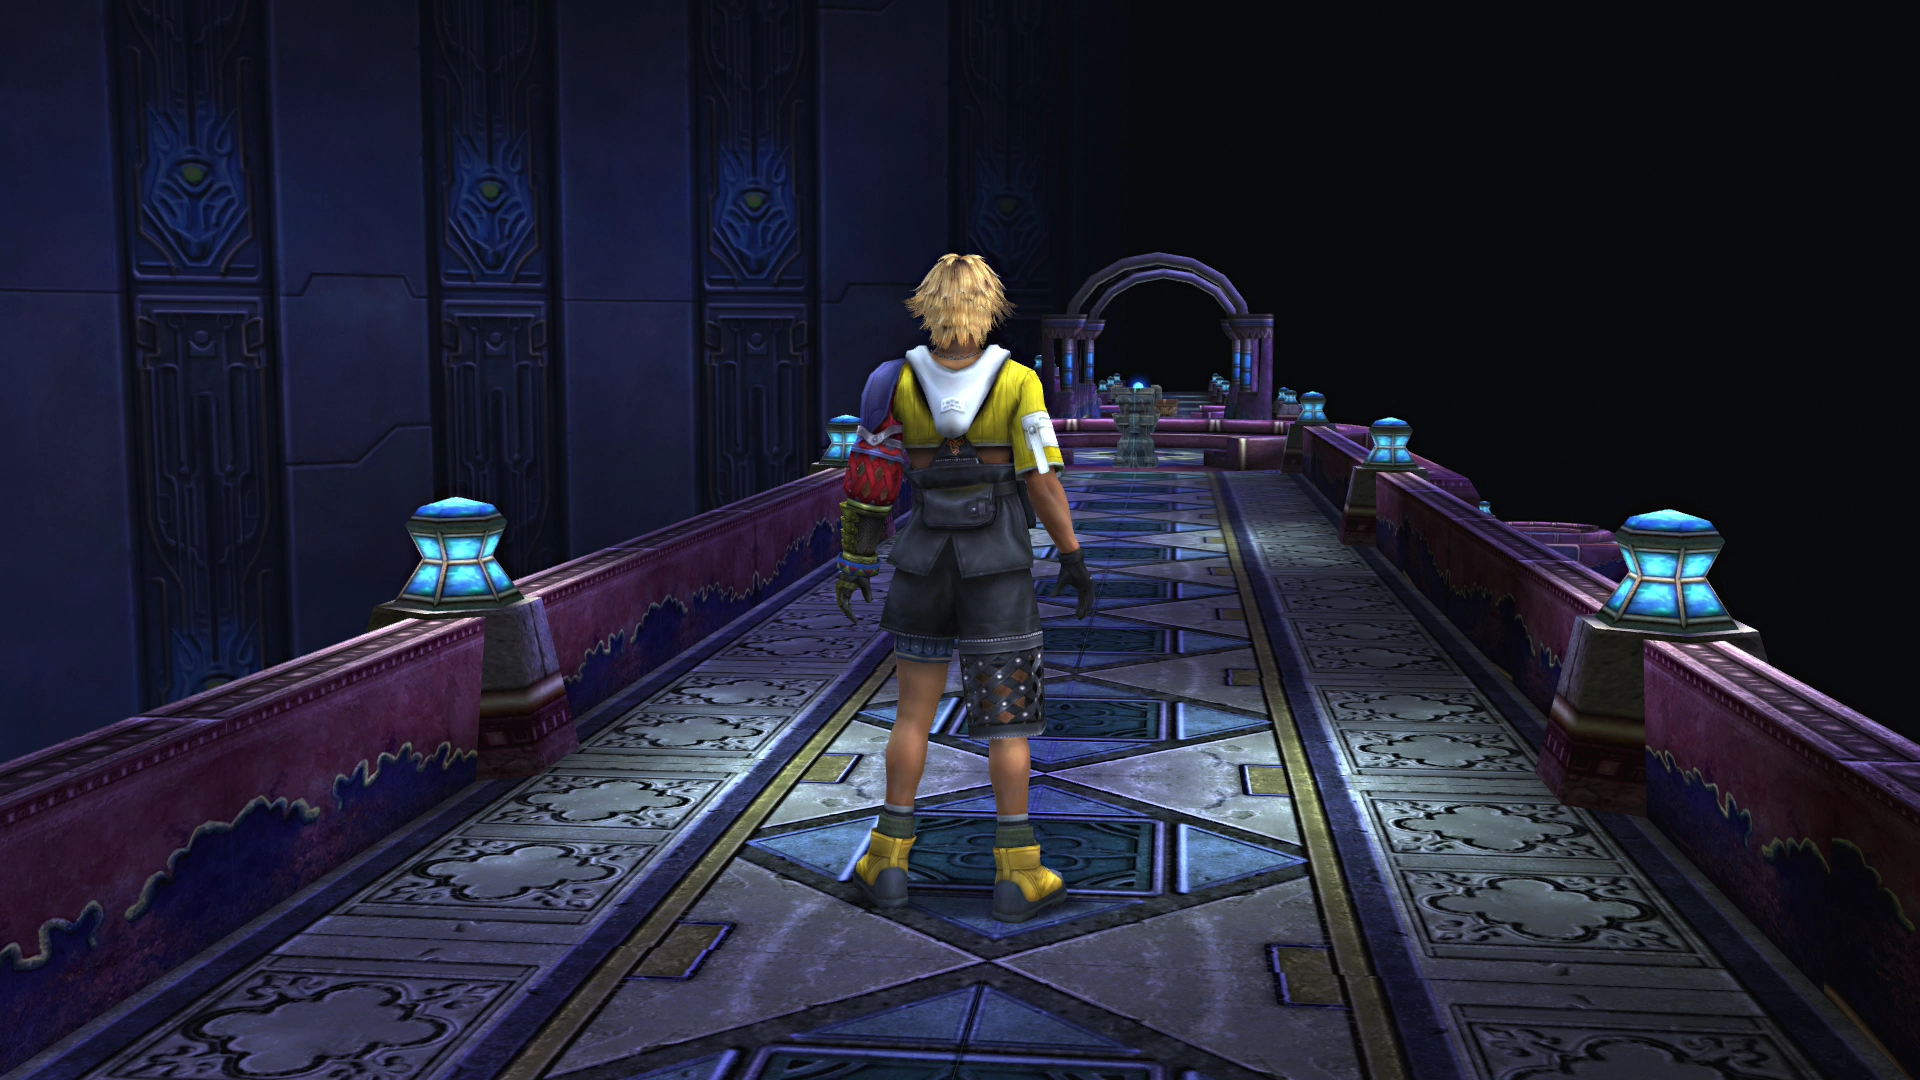
Push the pedestal in front of you to the center of the platform. That's it - you're now riding through the cloister.
2. First Stop - Collect the Bevelle Sphere
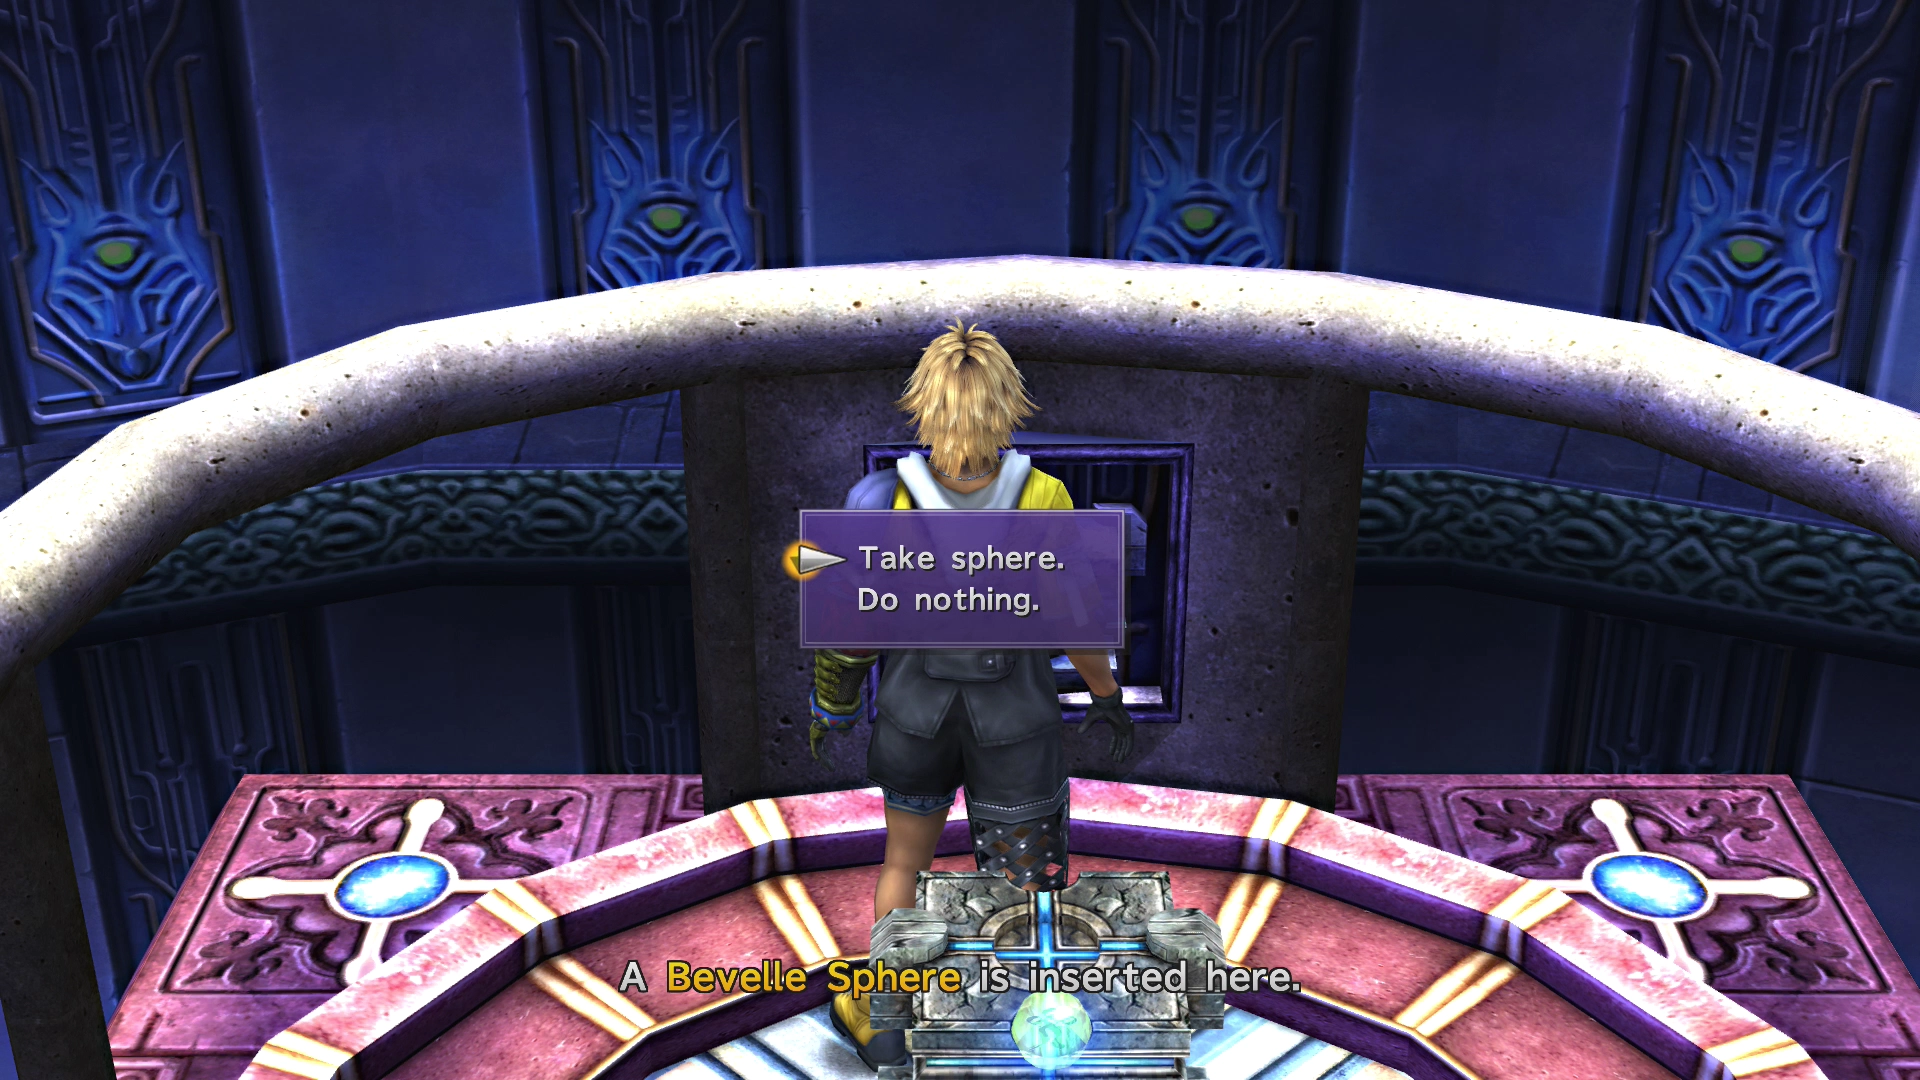
First stop. Grab the Bevelle Sphere from the wall recess, then push the pedestal back onto the track.
3. Second Stop - Insert the Sphere
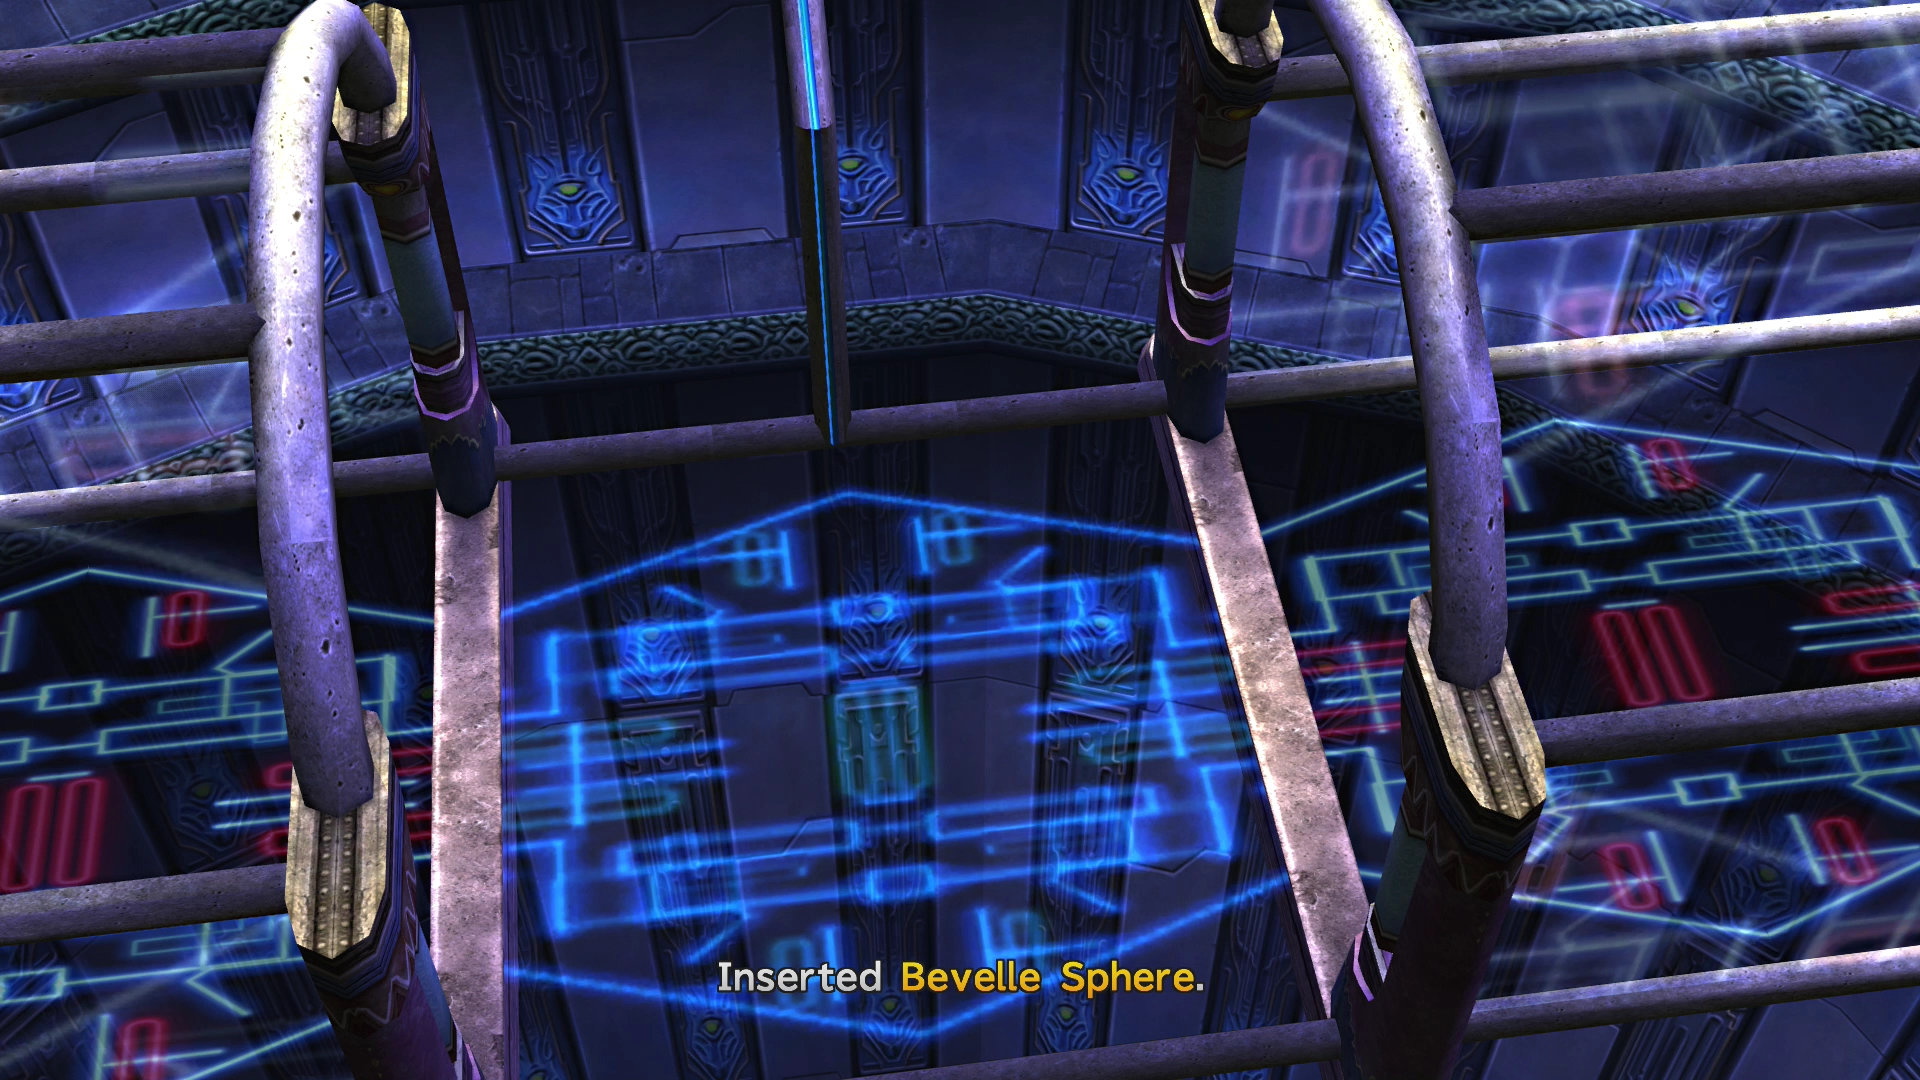
Ride to area 2 and insert the Bevelle Sphere into the wall recess. A track section appears at area 3 - you'll need this later.
4. Third Stop - Second Bevelle Sphere
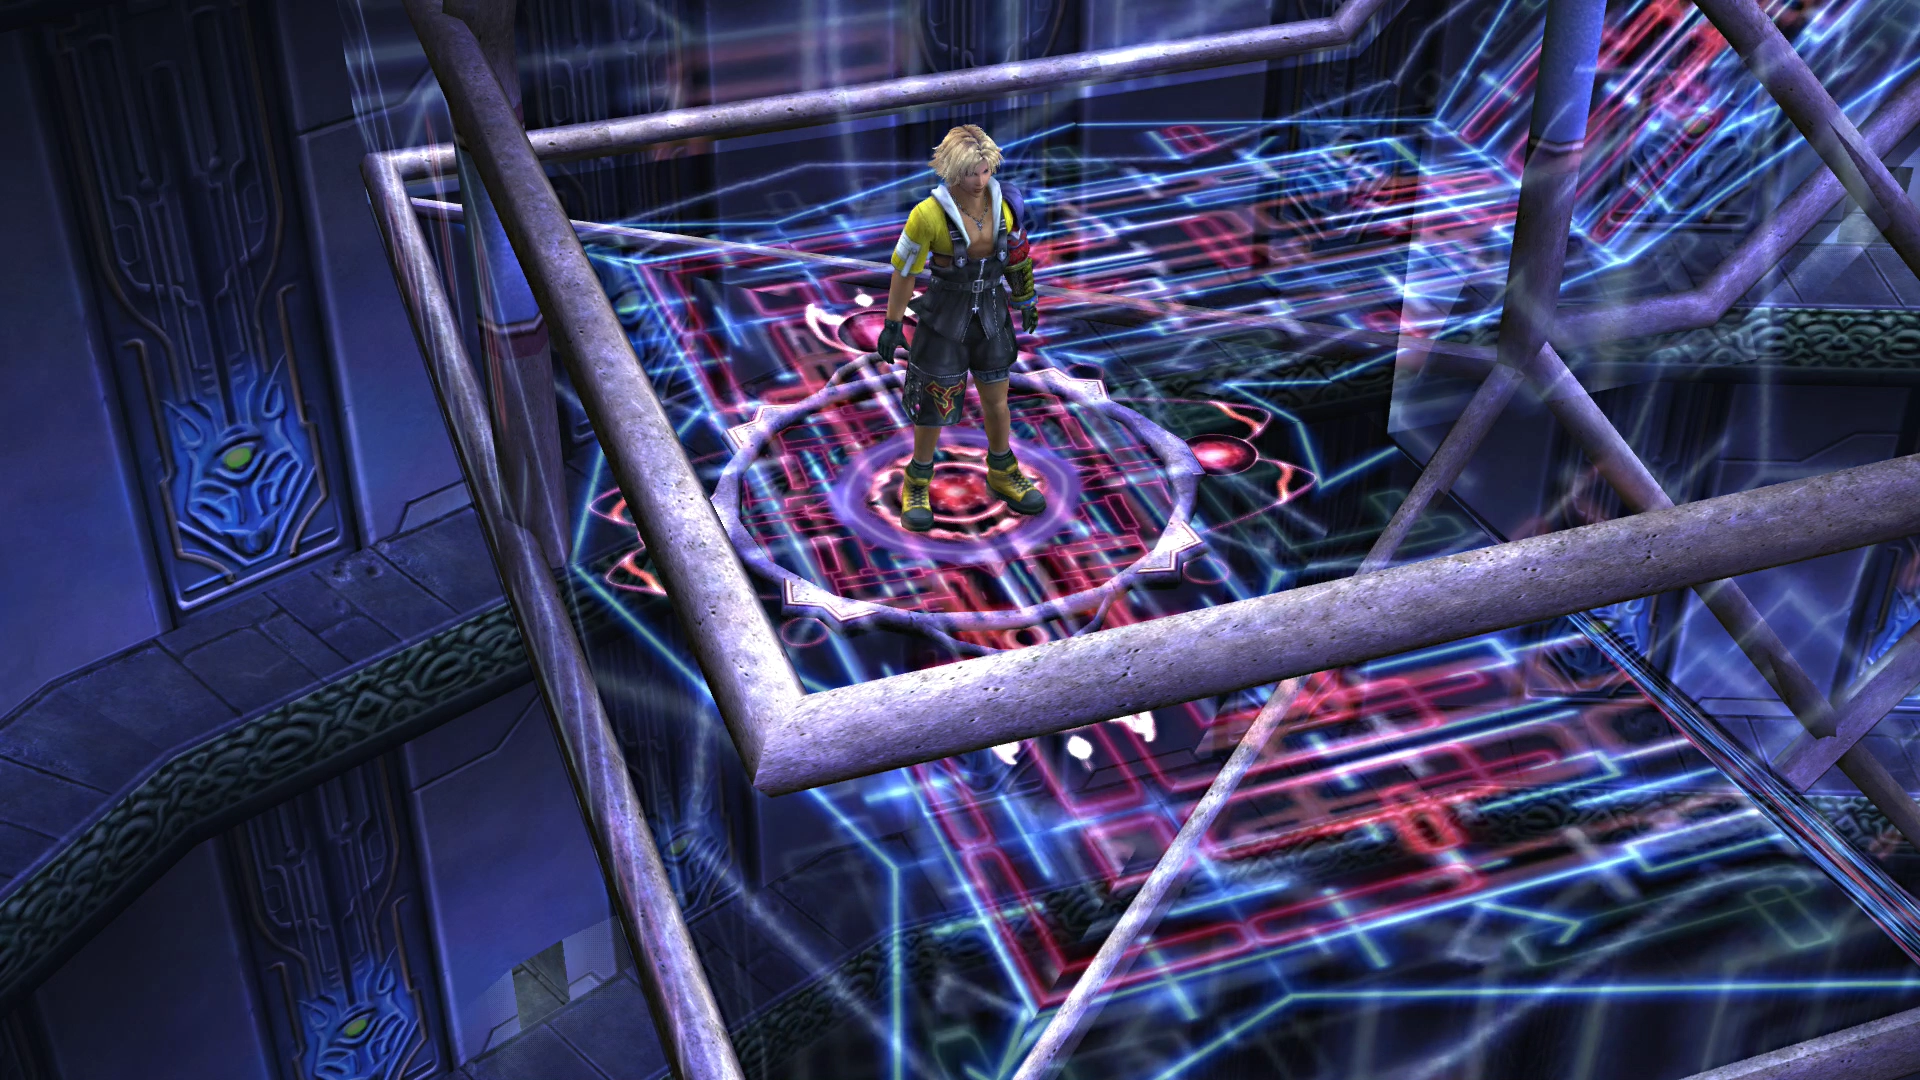
Push the pedestal back onto the track and ride to area 4. Take the second Bevelle Sphere from the wall. Push the pedestal back on the track again.
5. Fourth Stop - Create the Pathway
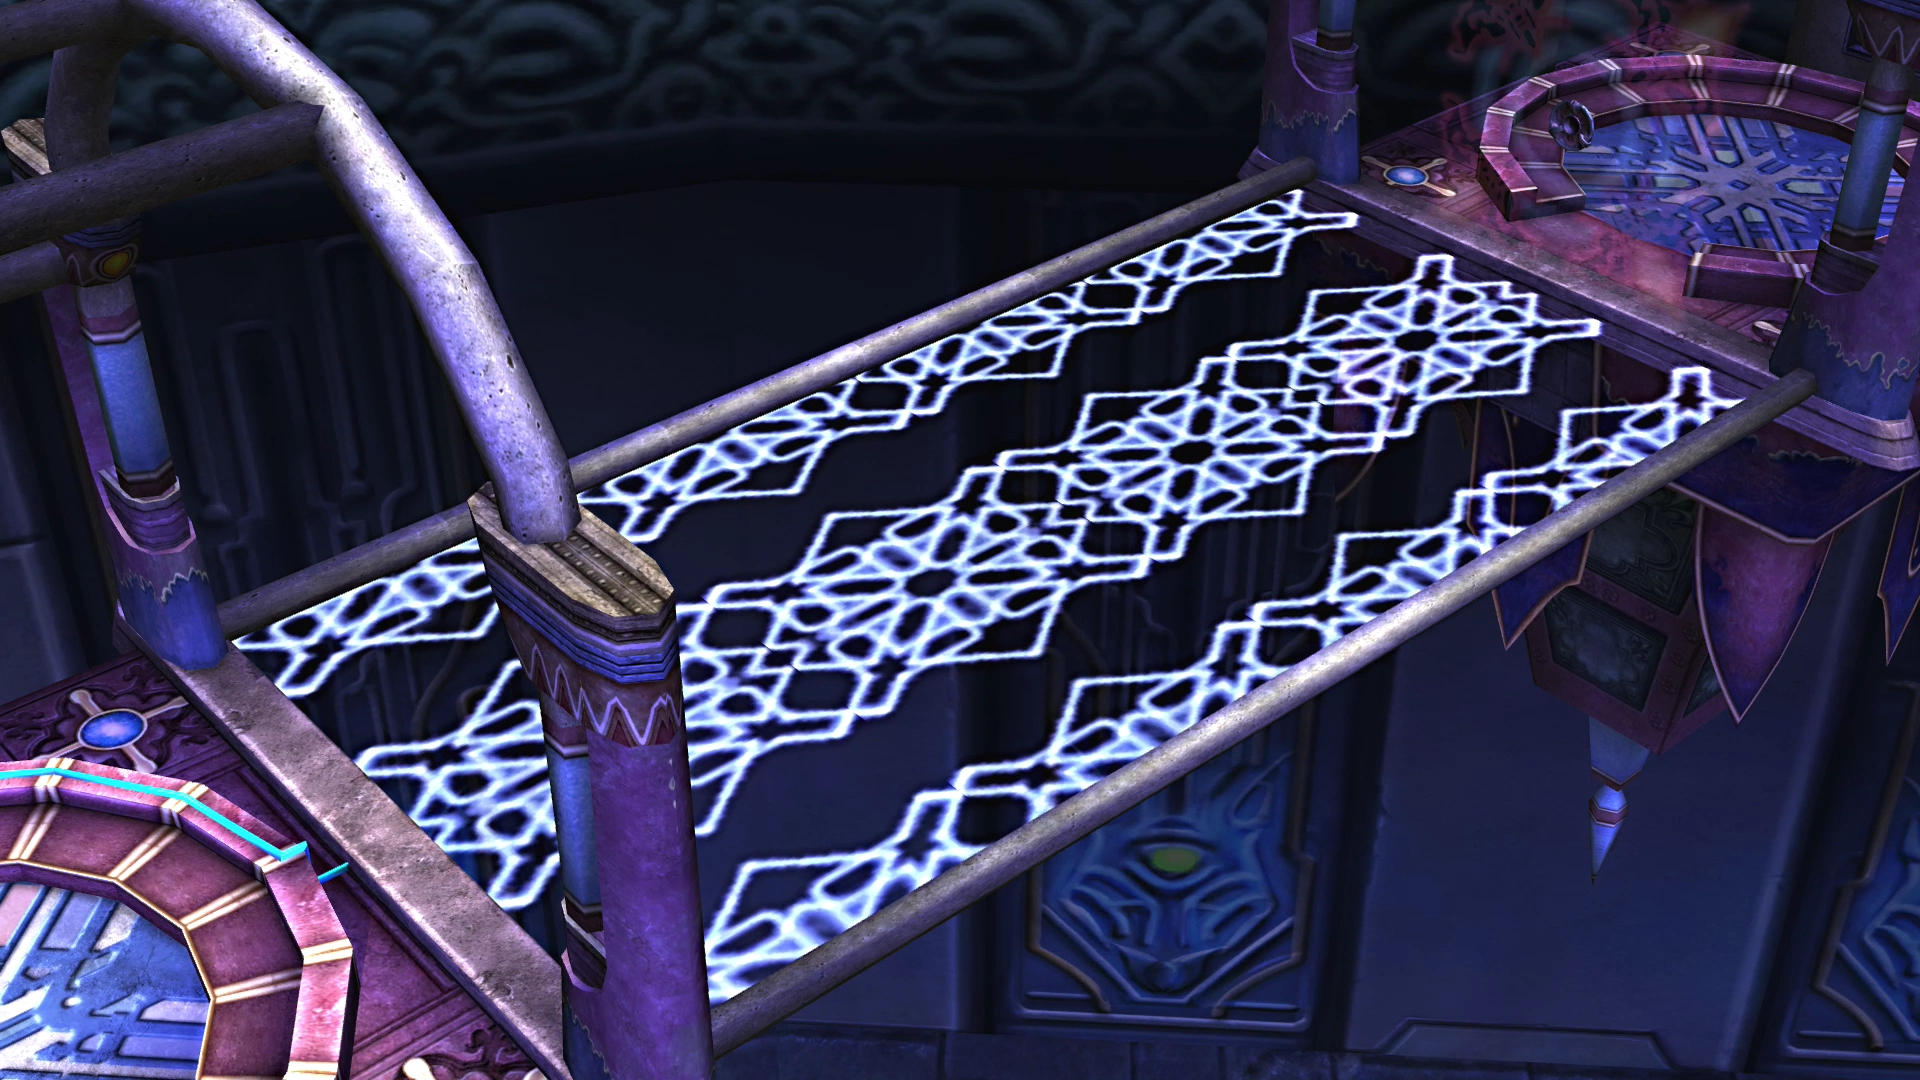
Head toward area 5. Press the directional button repeatedly as you approach the fork - timing matters here. Insert the Bevelle Sphere into the left wall recess. A glowing walkway lights up.
6. Fifth Stop - Glyph Sphere
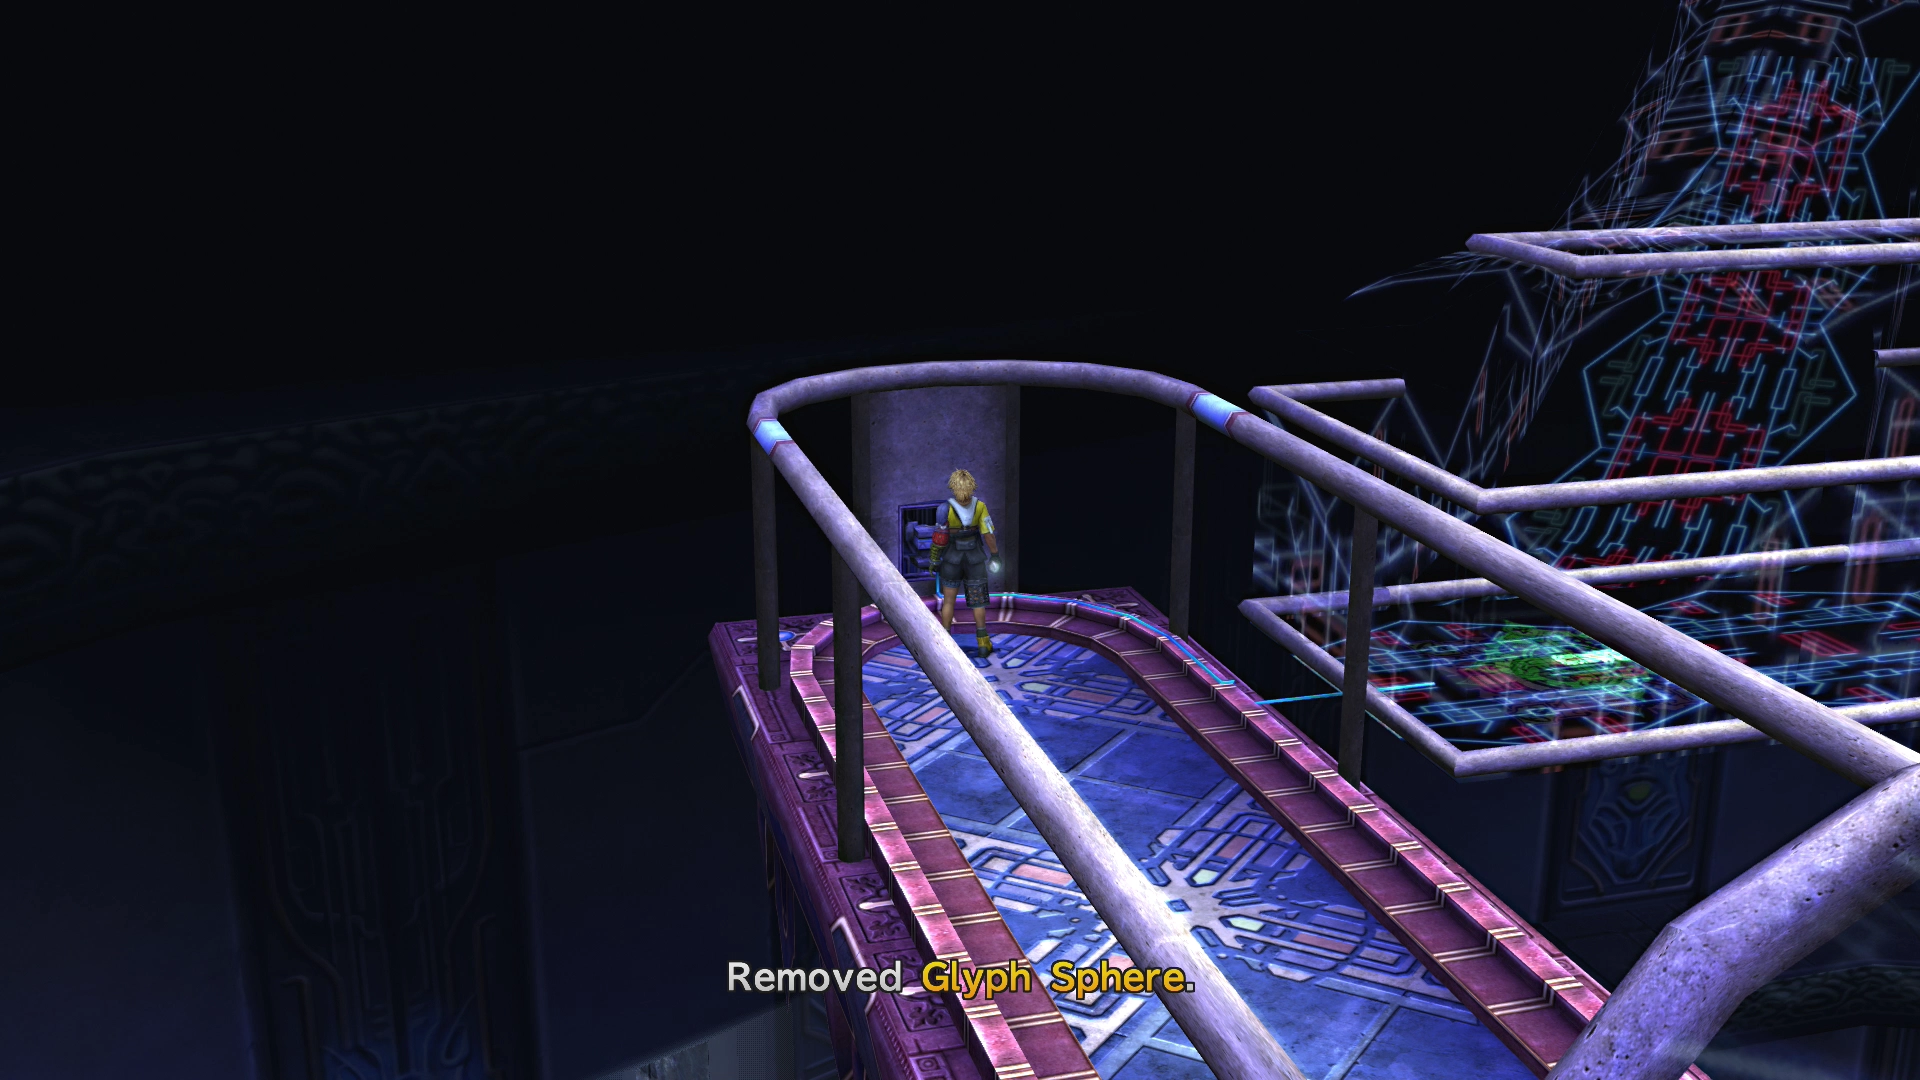
Push the pedestal and ride to area 6. Take the Glyph Sphere from the wall.
7. Reveal the Destruction Sphere
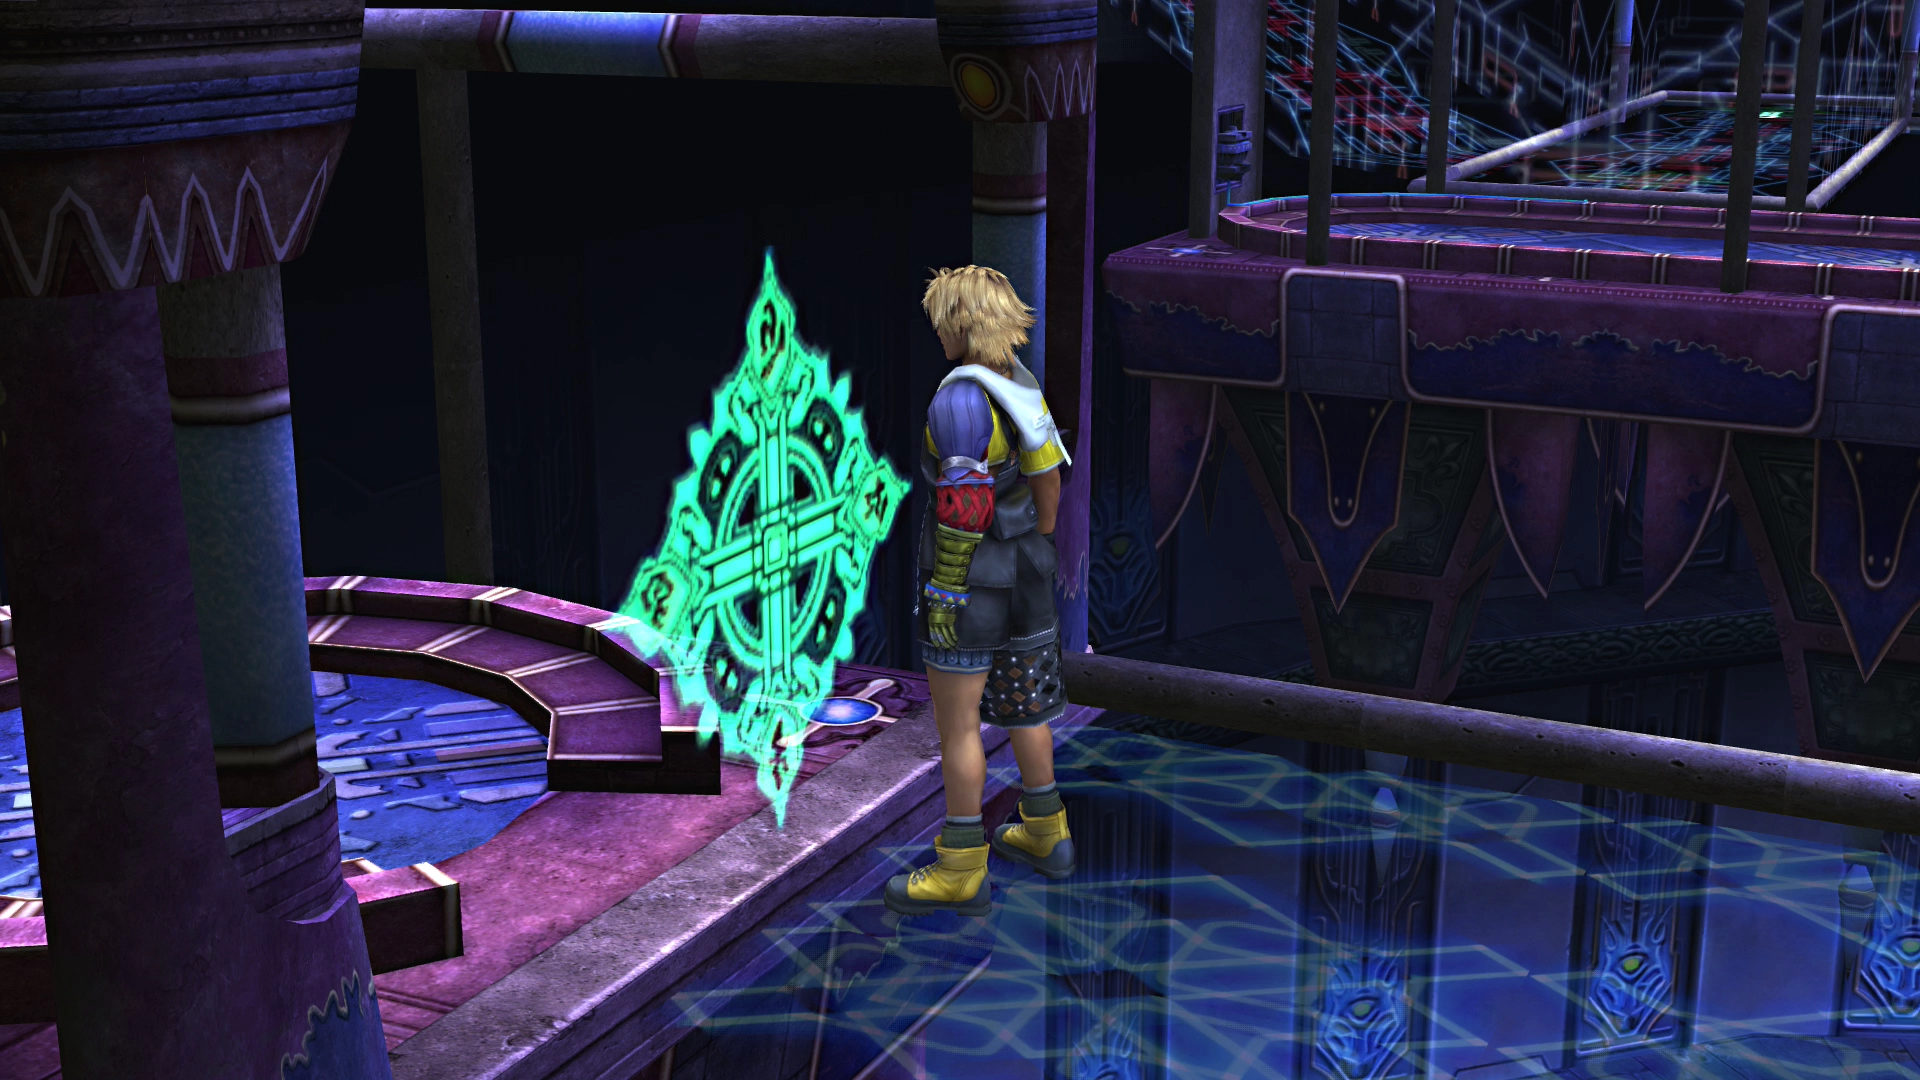
Walk back across that glowing pathway from step 5. Put the Glyph Sphere into the far wall recess - this opens up a hidden alcove with the Destruction Sphere.
8. Light Up the Final Area
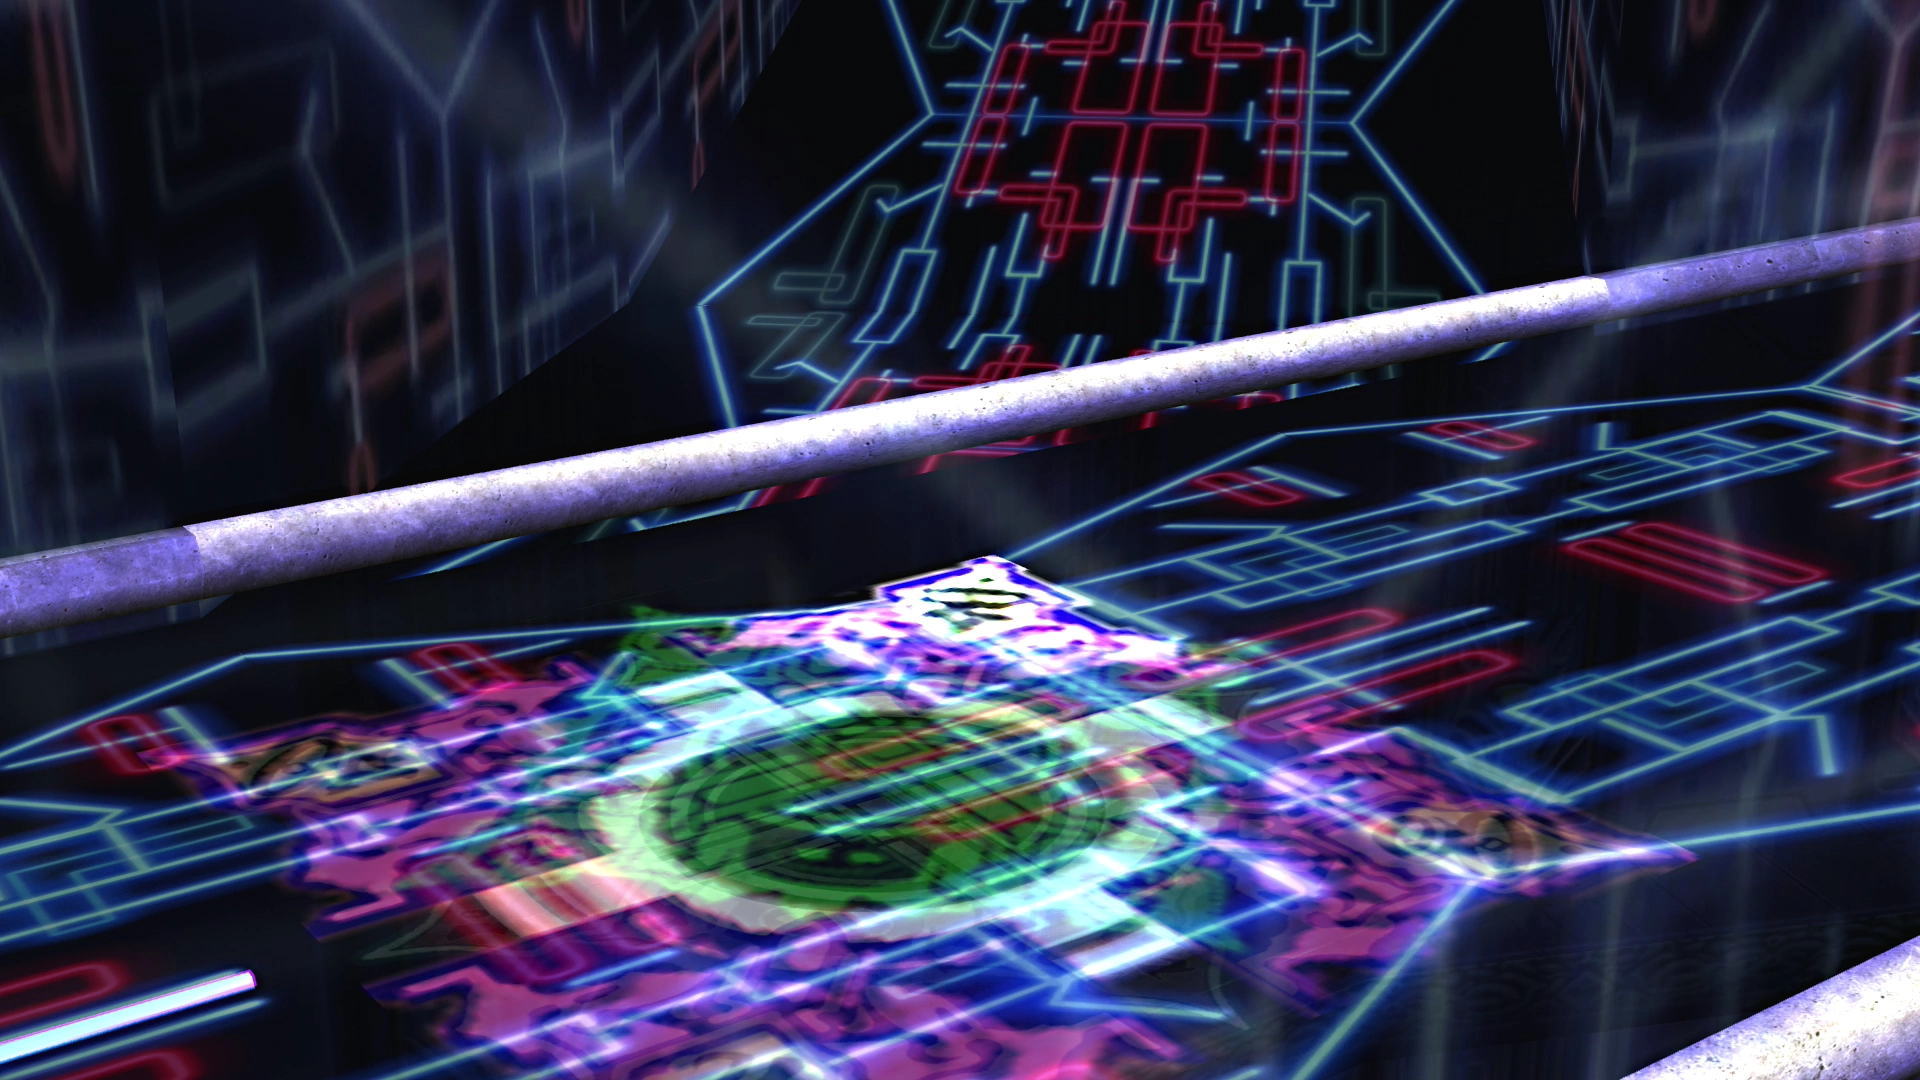
Grab the Destruction Sphere and head back to area 6. Stick it in the wall recess. The glyph at area 7 lights up.
11. Summon the Pedestal

Step on the glowing glyph under the treasure chest. The pedestal rises up to your level.
12. Complete the Trial
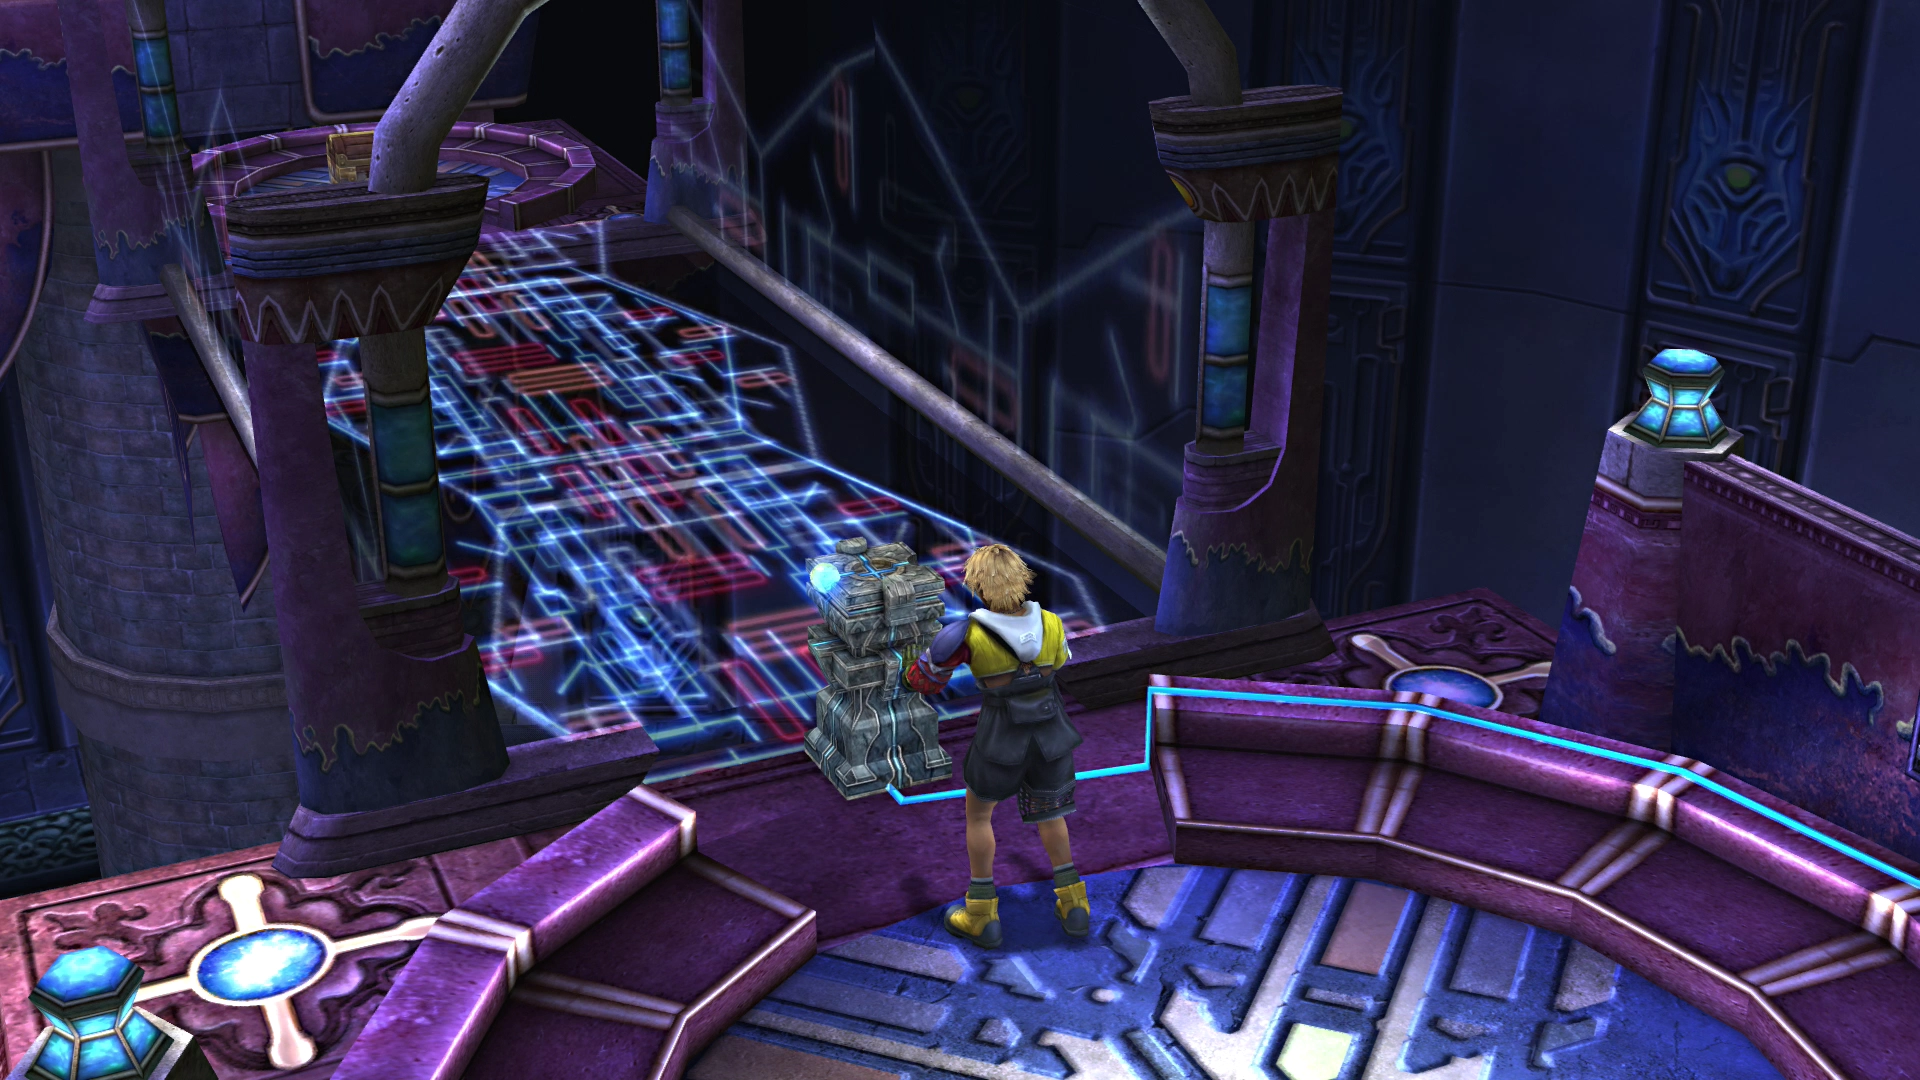
Push the pedestal onto the walkway and ride it to a chest with the Knight Lance - that's Kimahri's weapon. Exit right past the glyph. Done.
Quick Summary
- Push pedestal to center - activates the platform
- Area 1: Grab Bevelle Sphere
- Area 2: Insert sphere, reveals track
- Area 4: Take second Bevelle Sphere
- Area 5: Insert in left wall, lights up pathway
- Area 6: Grab the Glyph Sphere
- Walk back, put Glyph Sphere in wall, get Destruction Sphere
- Area 6: Put Destruction Sphere in wall
- Get your Bevelle Sphere back from area 5, ride to area 7, push pedestal across
- Insert sphere upstairs, grab HP Sphere
- Step on glyph, pedestal rises
- Push onto walkway, grab Knight Lance, exit right
After the Trial: Yuna gets Bahamut. He's a beast - easily one of the best summons you'll have for the rest of the game.

