With Minwu gone to pursue his own mission, you need to find the Goddess's Bell to access Kashuan Keep. Speak with Hilda in the rebel hideout - she directs you to Josef in Salamand, who knows the snow plains and can help you reach the Snow Cavern where the bell is hidden.
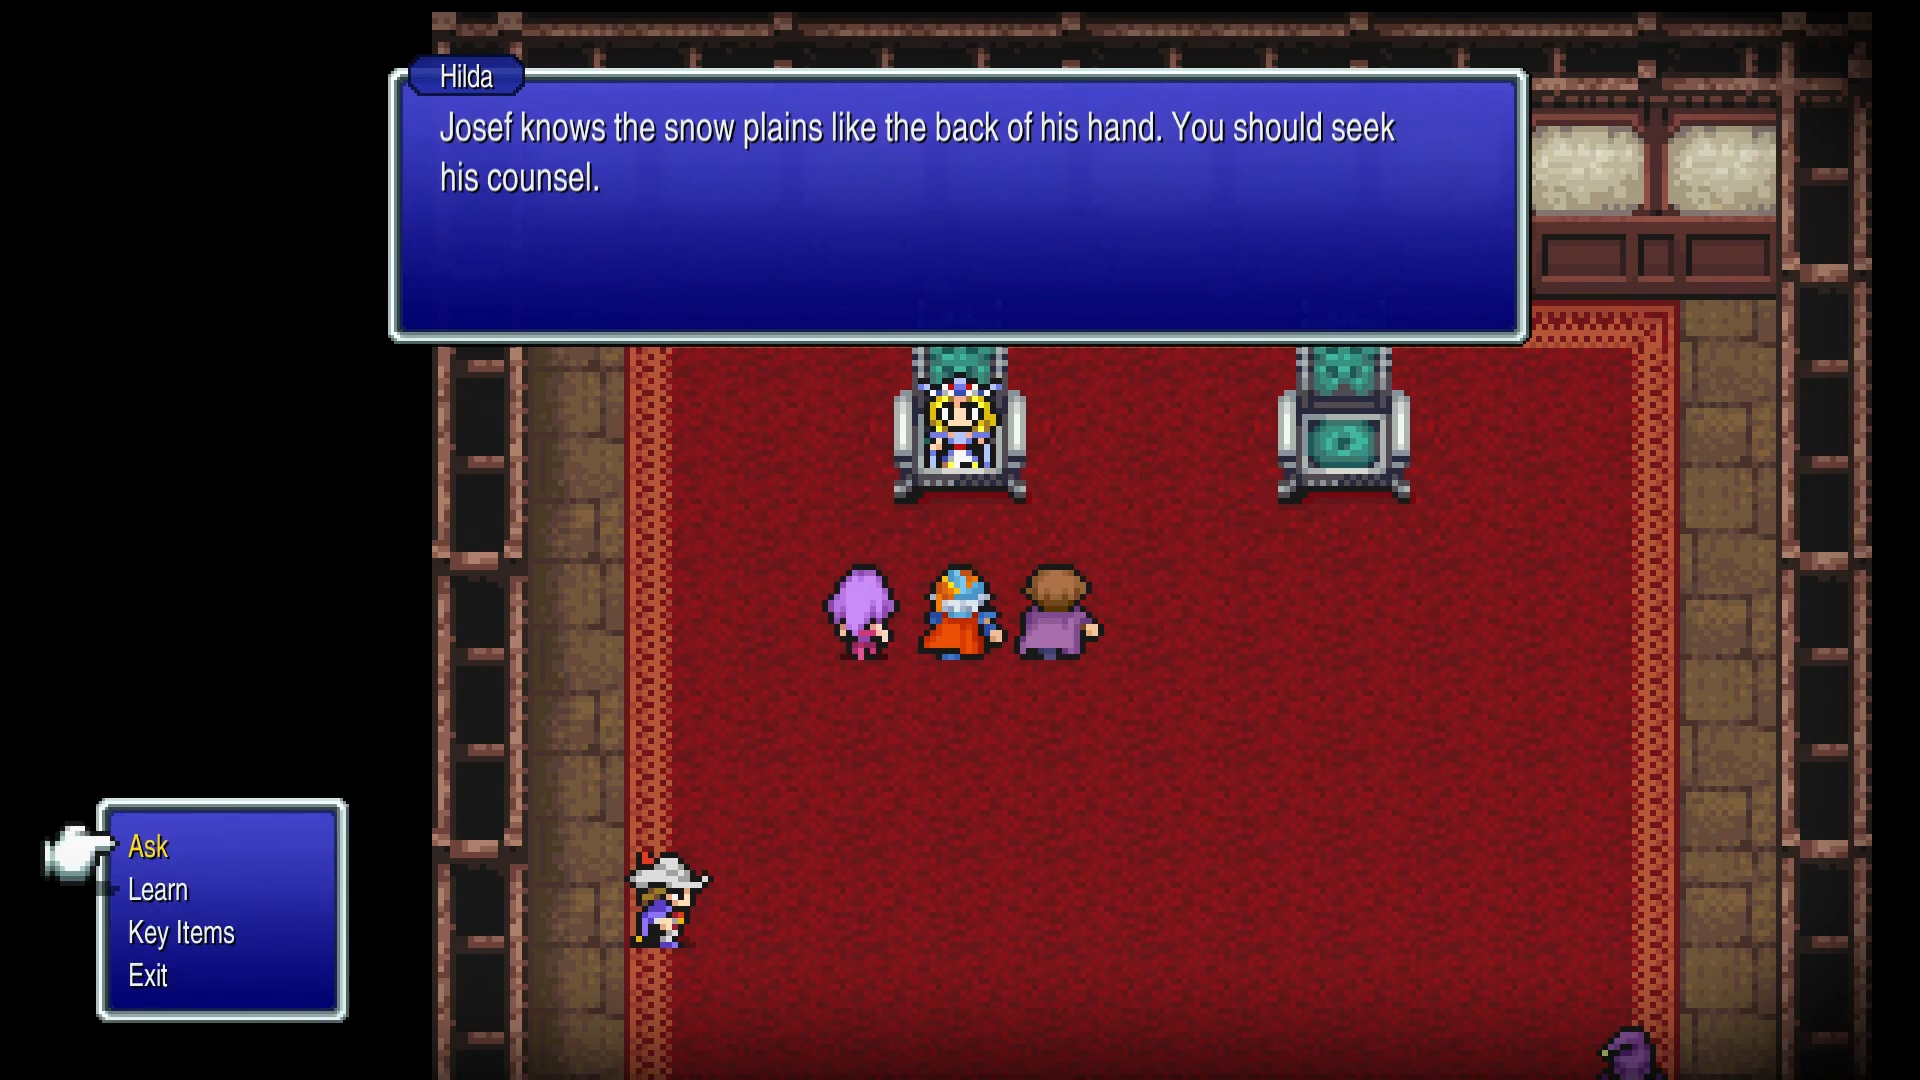
Salamand - Josef Joins
Travel to Salamand. From Altair, take the ship from Paloom to Poft, then head northwest through the forest to reach the mining town. Head to Josef's house in the northeast corner.
Ask Josef about Goddess's Bell. He knows where to find it - the Snow Cavern in the frozen northern plains. However, you need the Snowcraft to cross the snow fields. Josef mentions he hid the Snowcraft in Semitt Falls after the Empire started searching for it.
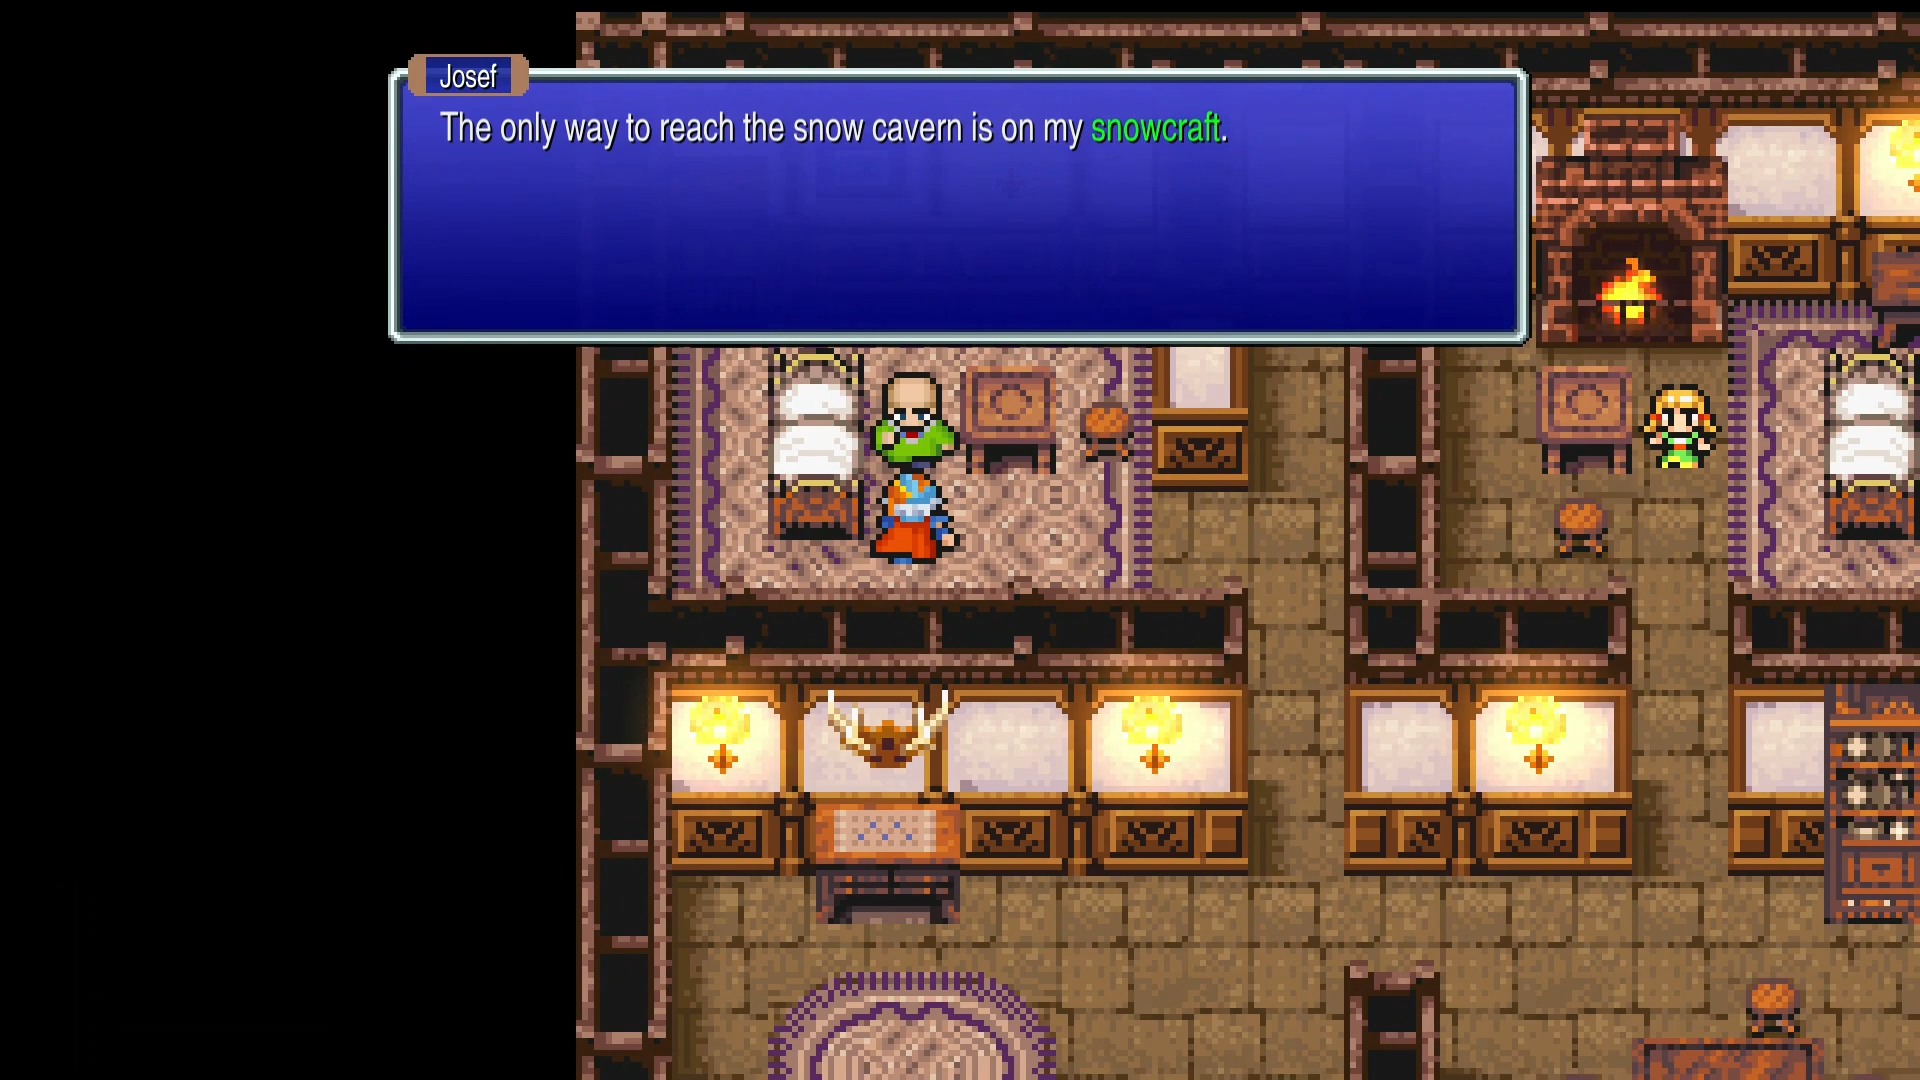
Josef joins your party as the fourth member. He's a powerful physical attacker with high HP and Strength. Unlike Minwu, Josef can take hits on the front line. Equip him with any spare weapons you have.
Semitt Falls - The Snowcraft
Return to Semitt Falls via the river south of Salamand. You need to find the secret area you couldn't access before.
Head to B1 and remember the boulder blocking that passage in the upper-right area? With Josef in your party, examine it again. Josef will push the boulder aside, revealing a hidden passage.
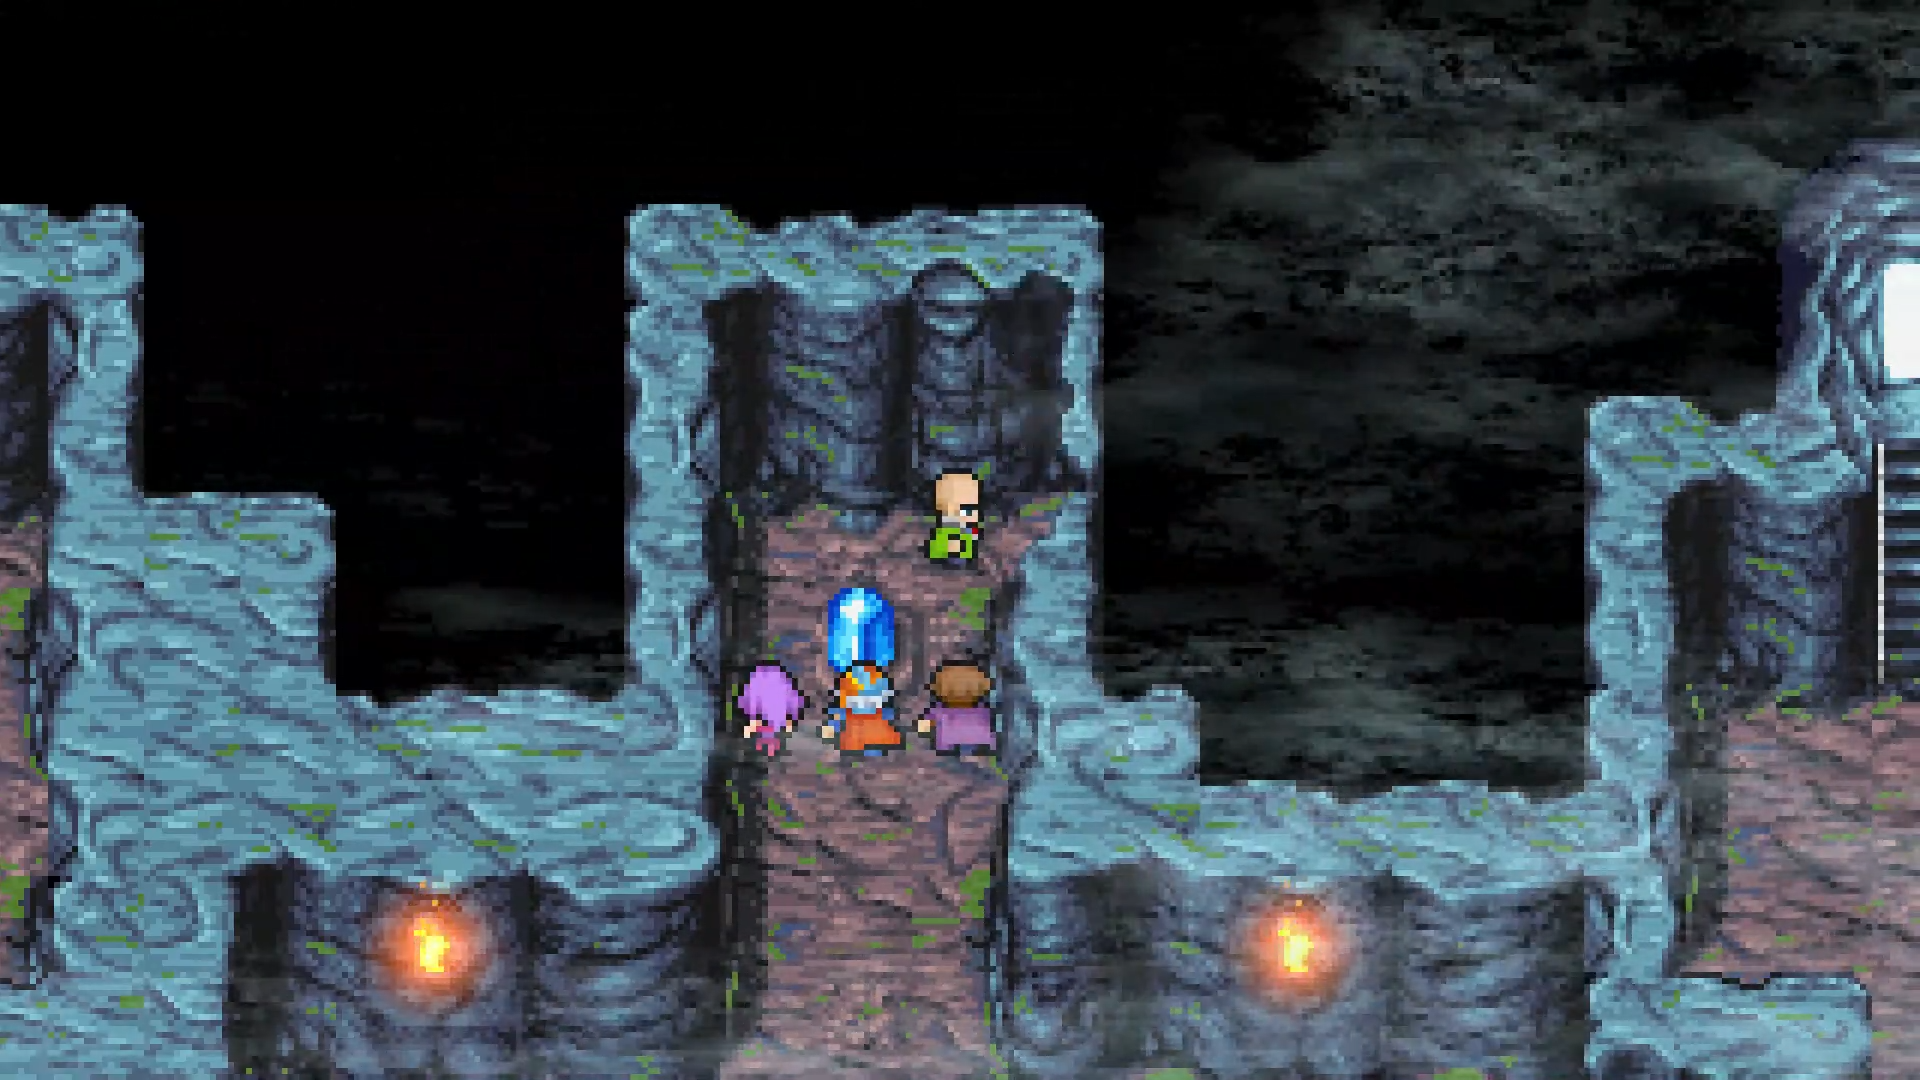
Follow the secret passage to find the Snowcraft. This vehicle lets you traverse snow fields on the world map - required for reaching the Snow Cavern.
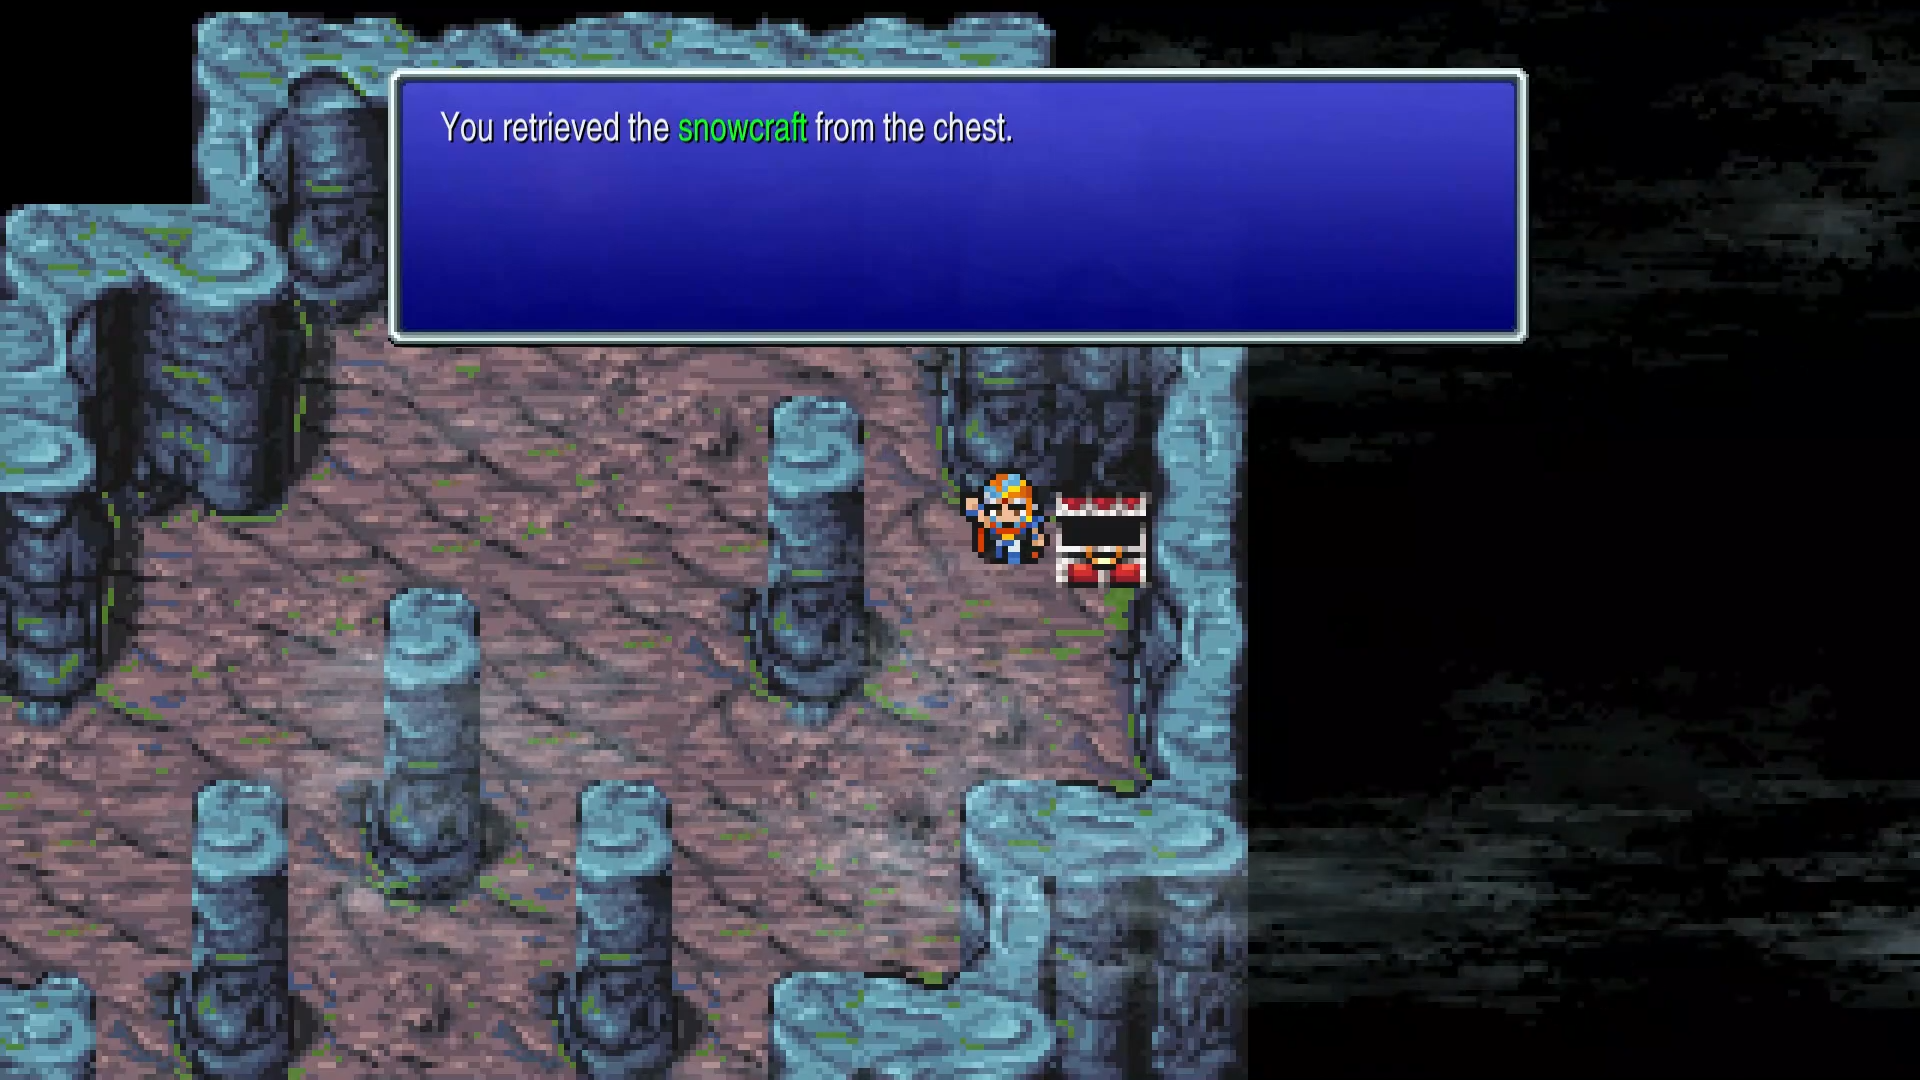
Use Teleport to exit the dungeon quickly, then return to the world map.
Journey to Snow Cavern
From Semitt Falls, return to Salamand. Find the gap in the mountains north of town - stepping onto snow auto-boards the Snowcraft. Head east.
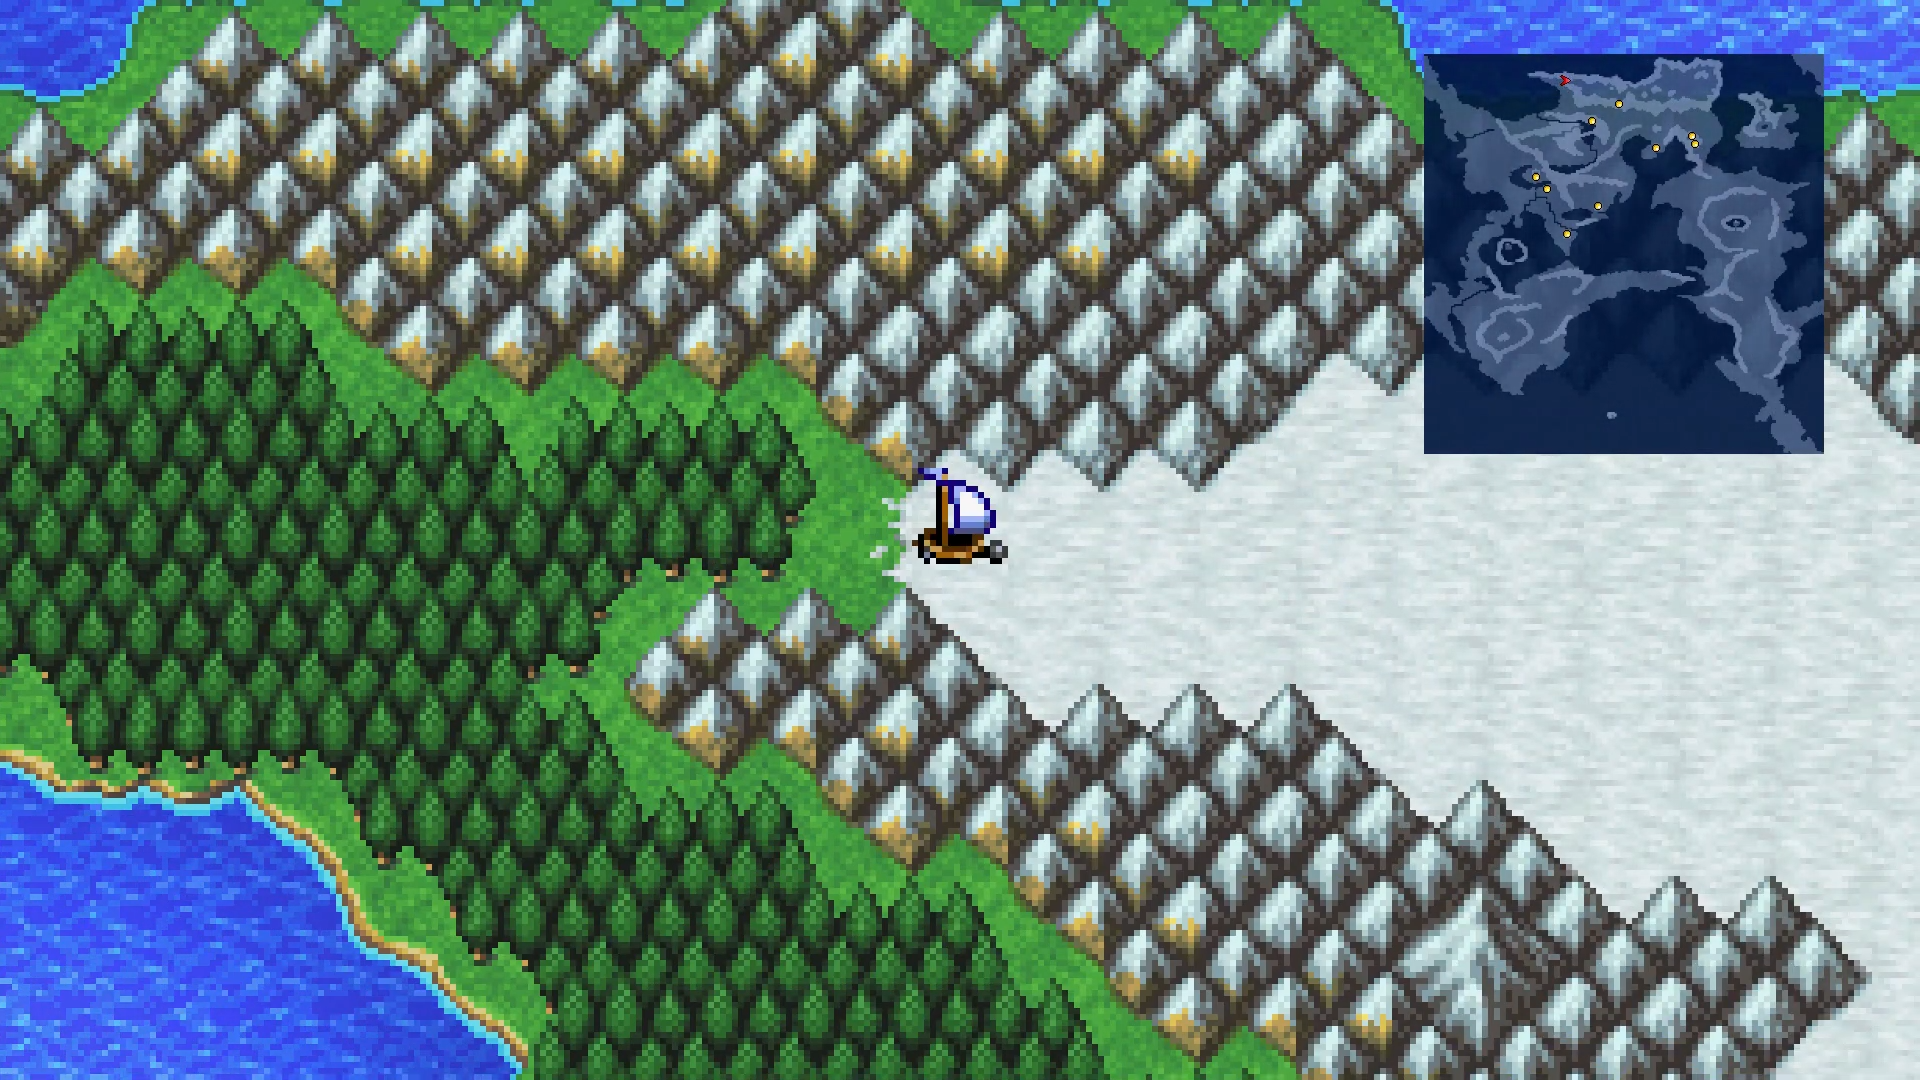
Snowmen spawn on the way - two physical attacks drop them. The trek is long; check the mini map. You're crossing the entire darker gray area east until you hit the bright white spot where the cave sits.
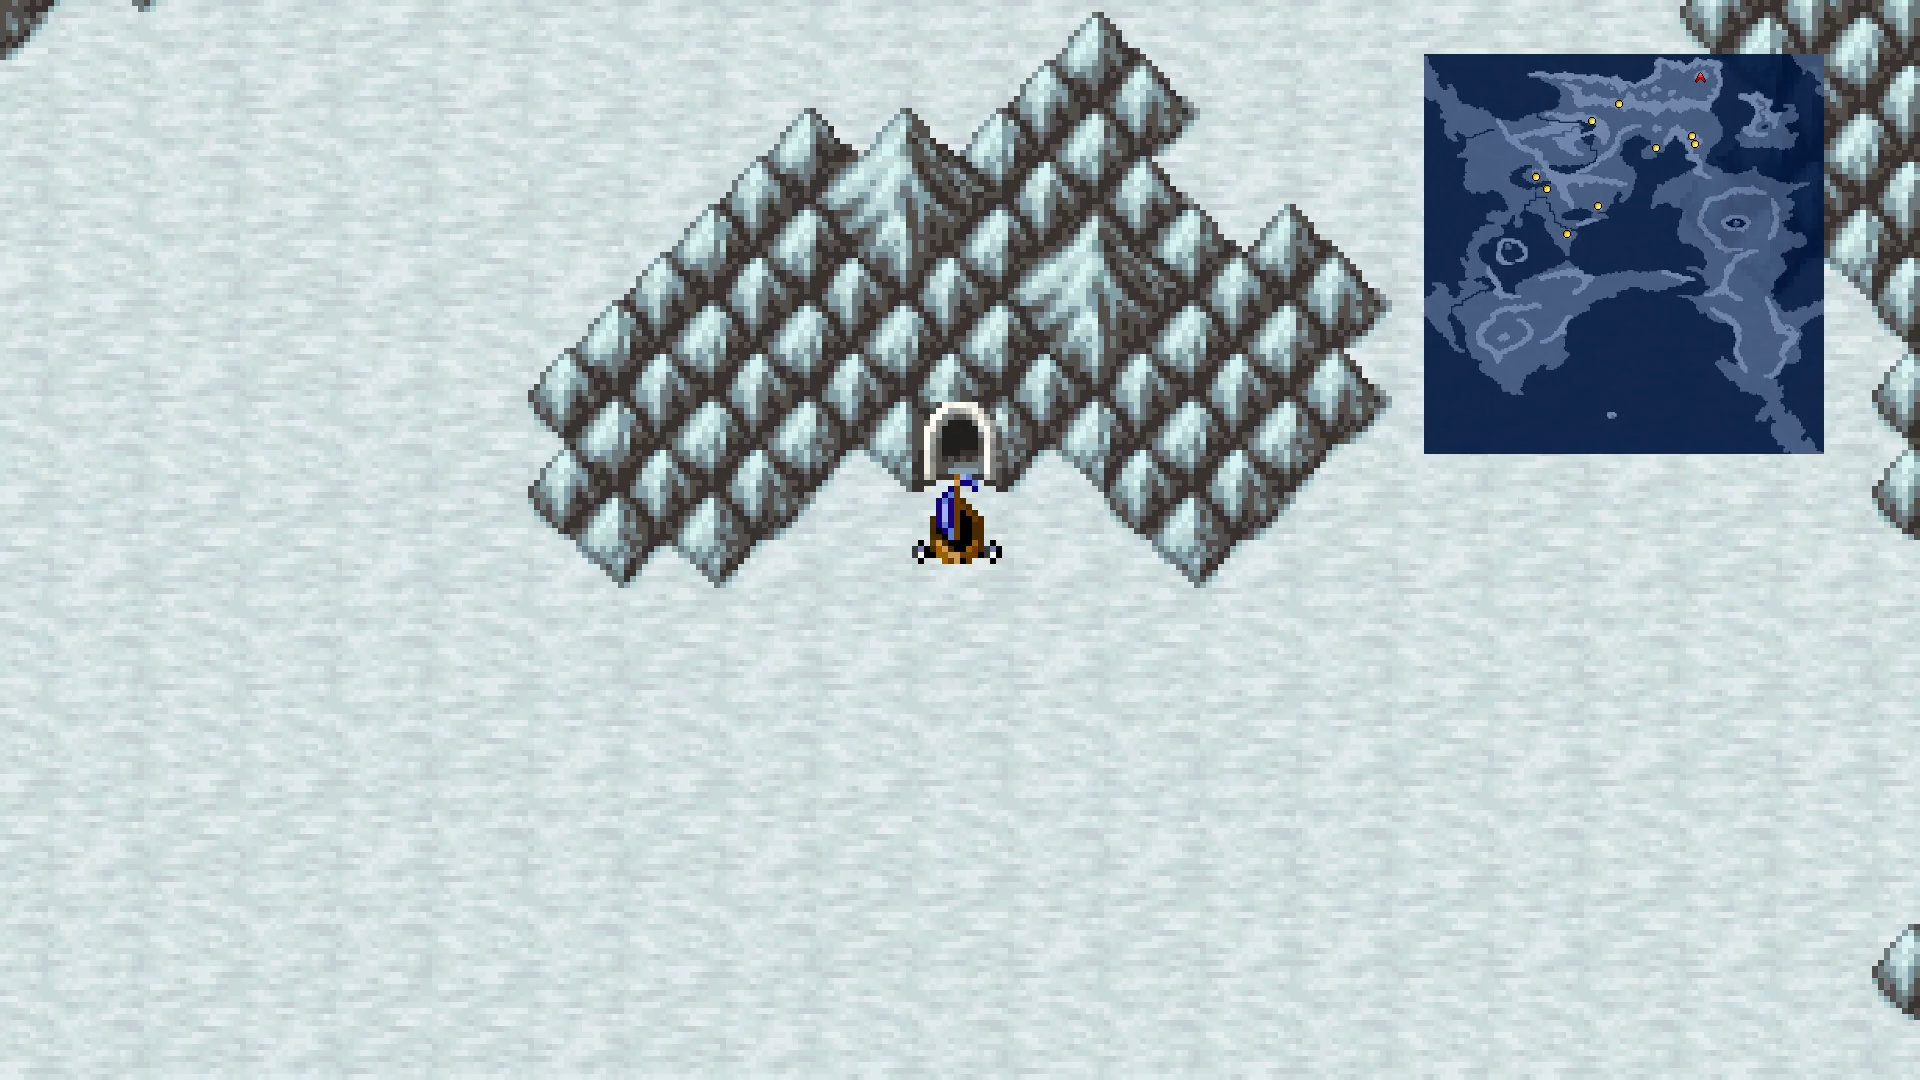
Snow Cavern
Snow Cavern has 13 treasure chests and two boss fights. New enemies include:
- Icicles - weak to physical attacks, not very tough
- Ghouls - undead, can inflict status ailments like Blindness
- Shadows - undead, weak to Fire
- Zombies - undead
- Dead Heads - undead
- Dual Heads - easy to take out with physical attacks
- Grenades - self-destruct when damaged. Kill them all at once or wait for a missed self-destruct, then finish fast
B1
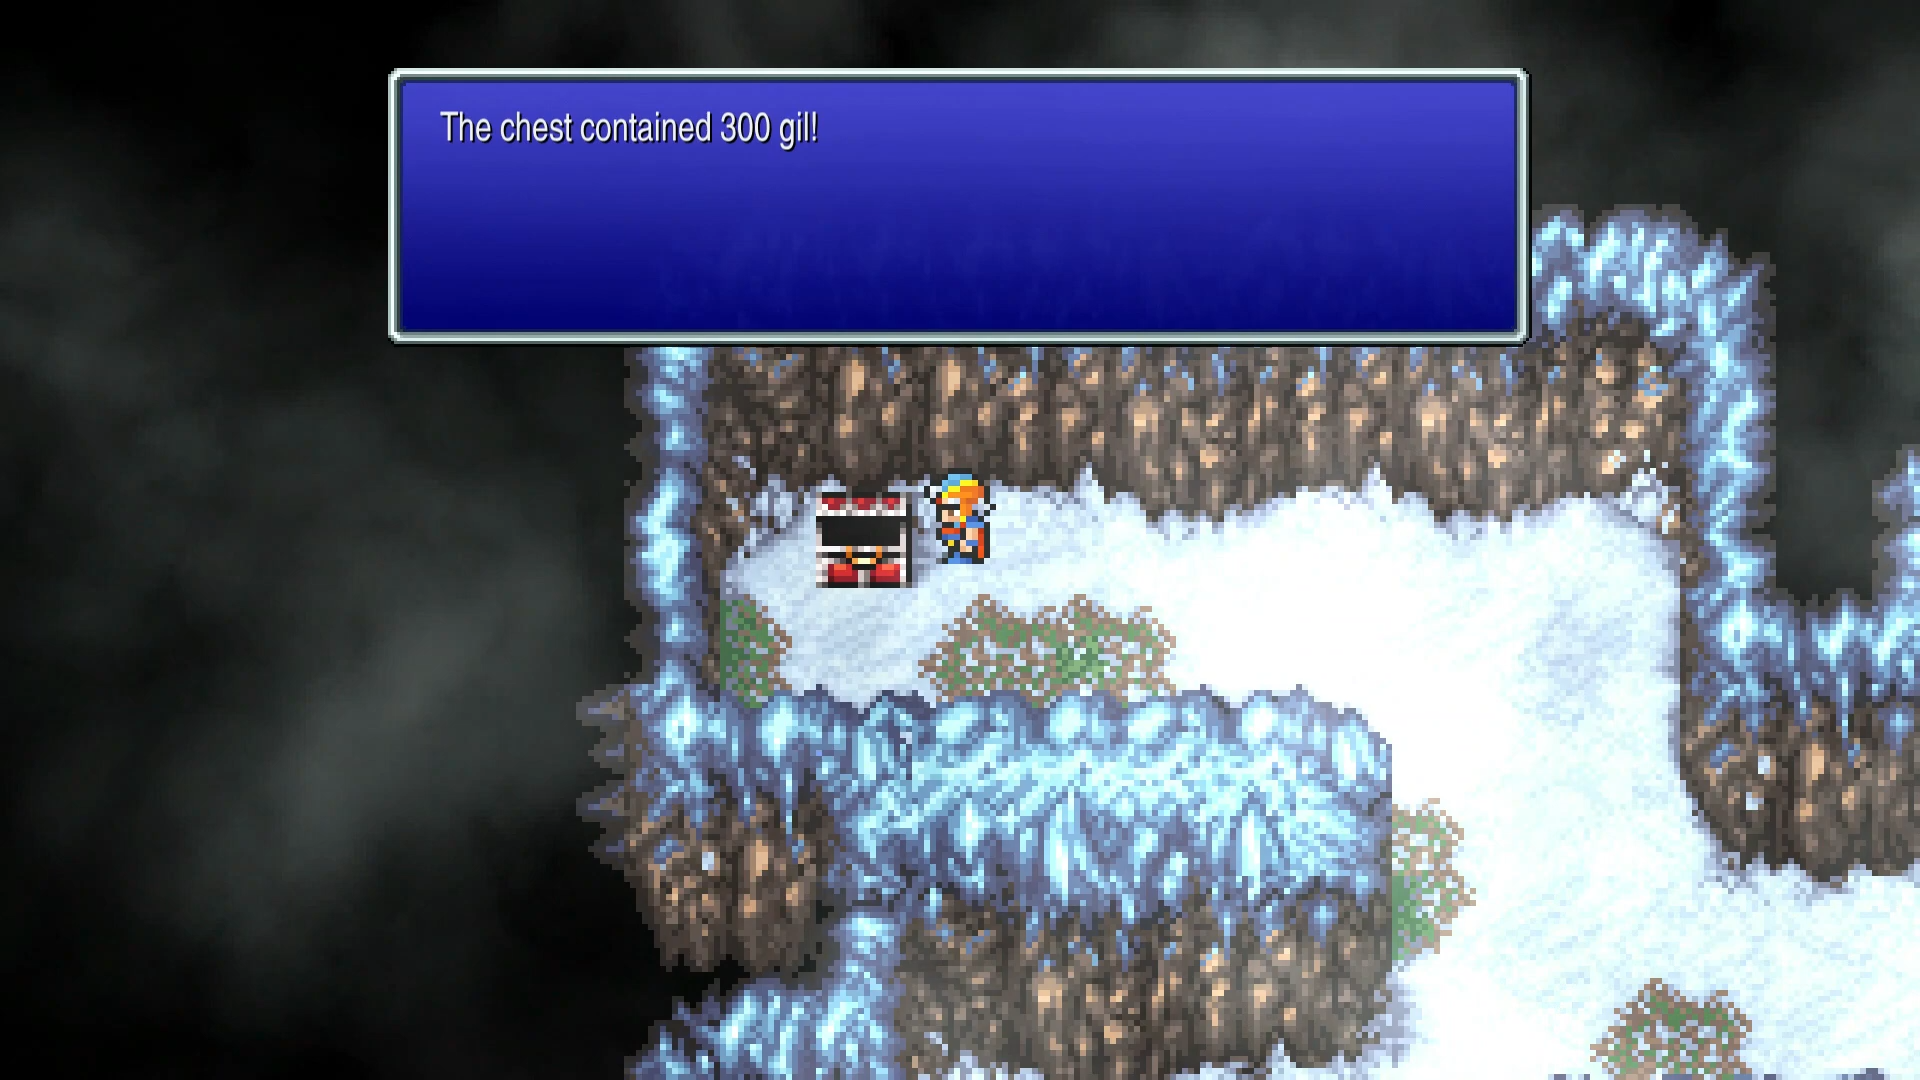
Start by going up the very long staircase. When you get to the top, head over to the left and stay on the top section - there's chest 1 (300 Gil) up here.
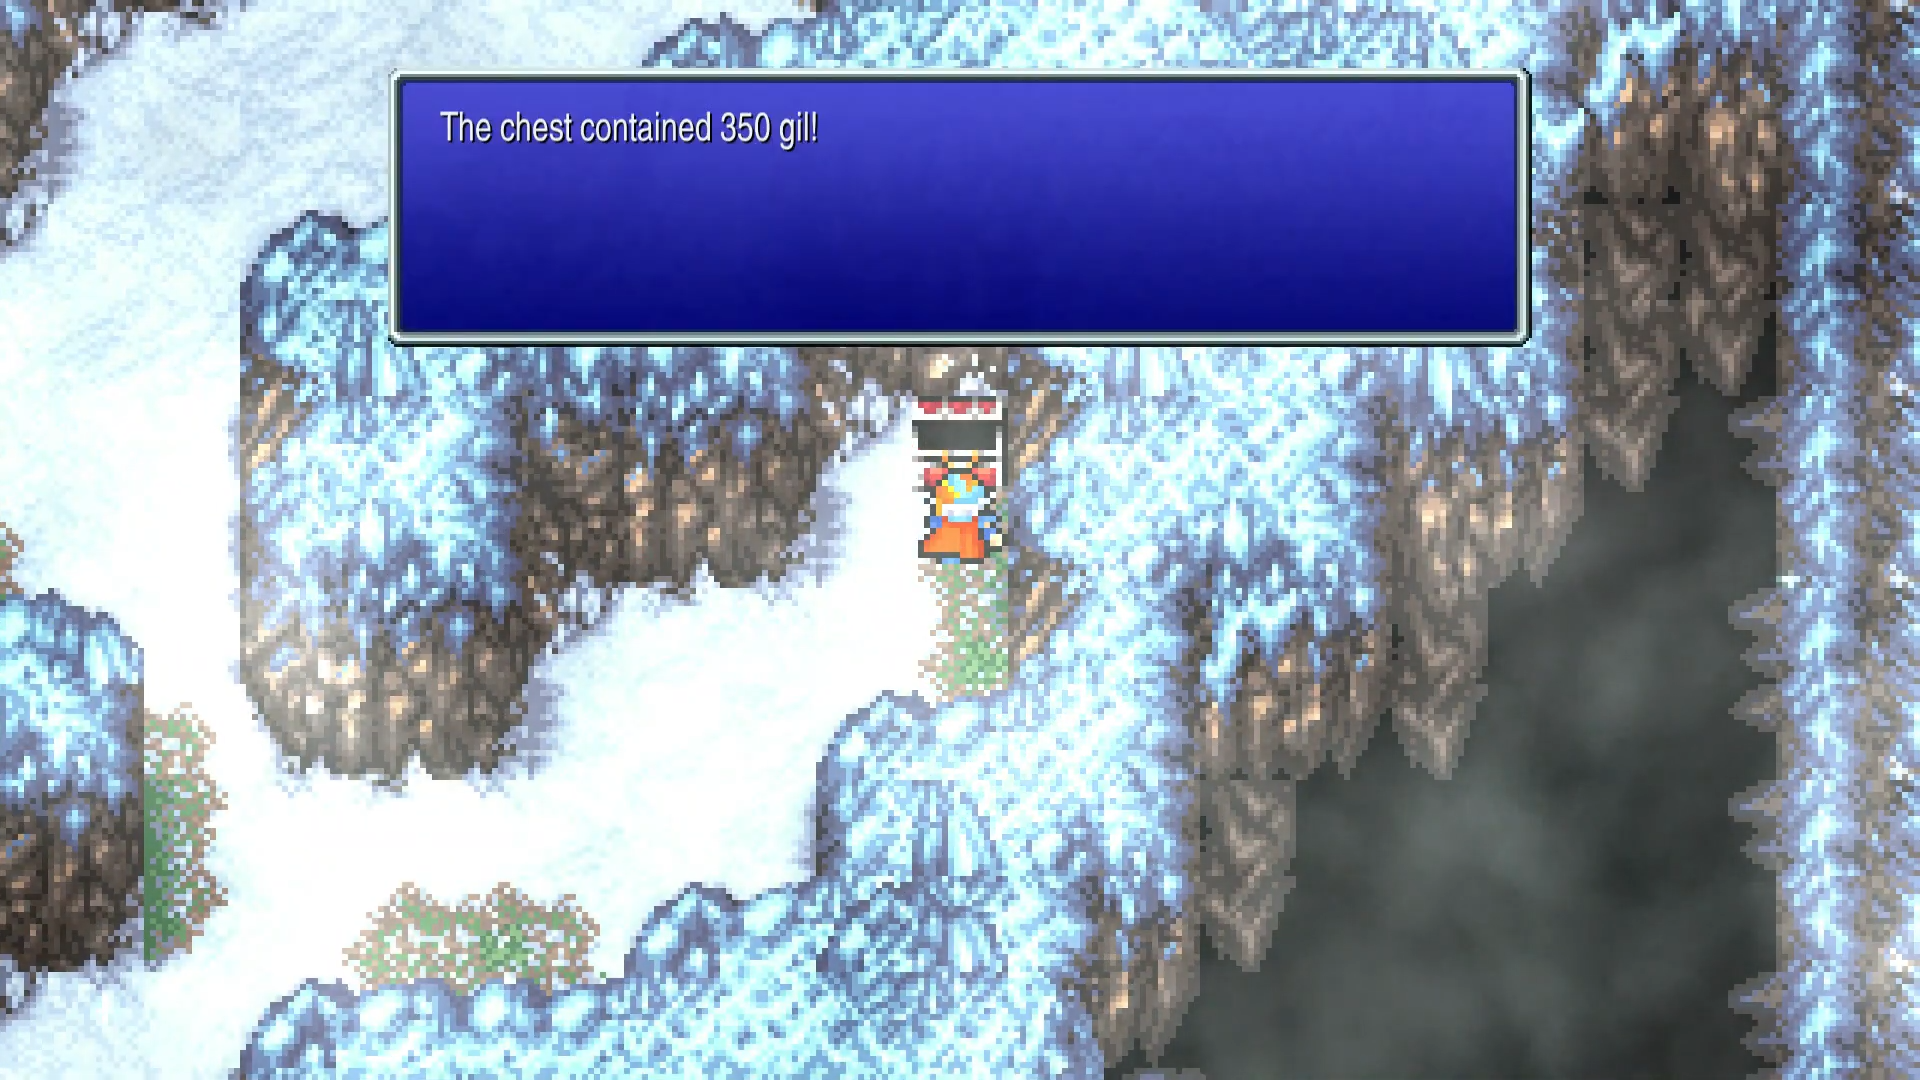
Now go toward the south following the pathway. At the first intersection, go toward the right to grab chest 2 (350 Gil).
Now go down and all the way to the right. There's a door at the bottom - don't worry about that, it will come into play later. Just take the stairs going down.
B2
Navigate through and wade into the water. Ghouls spawn frequently here, sometimes in groups of 4+. They can Blind you - Esuna fixes that.
Go through the water, ignore the door, and head down the stairs.
B3
Go left and up, then loop around to grab chest 3 (Antarctic Wind). Save this - it deals massive Ice damage and can one-shot the boss.
Head back toward the stairs, then south into the water again. Undead swarm this area - Zombies, Shadows, Dead Heads, Dual Heads in groups of 4. Esuna cures the Blind/Darkness they inflict. Exit through the top.
B2 (Upper Section)
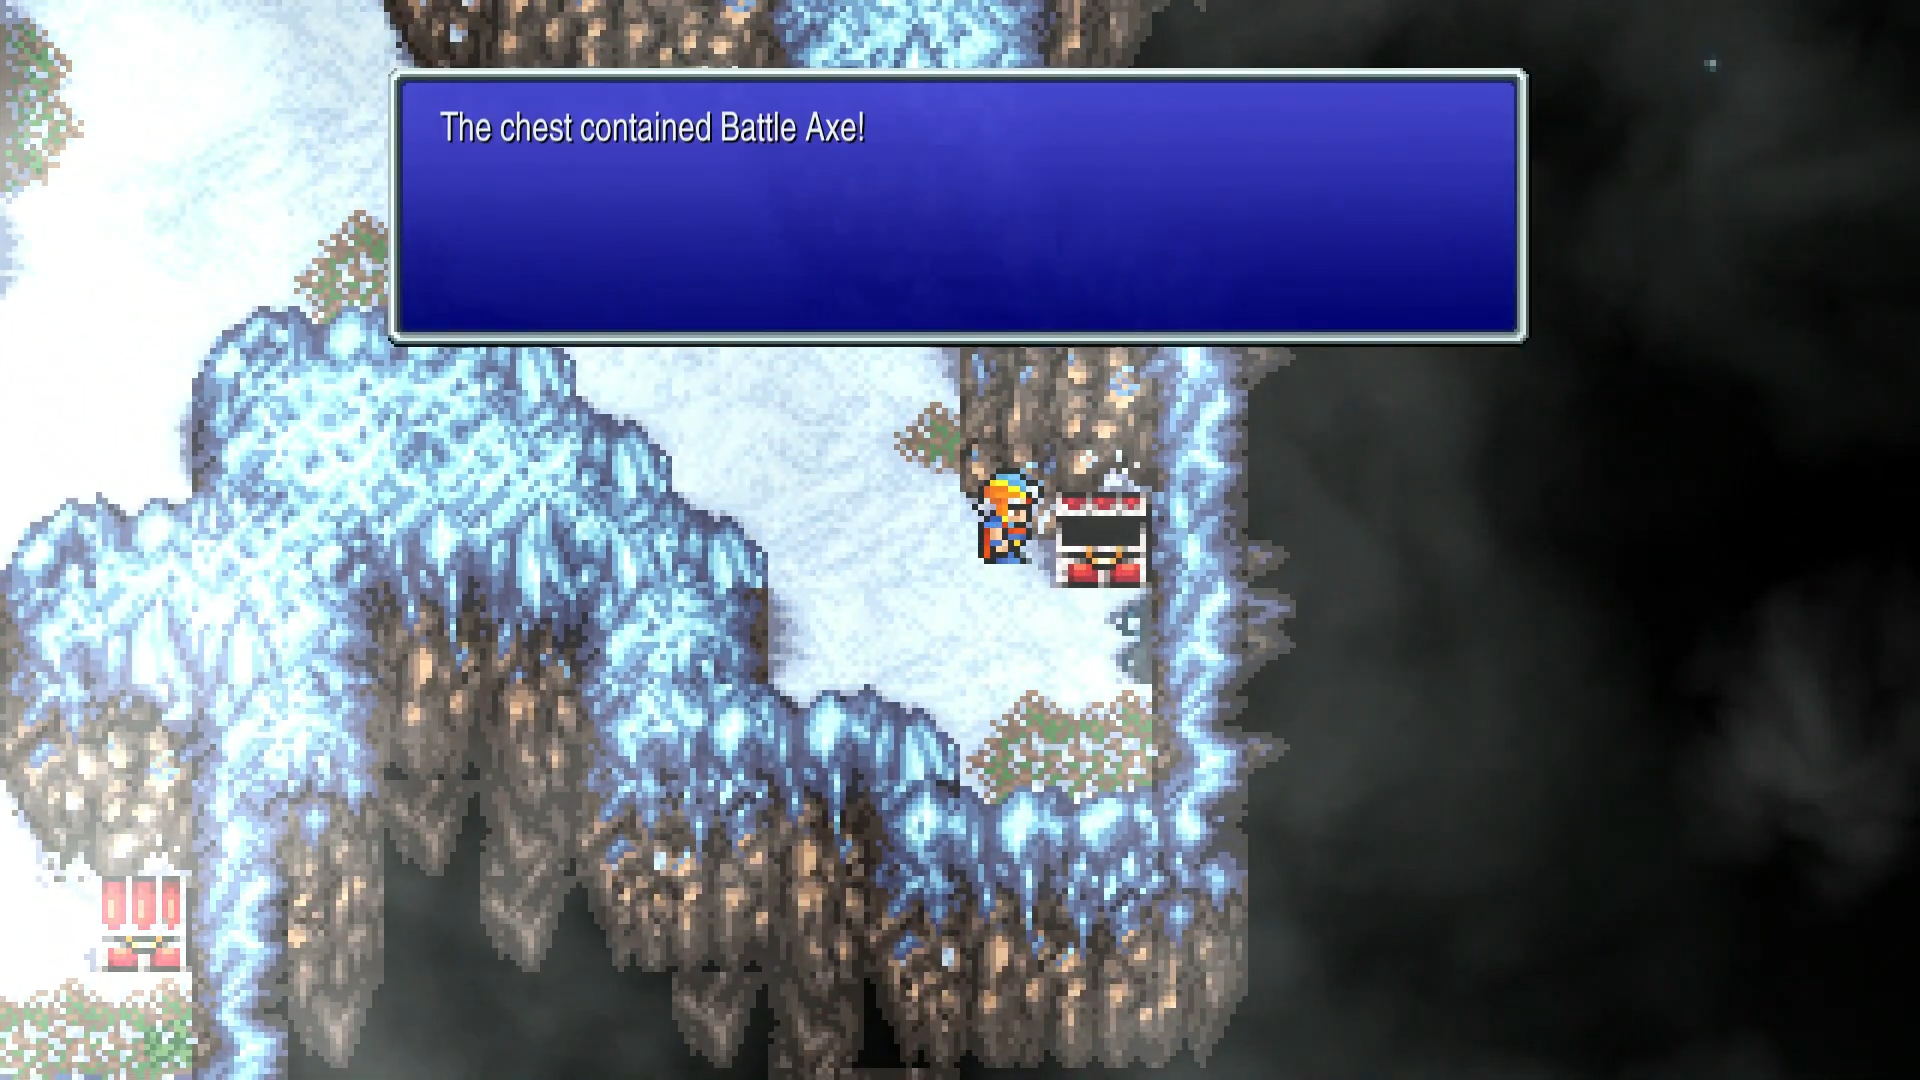
Head to the intersection, then down to the bottom right corner for chest 4 (Battle Axe).
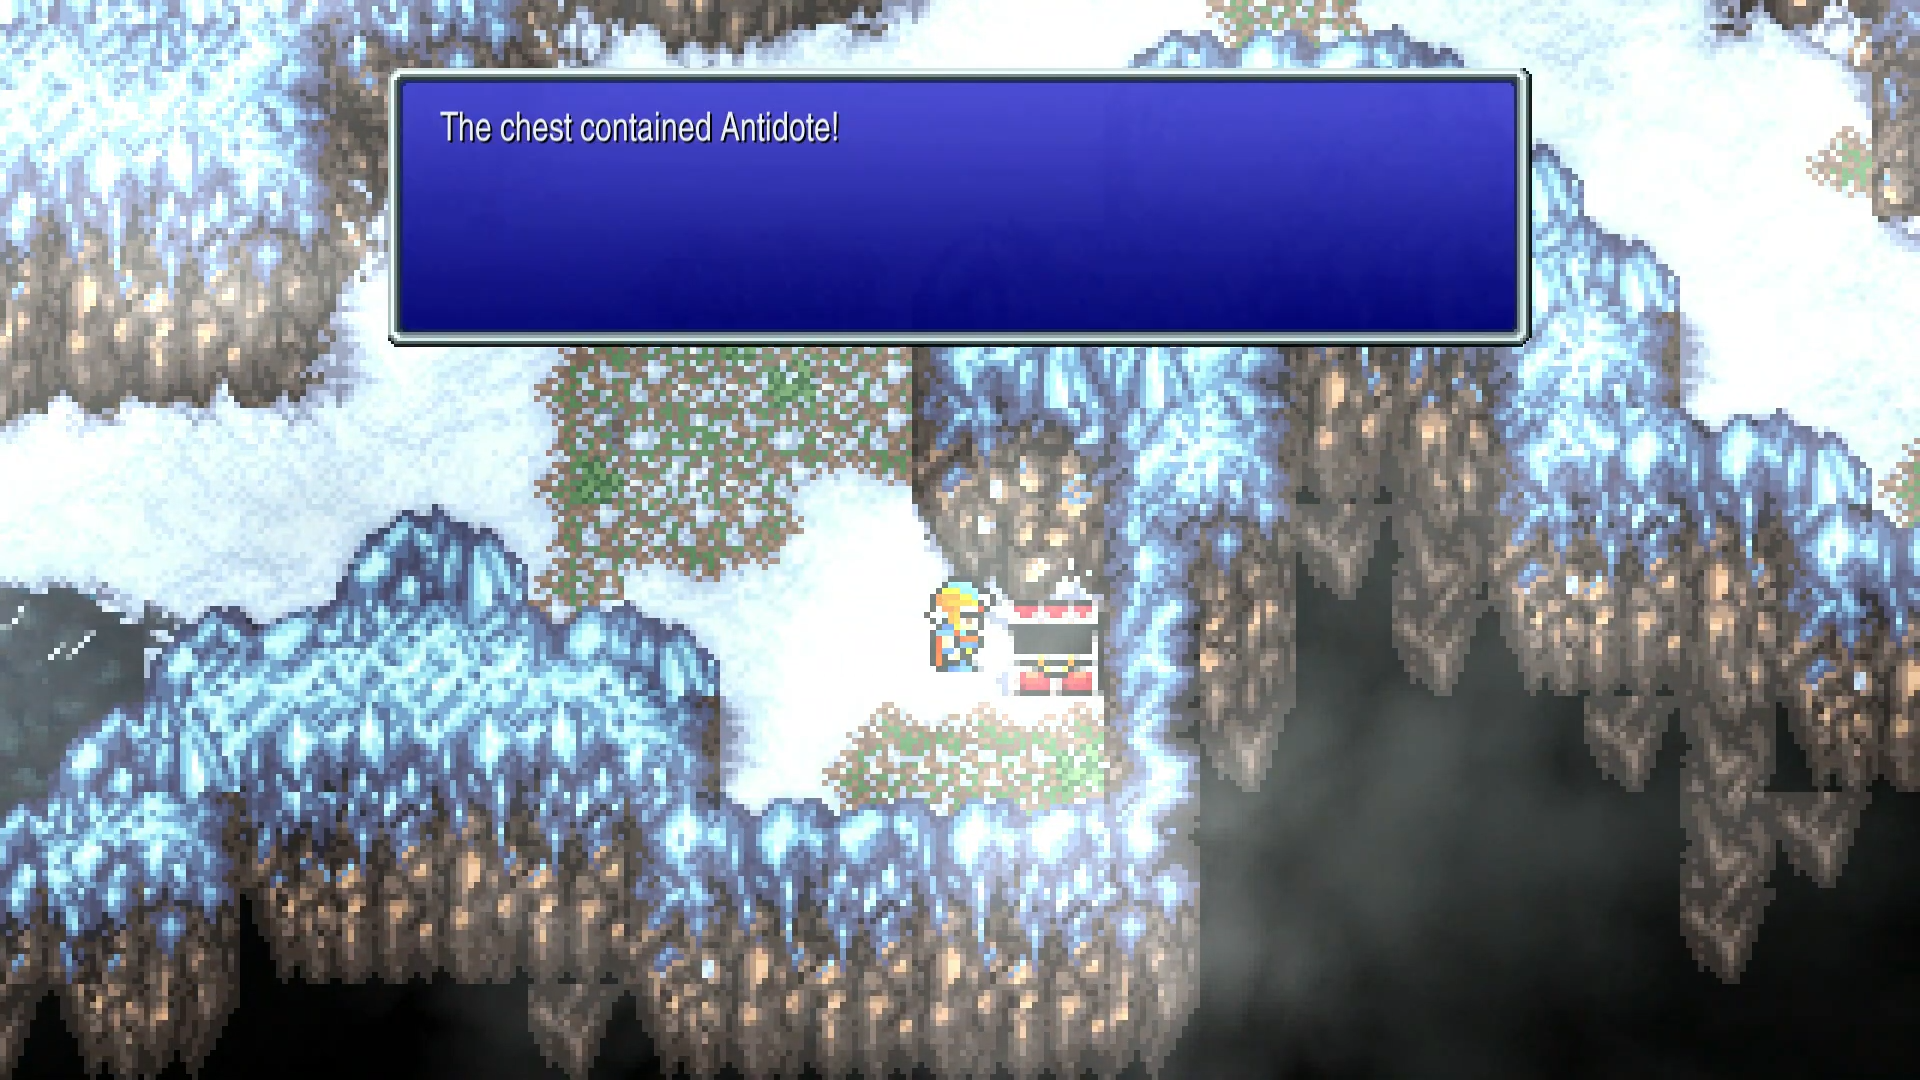
Go back to the intersection and head down toward the west to grab chest 5 (Antidote). You'll get the Rookie Treasure Hunter trophy around this point for getting 10% of all treasure chests in the game.
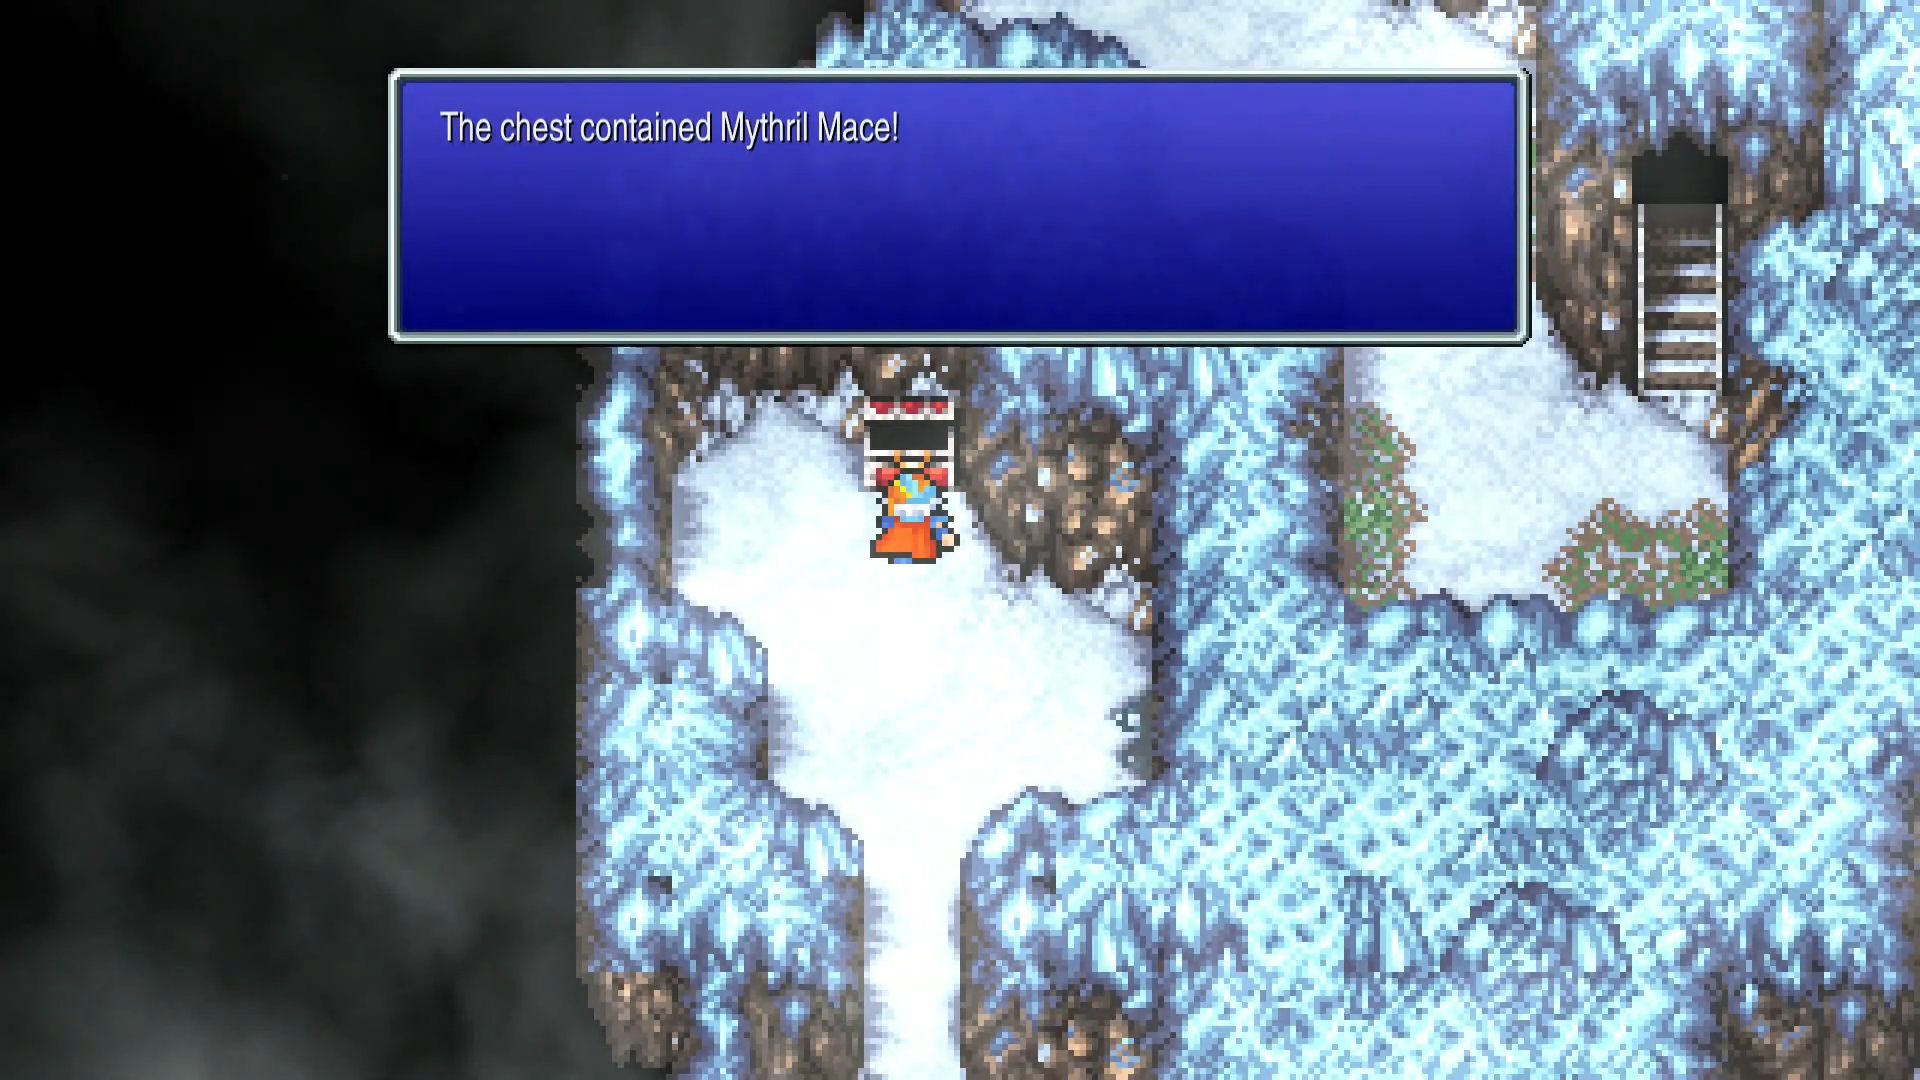
Continue further west for chest 6 (Mythril Mace) - this is a monster chest guarded by Grenades. Remember, Grenades self-destruct when damaged, so try to kill them all at once or wait until they miss their self-destruct, then finish them quickly. Equip the Mace on a physical attacker.
Head back the way you came to B3. Hug the wall on the right and go down, then take a left all the way to the end. You'll reach another staircase going down.
B5
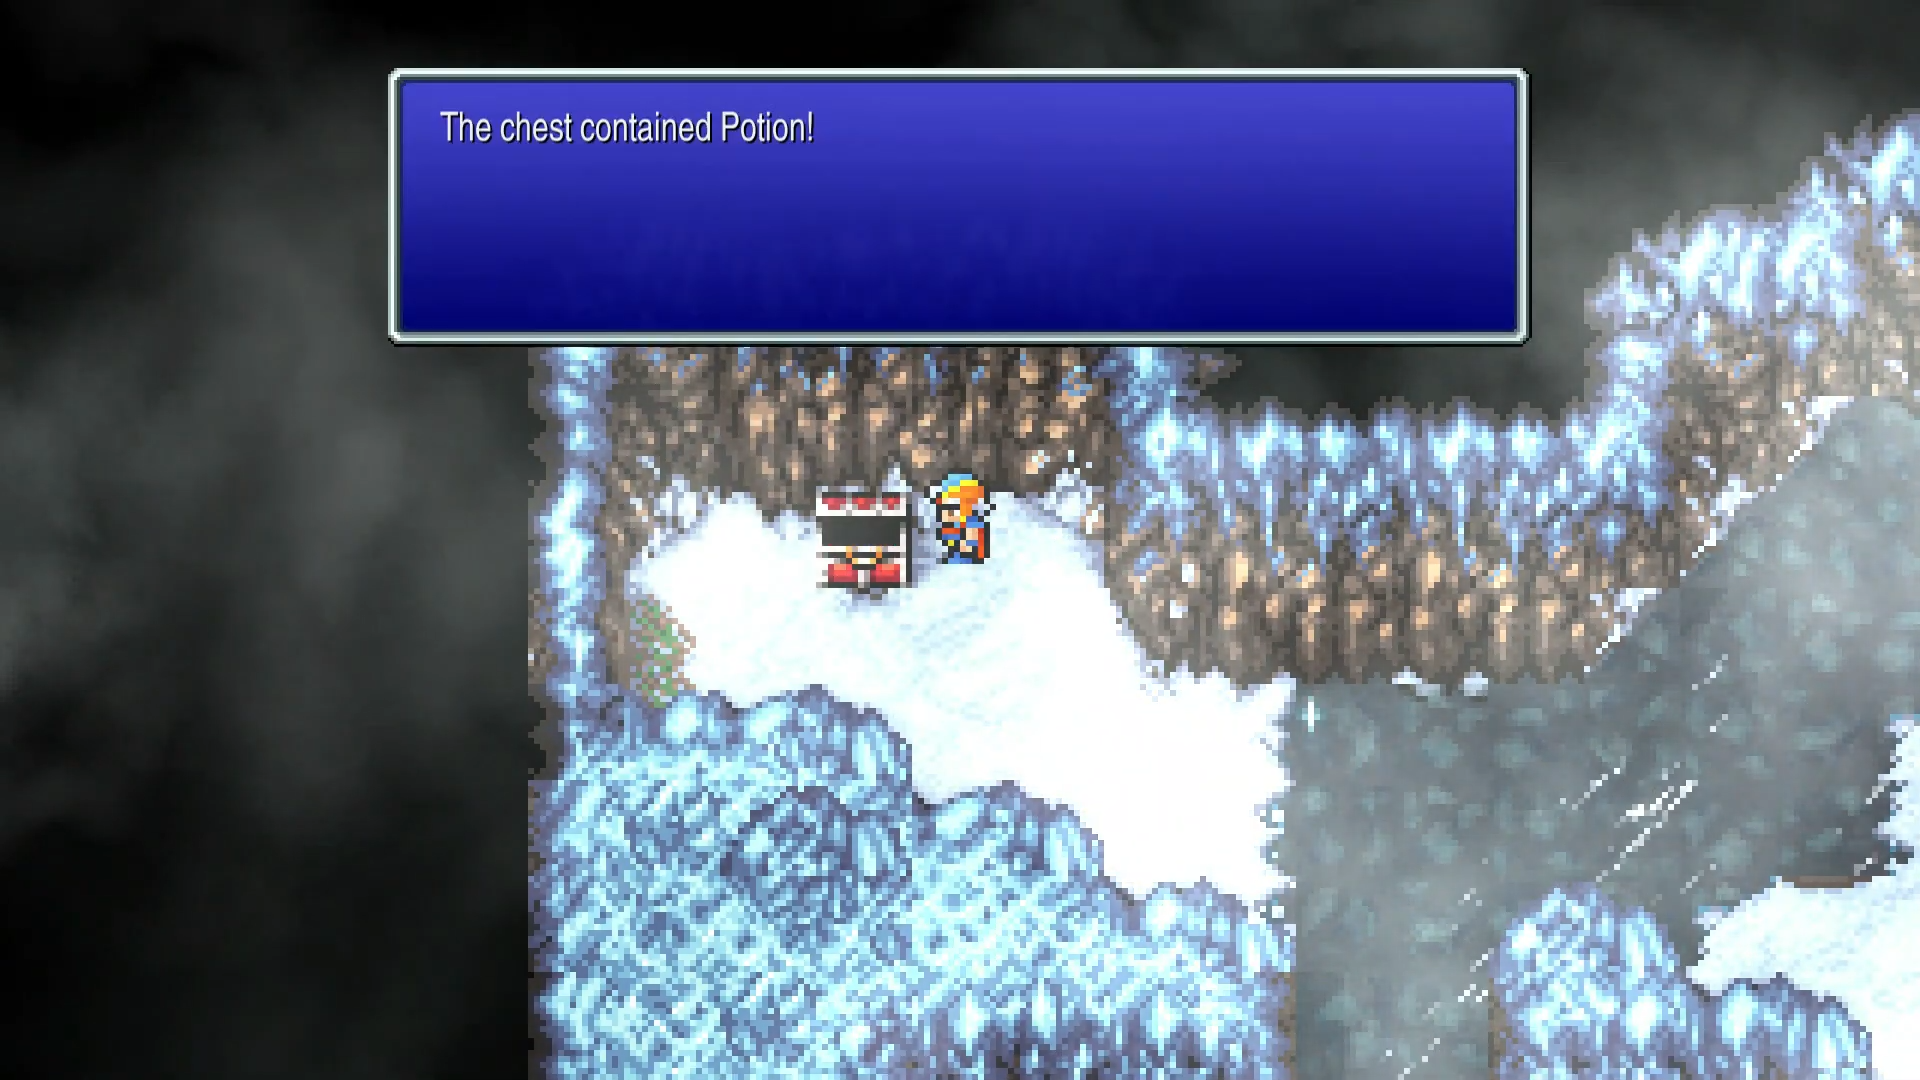
Circle the outer edge. Top left corner has chest 8 (Potion); just right of it is chest 9 (Blizzard Tome). Teach this to someone.
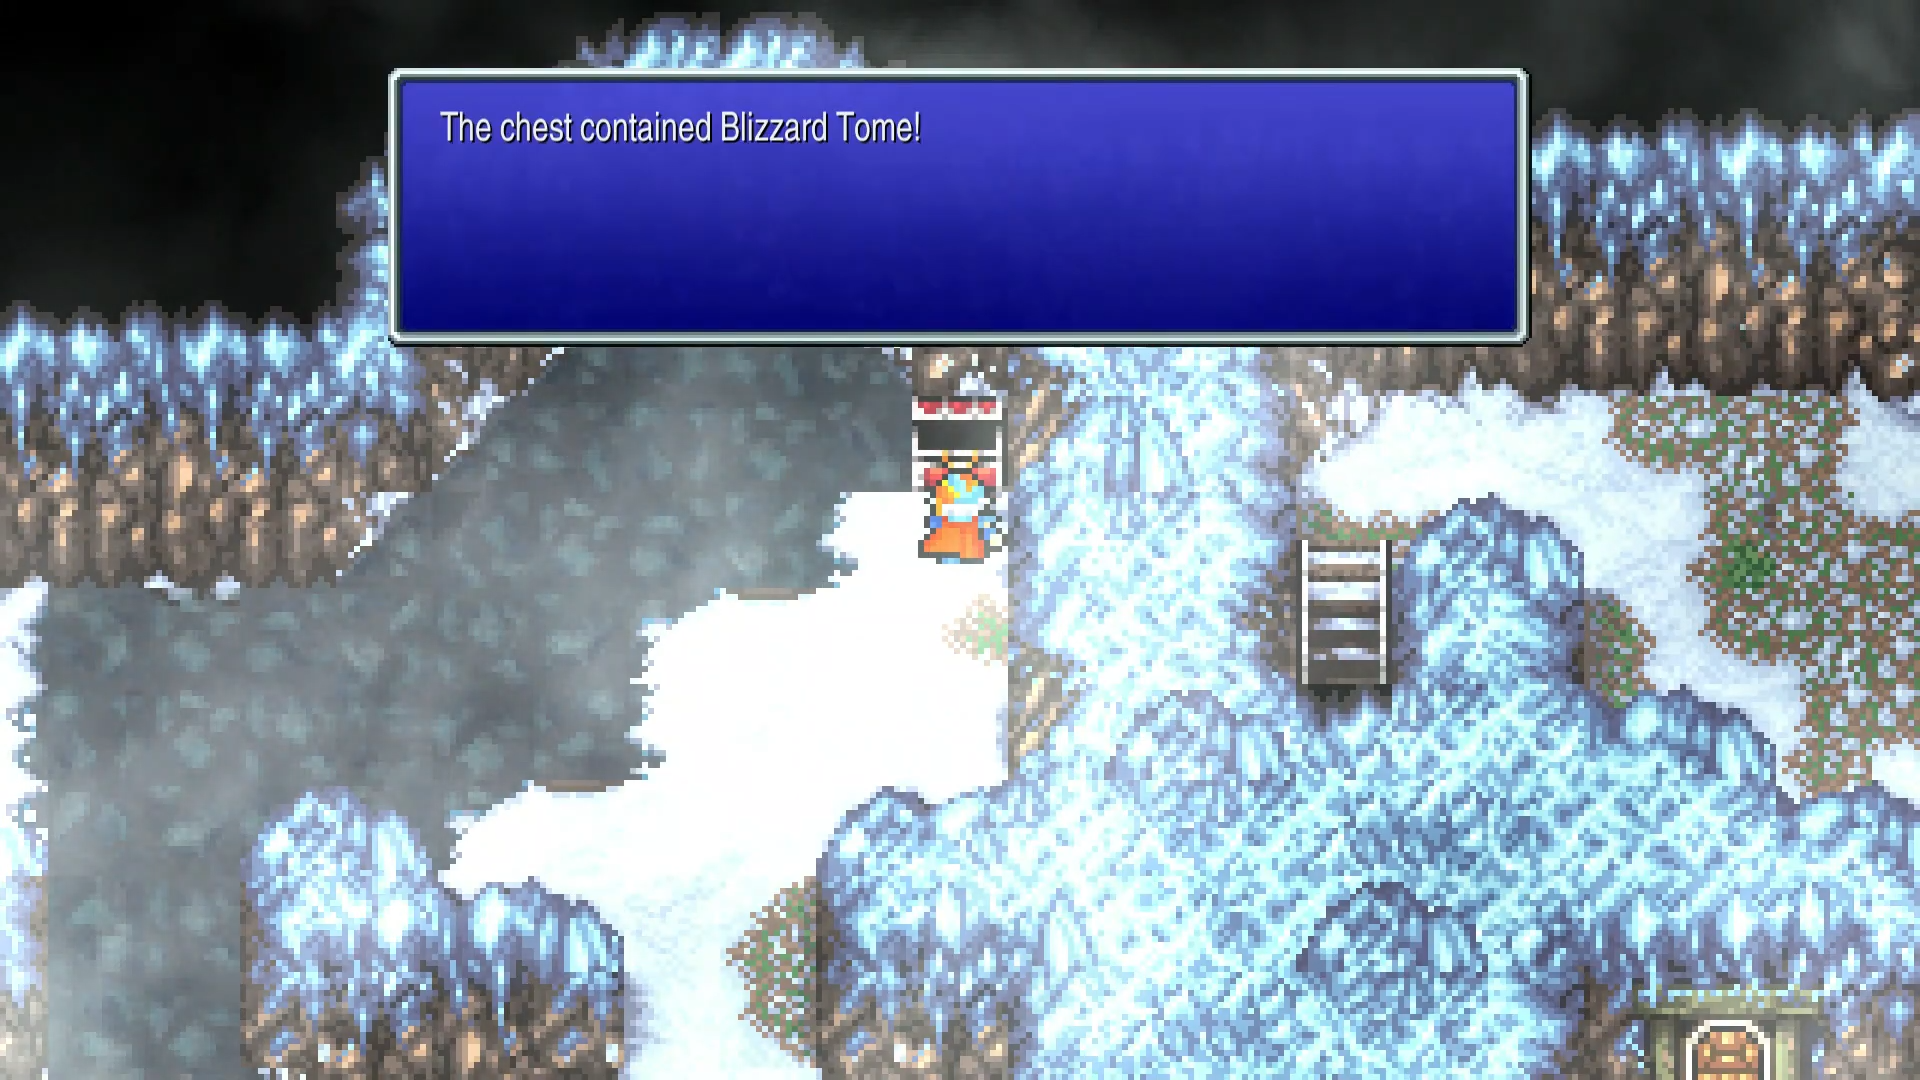
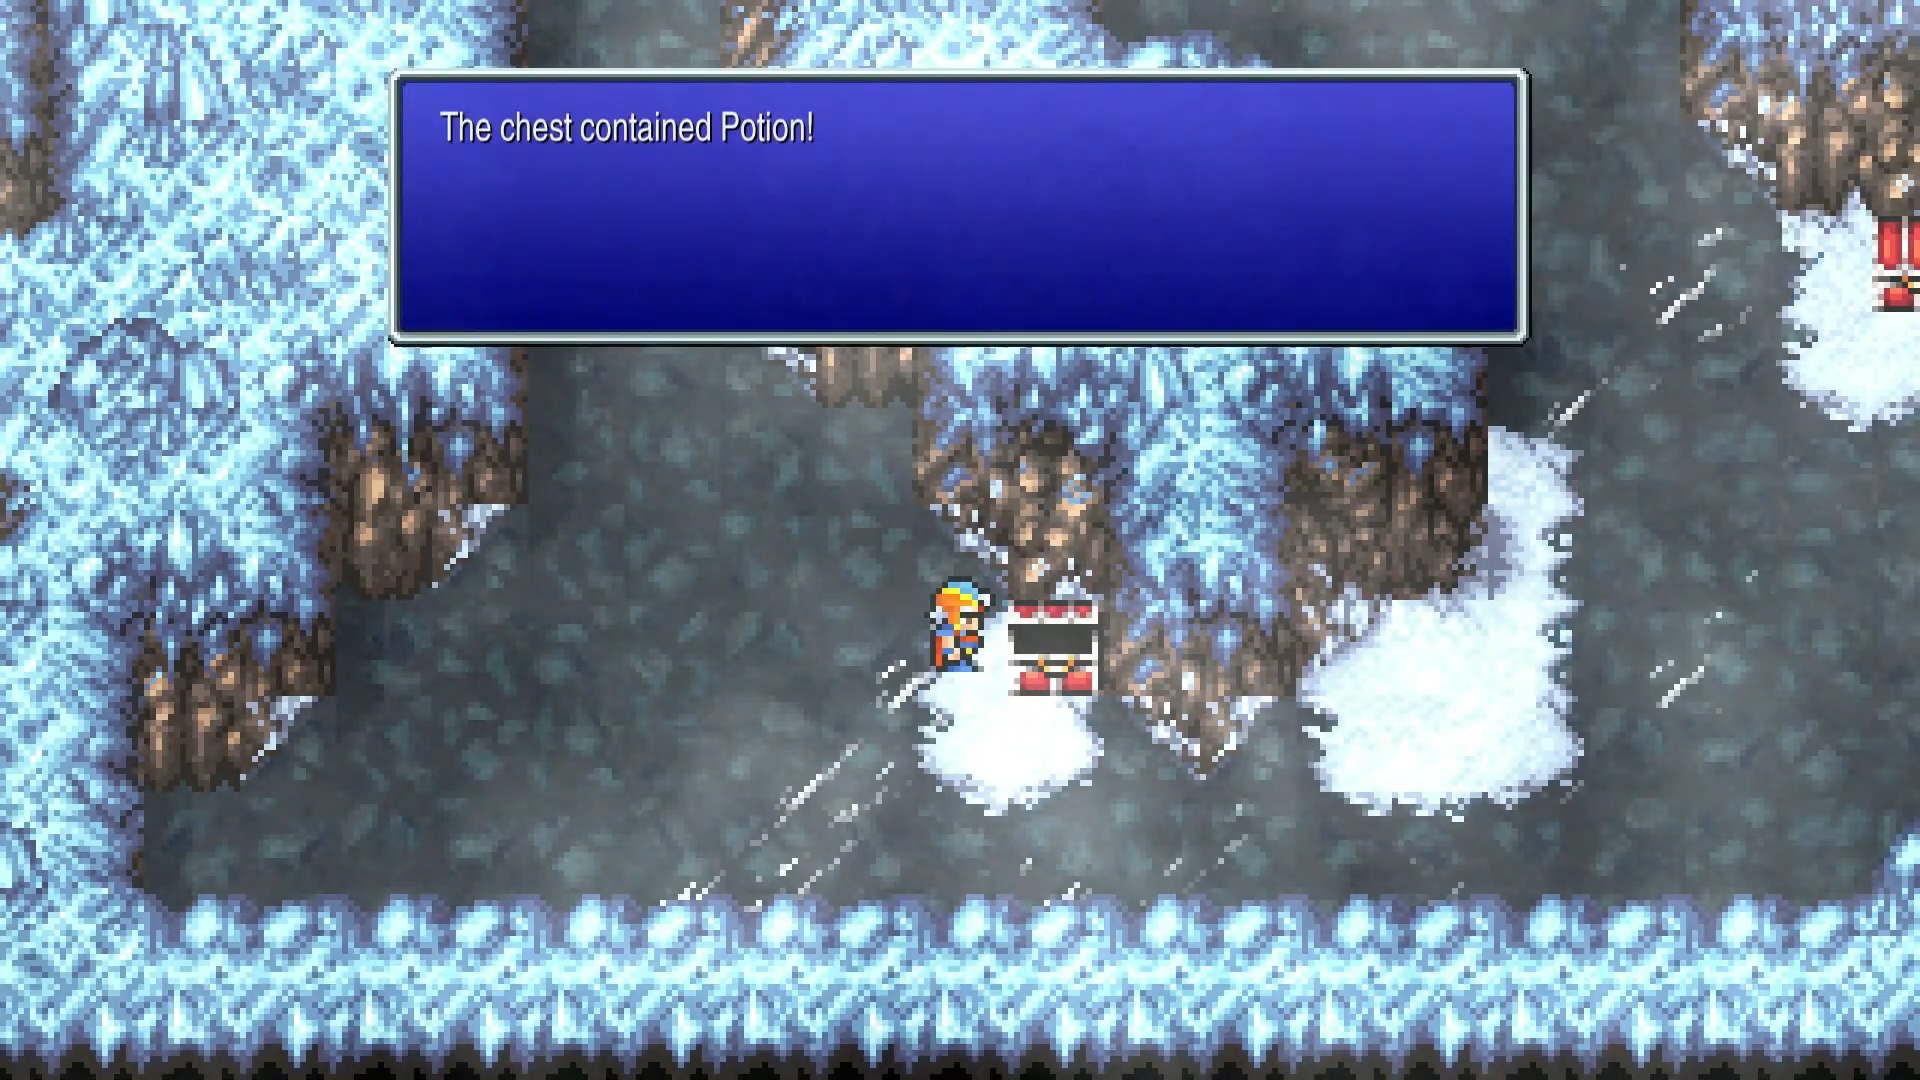
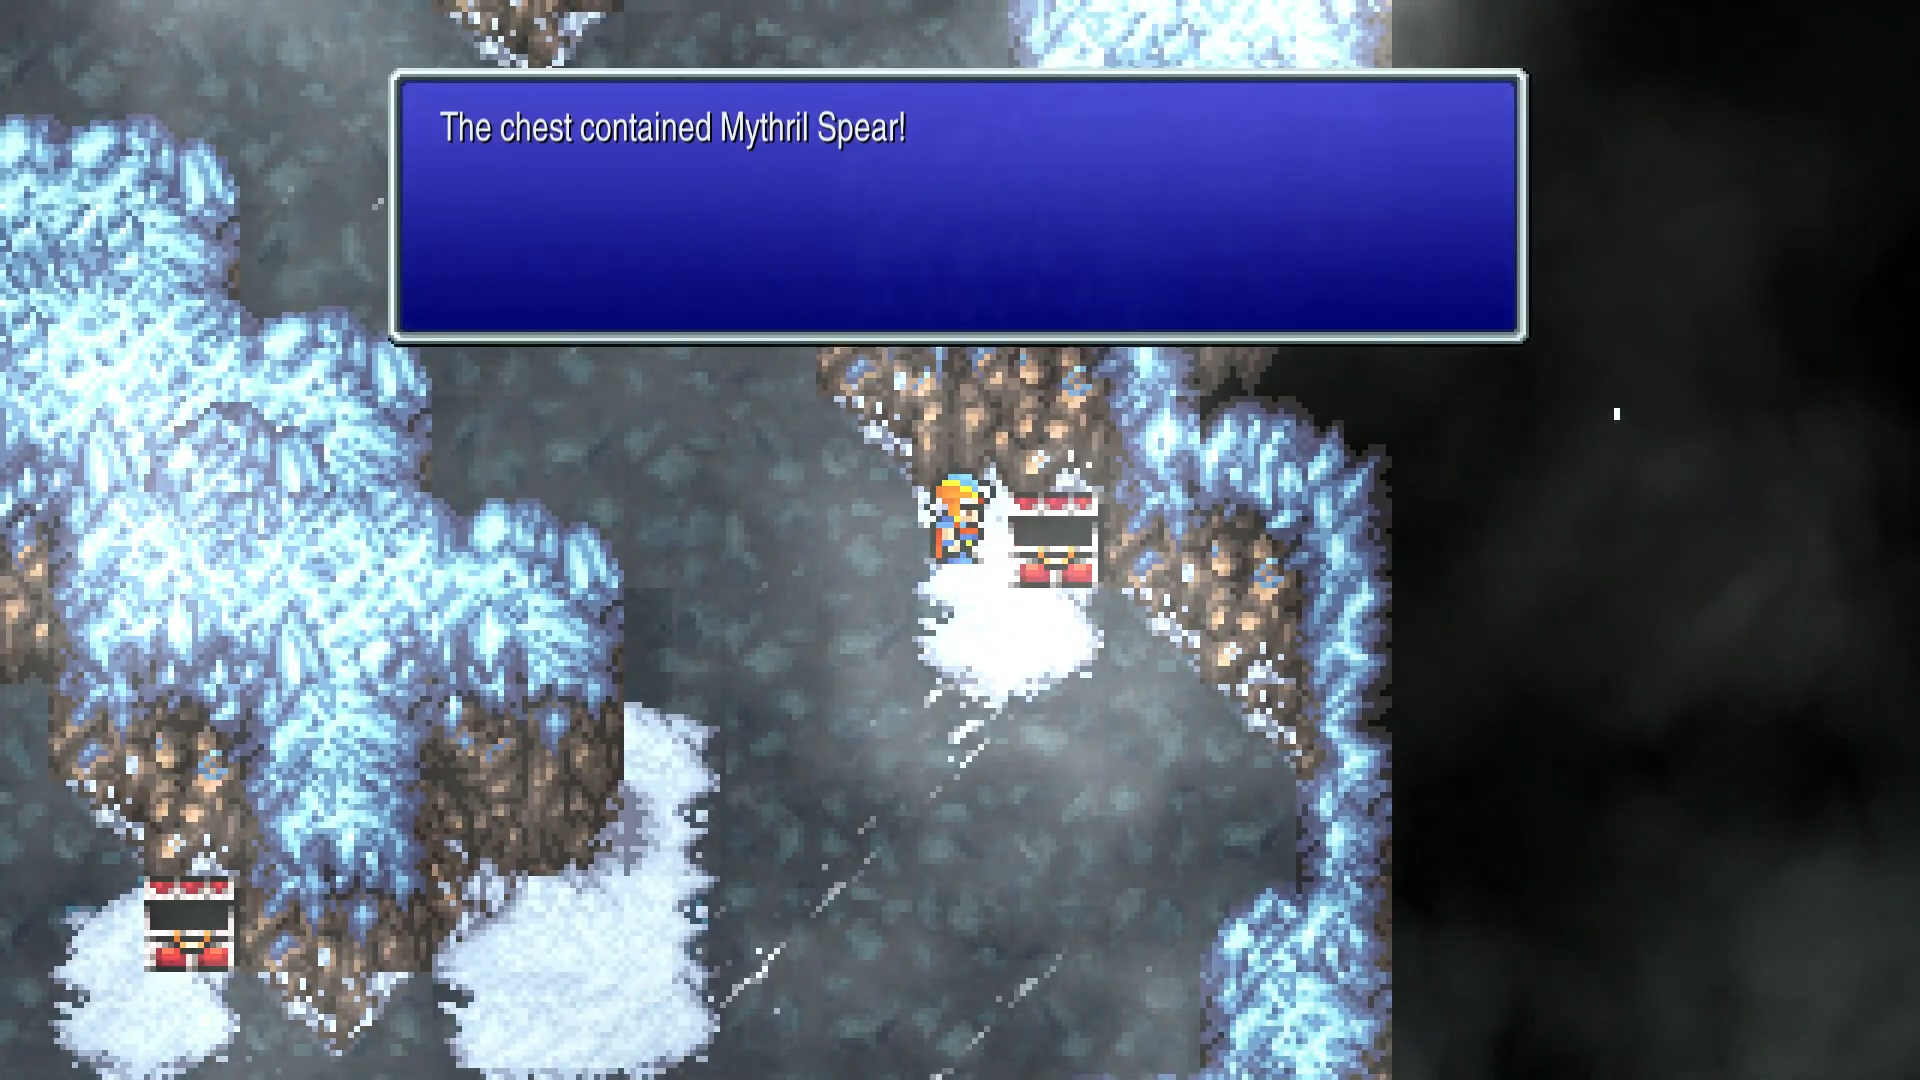
Head straight south for chest 10 (Potion), and just to the right is chest 11 (Mythril Spear).
Head north from there, skip the door, go around and take the stairs instead.
B6
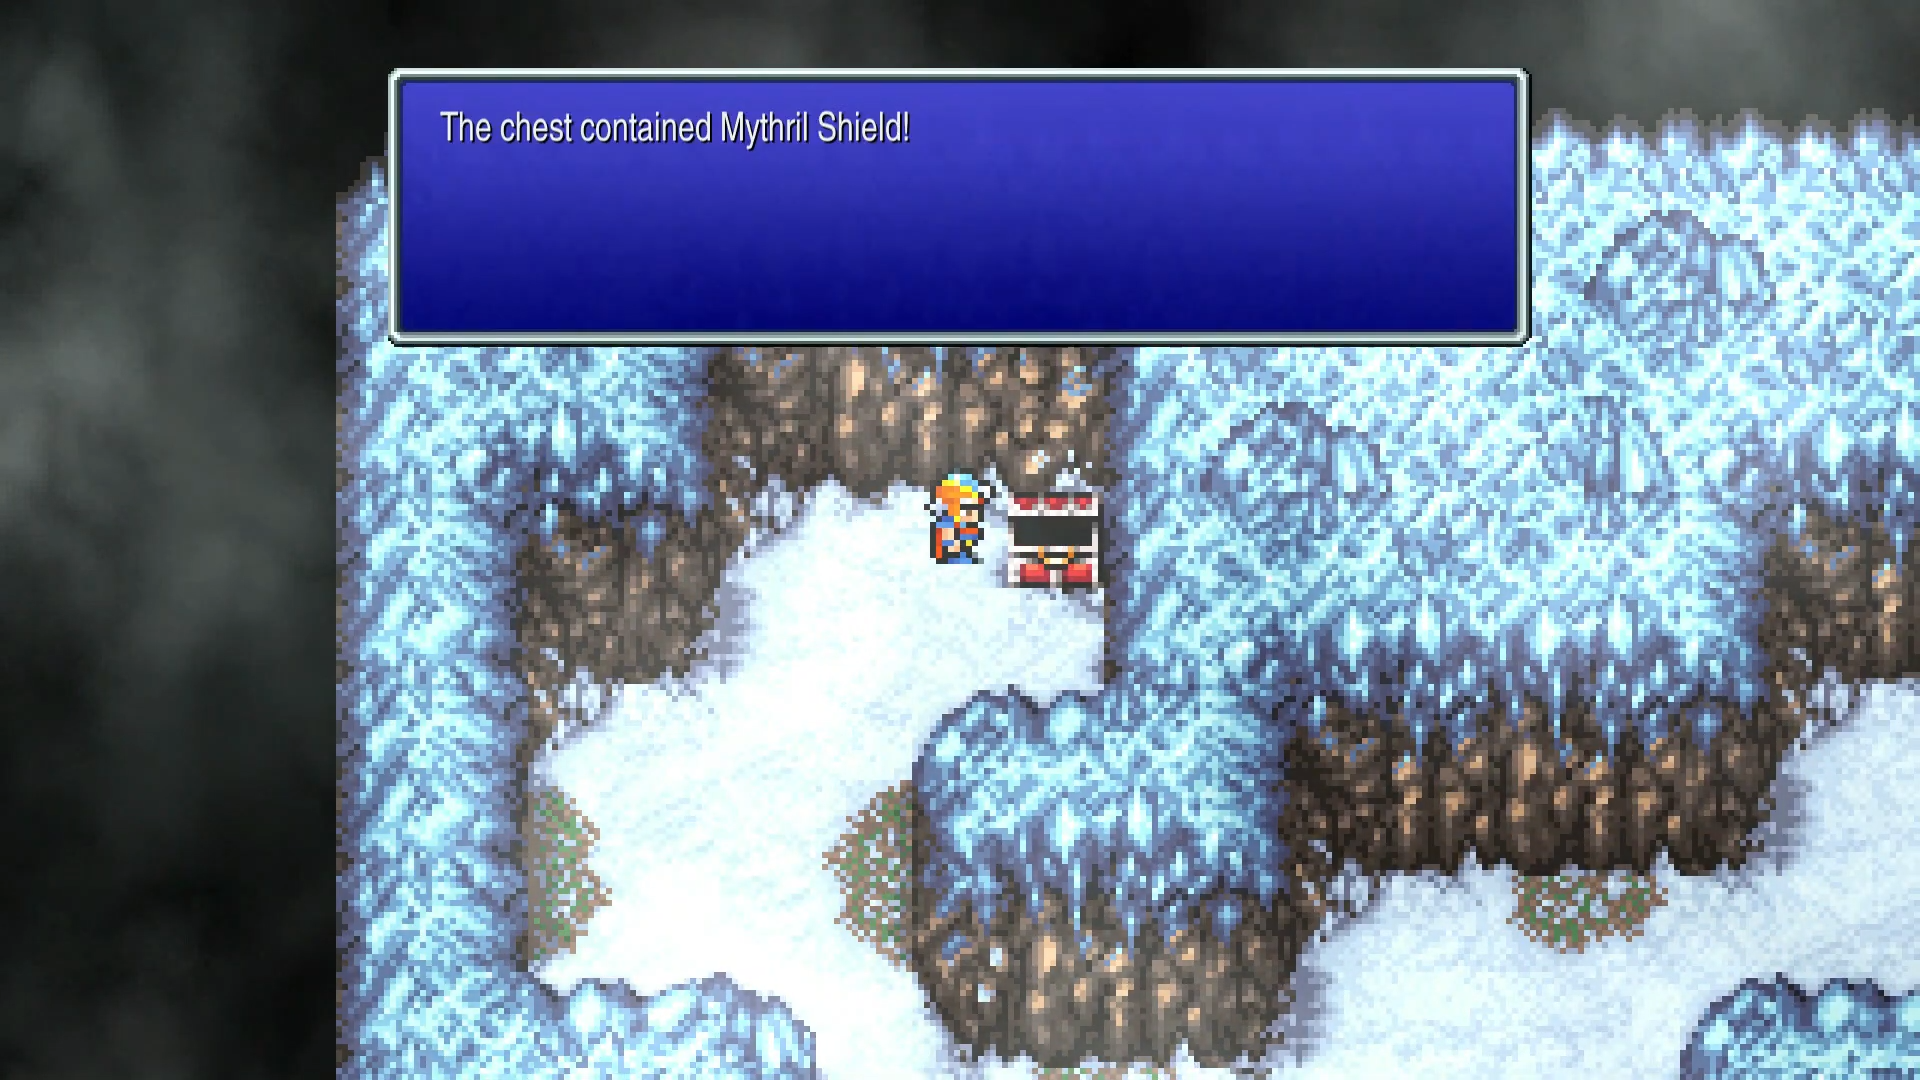
Head toward the intersection and go all the way to the west. In the top left corner is chest 12 (Mythril Shield). The door nearby has nothing in it, so skip it.
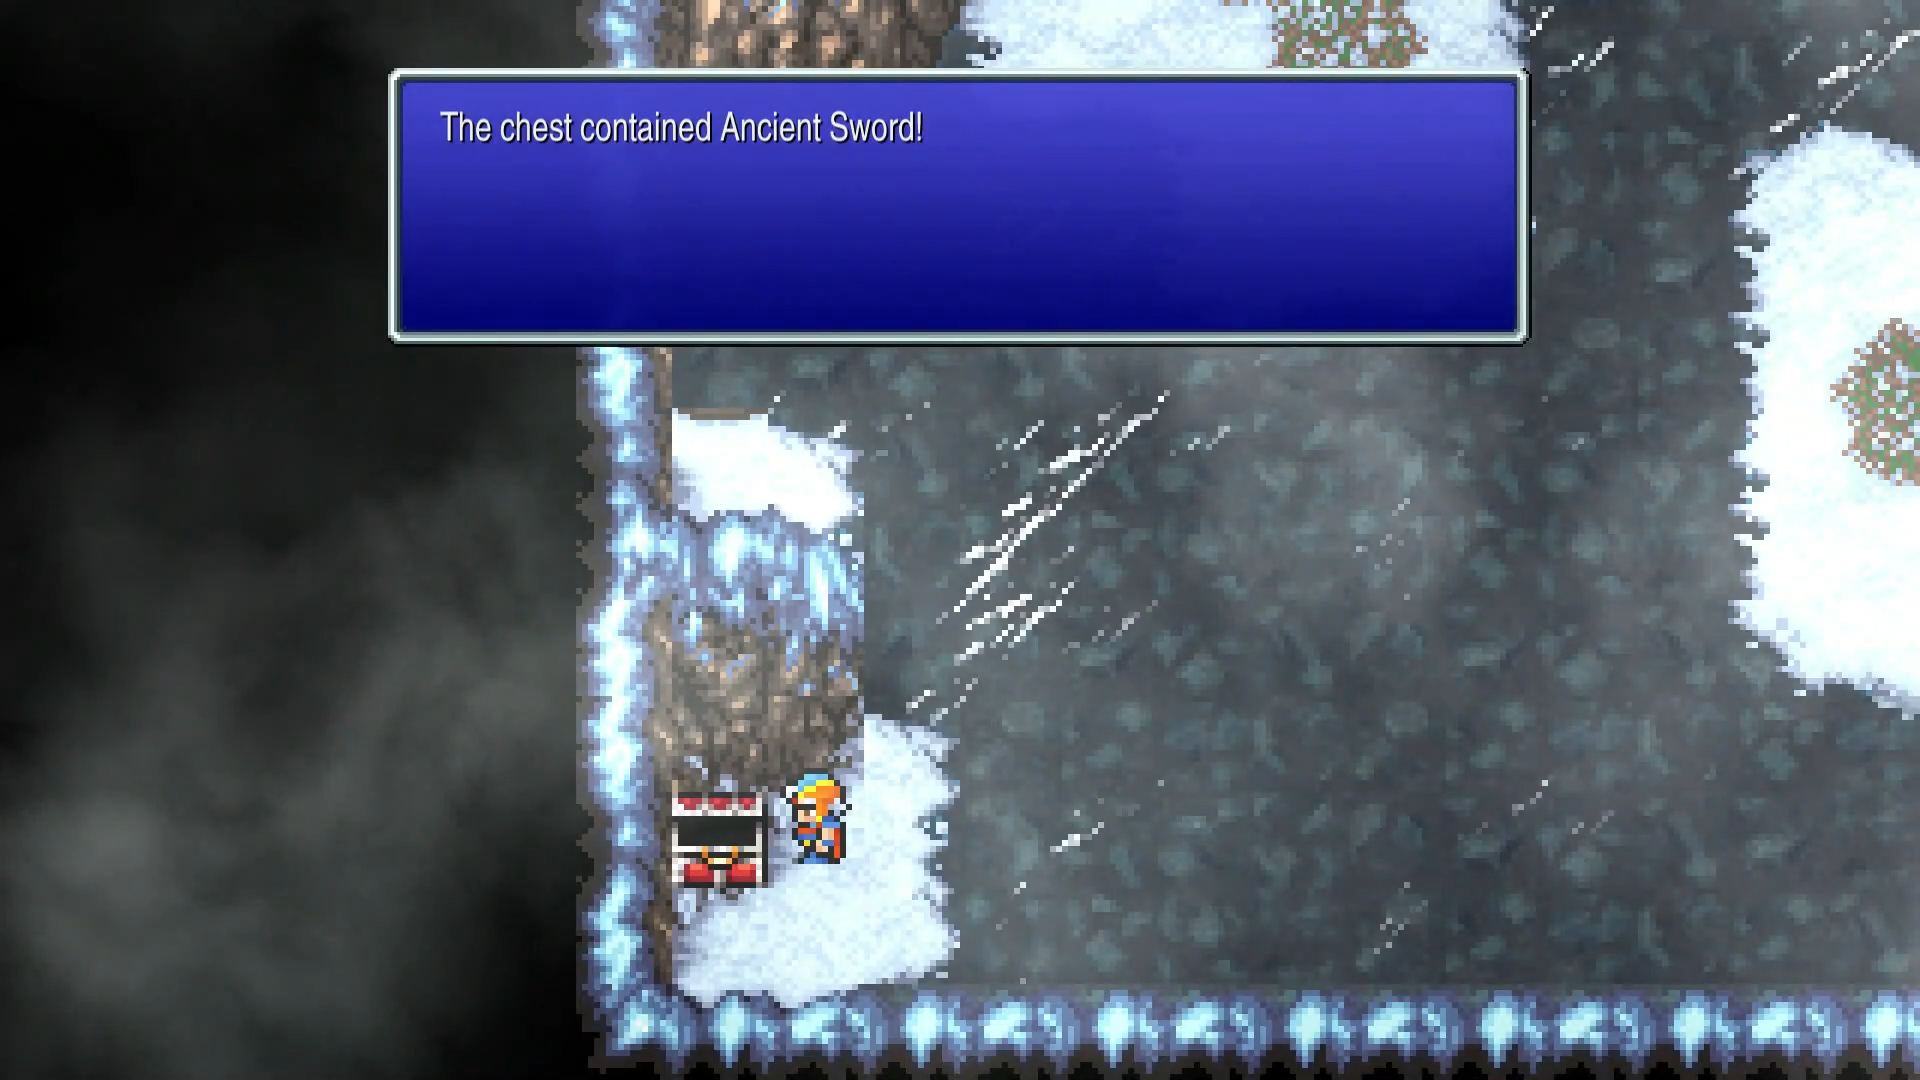
Go around to the right and head south. Go to the bottom left corner of this area - you'll fight some Ghouls and Shadows. They're weak to Fire if you have a good Fire spell. Grab chest 13 (Ancient Sword) and equip it on a sword user.
The Beaver Room
Go to the bottom right corner of this area and enter the door. This room is full of Beavers. Head up and talk to the one against the top wall - Guy can speak Beaver!
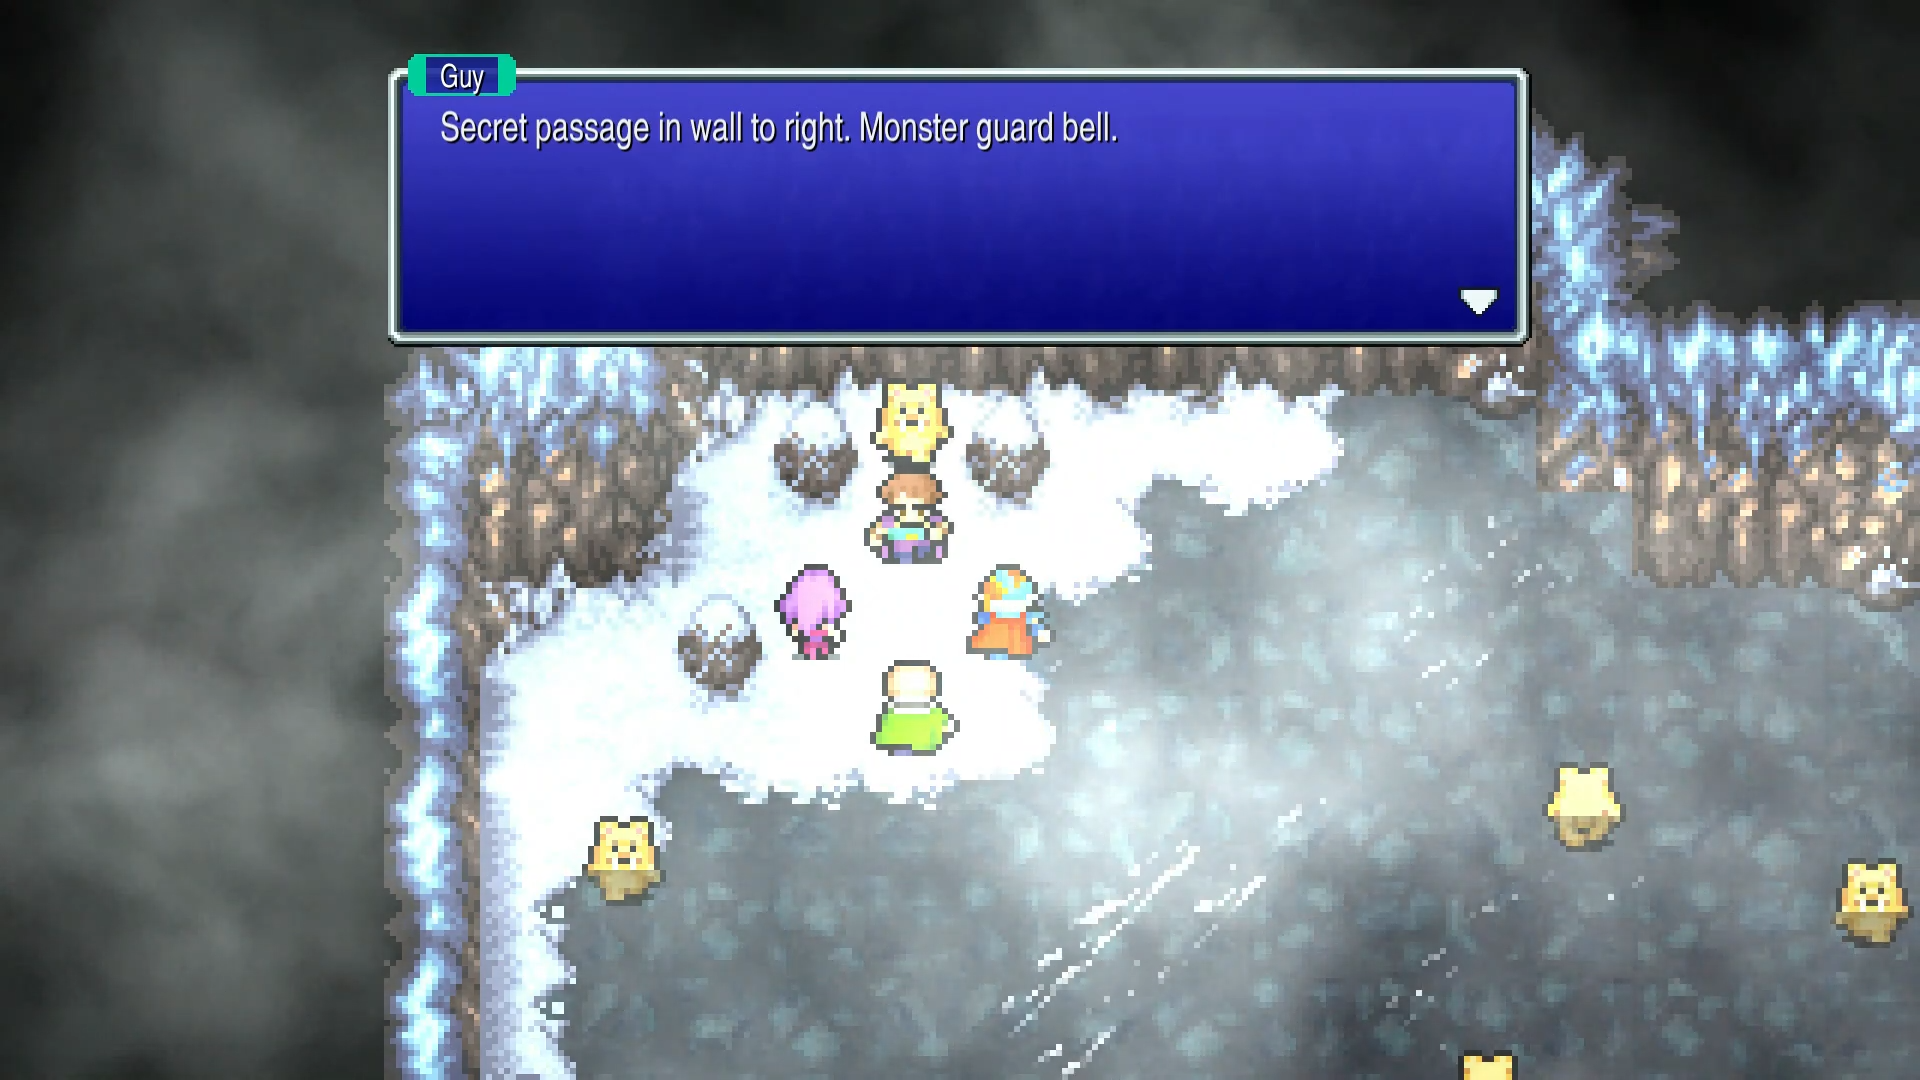
Ask the Beaver about the Goddess's Bell. He tells you there's a secret passage in the wall to the right, and a monster guards the Bell.
Go to the right and in the top right corner you can actually walk through the wall - this takes you to a new area.
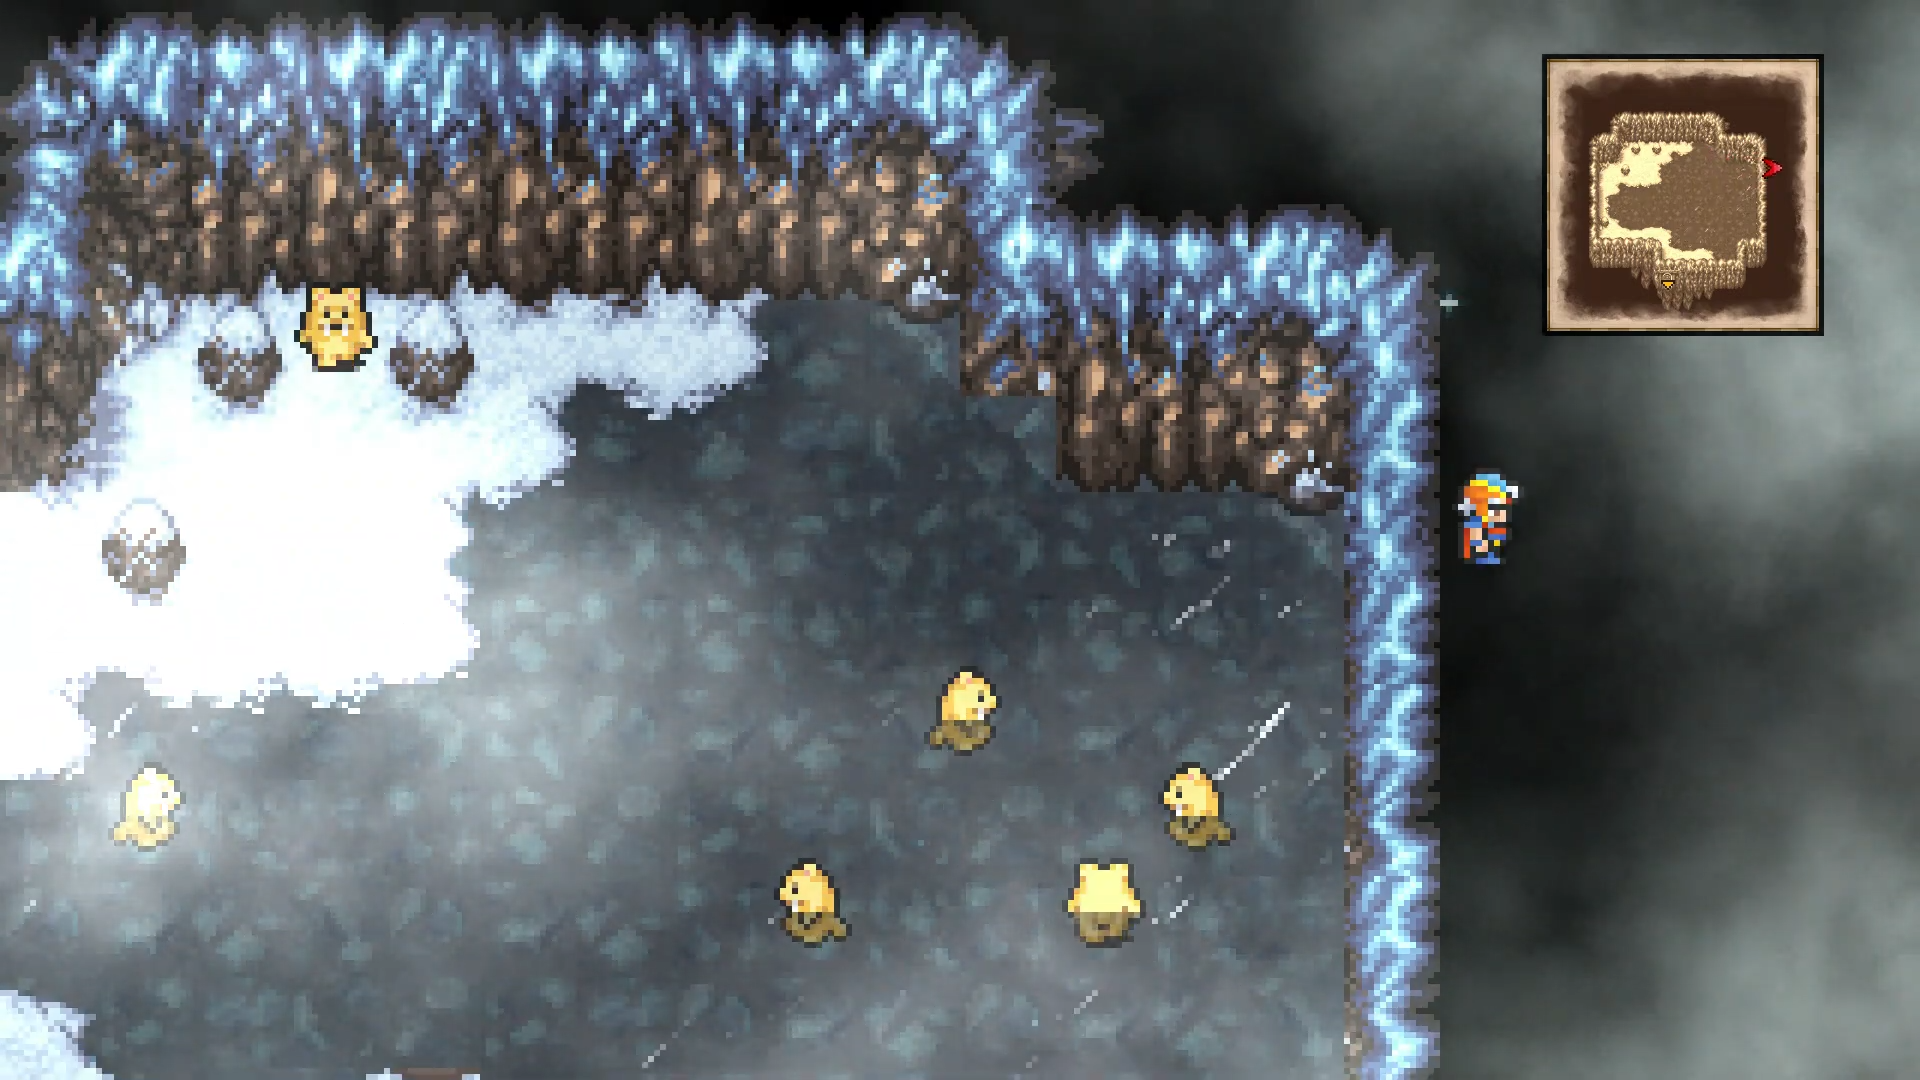
B7 - Secret Passage
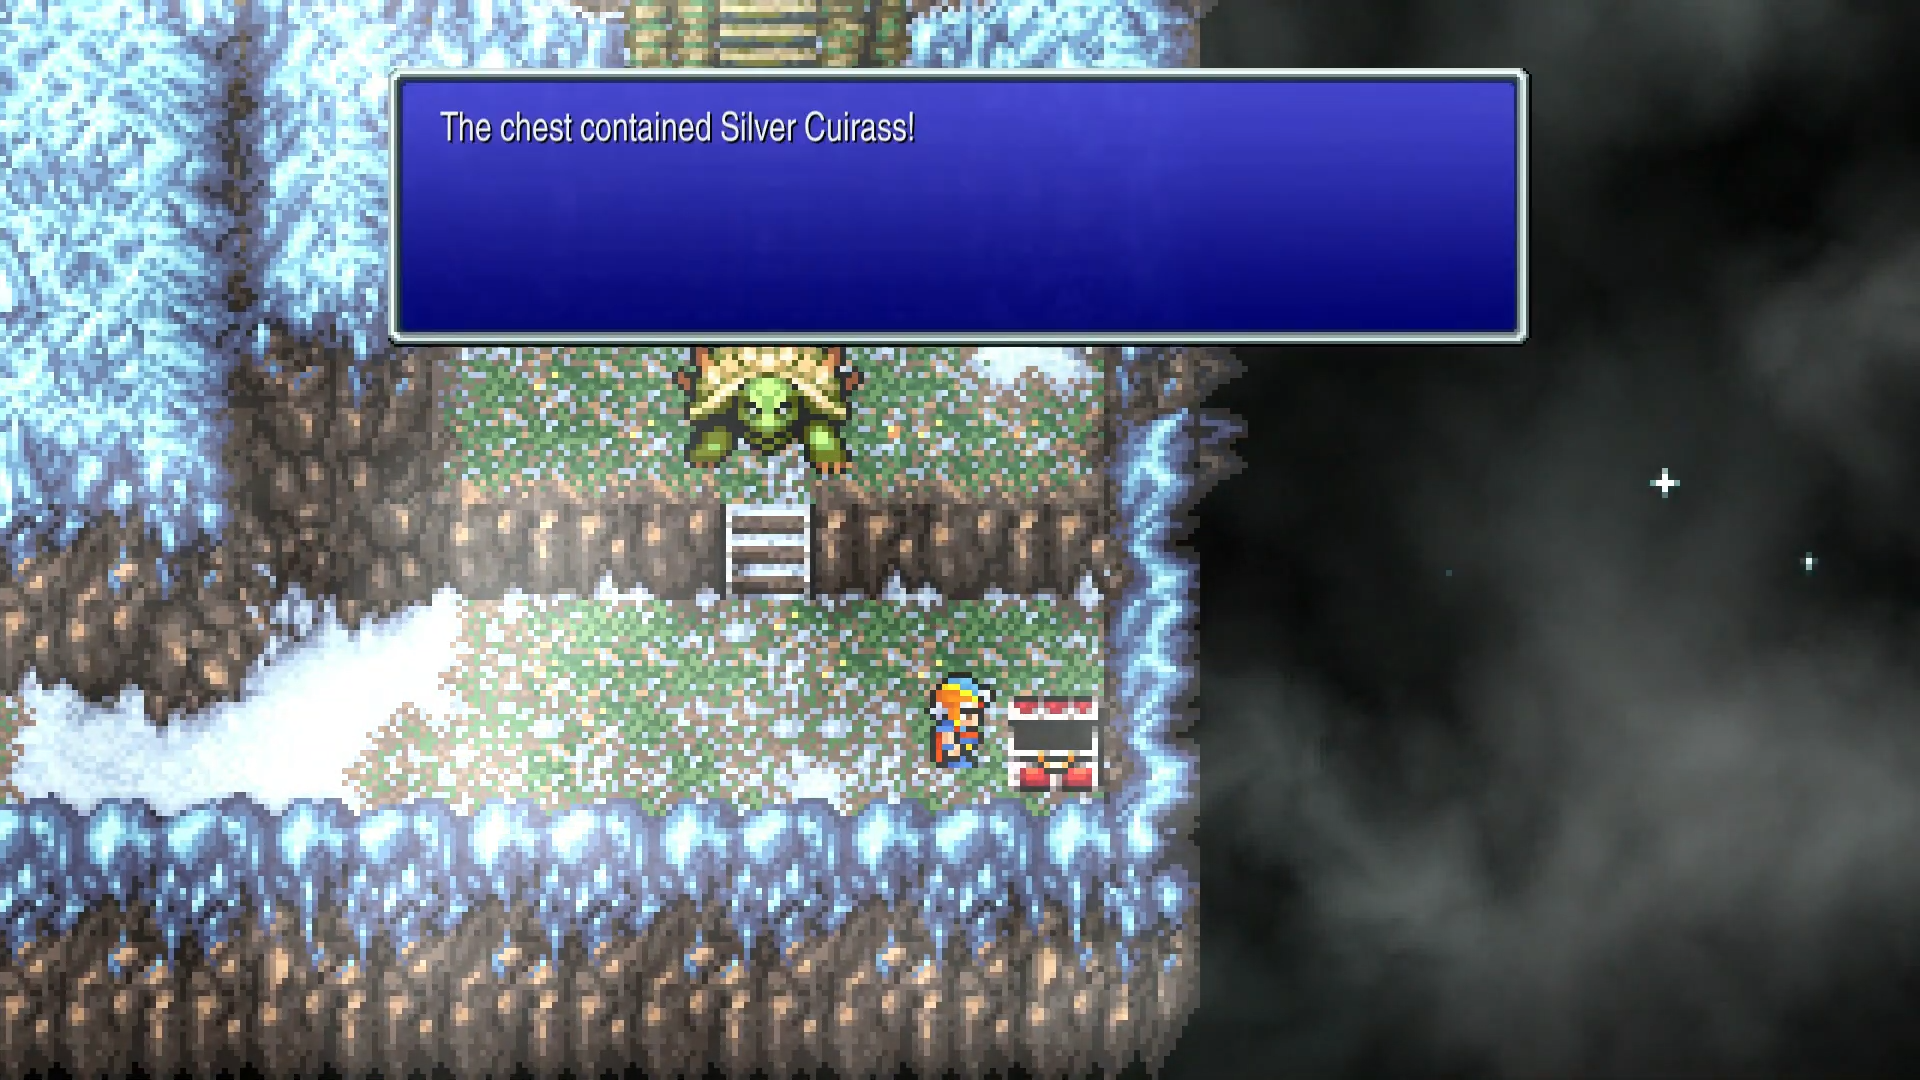
The path zigzags down - follow it to the bottom row. Far right is chest 14 (Silver Cuirass). That's all 13 chests.
Heal up and save before the boss. Physical attacks bounce off - you need Blizzard (or that Antarctic Wind).
Adamantoise Boss Fight
Talk to the Adamantoise guarding the Bell to start the fight.
Weakness: Ice | Resists: Physical (60 Defense)
Same deal as the Land Turtle - 60 Defense means physical attacks hit for 0 damage. Spam Blizzard. If you grabbed the Antarctic Wind from B3, use it here; it one-shots the boss. Alternatively, equip the Ancient Sword from B6 and attack to inflict Curse, which tanks its Defense and lets your fighters actually deal damage.
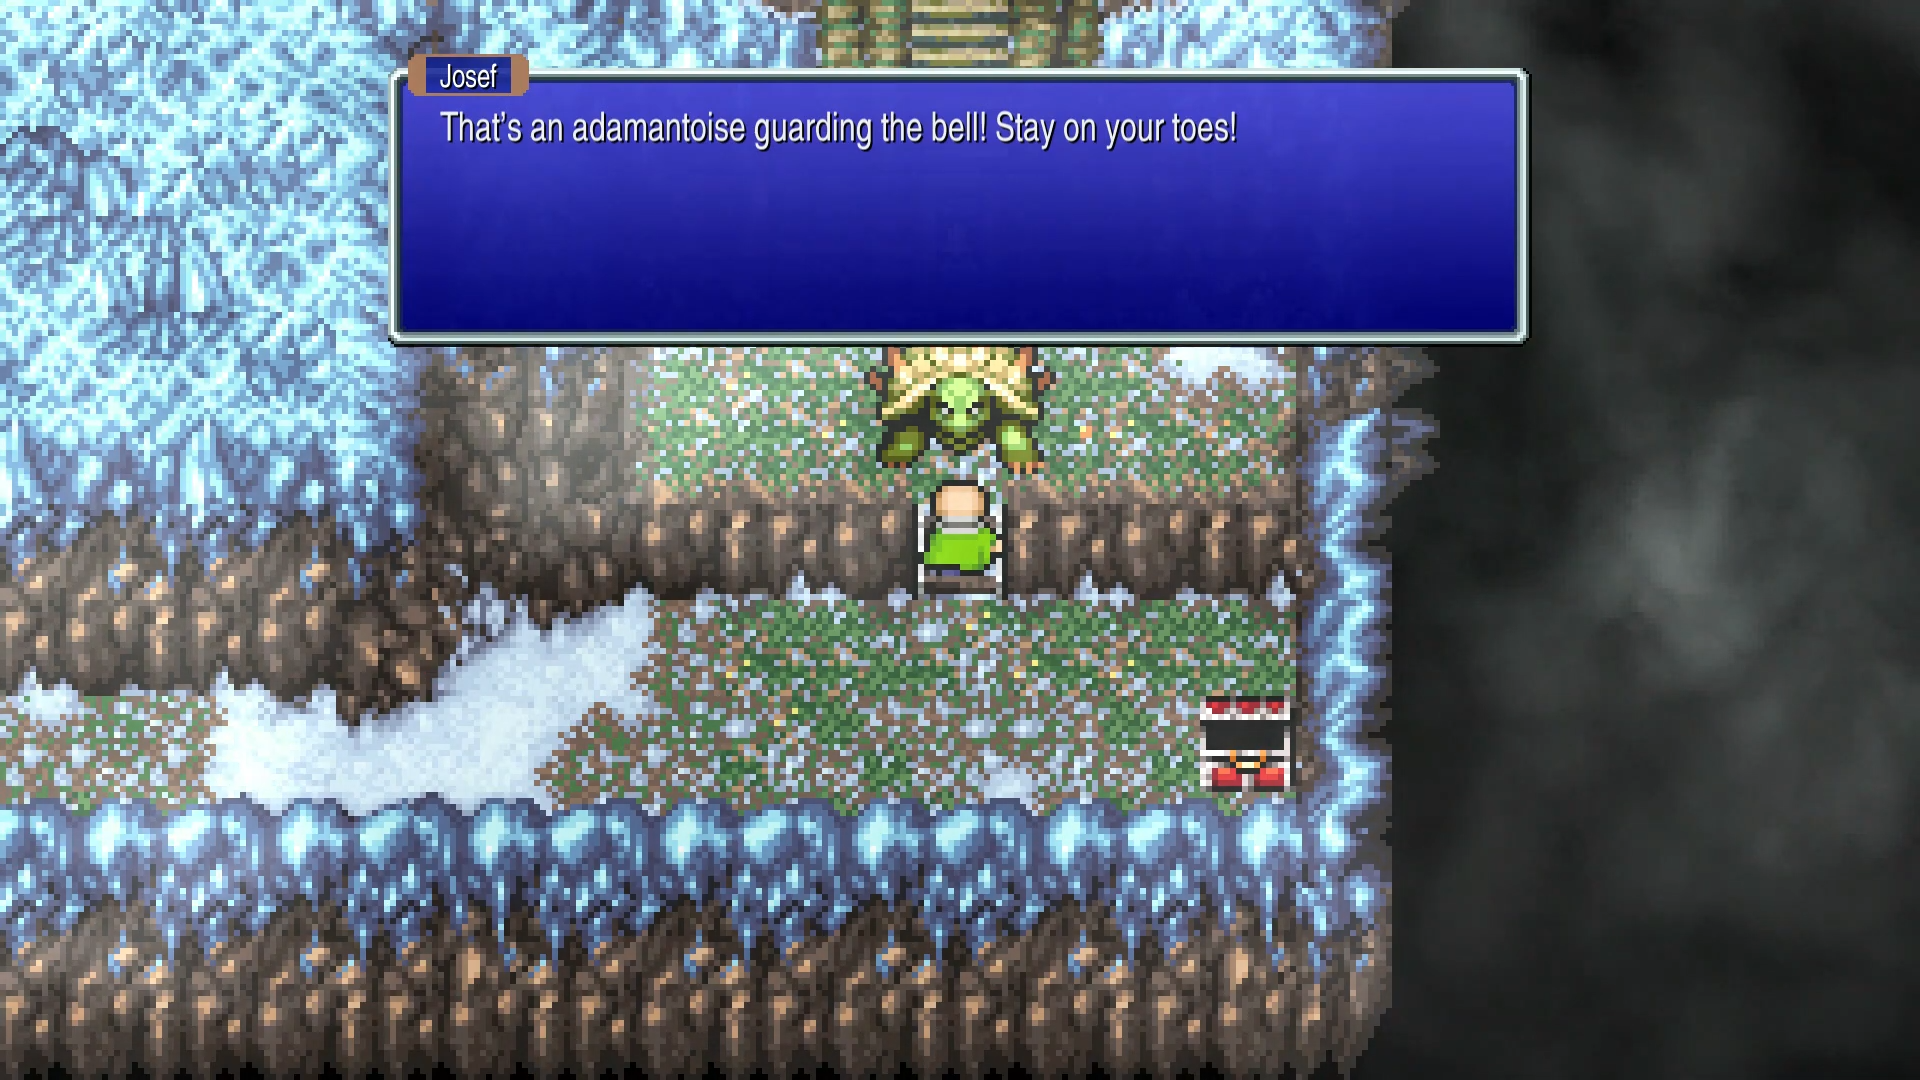
After the boss, go up and grab the Goddess's Bell from the wall.
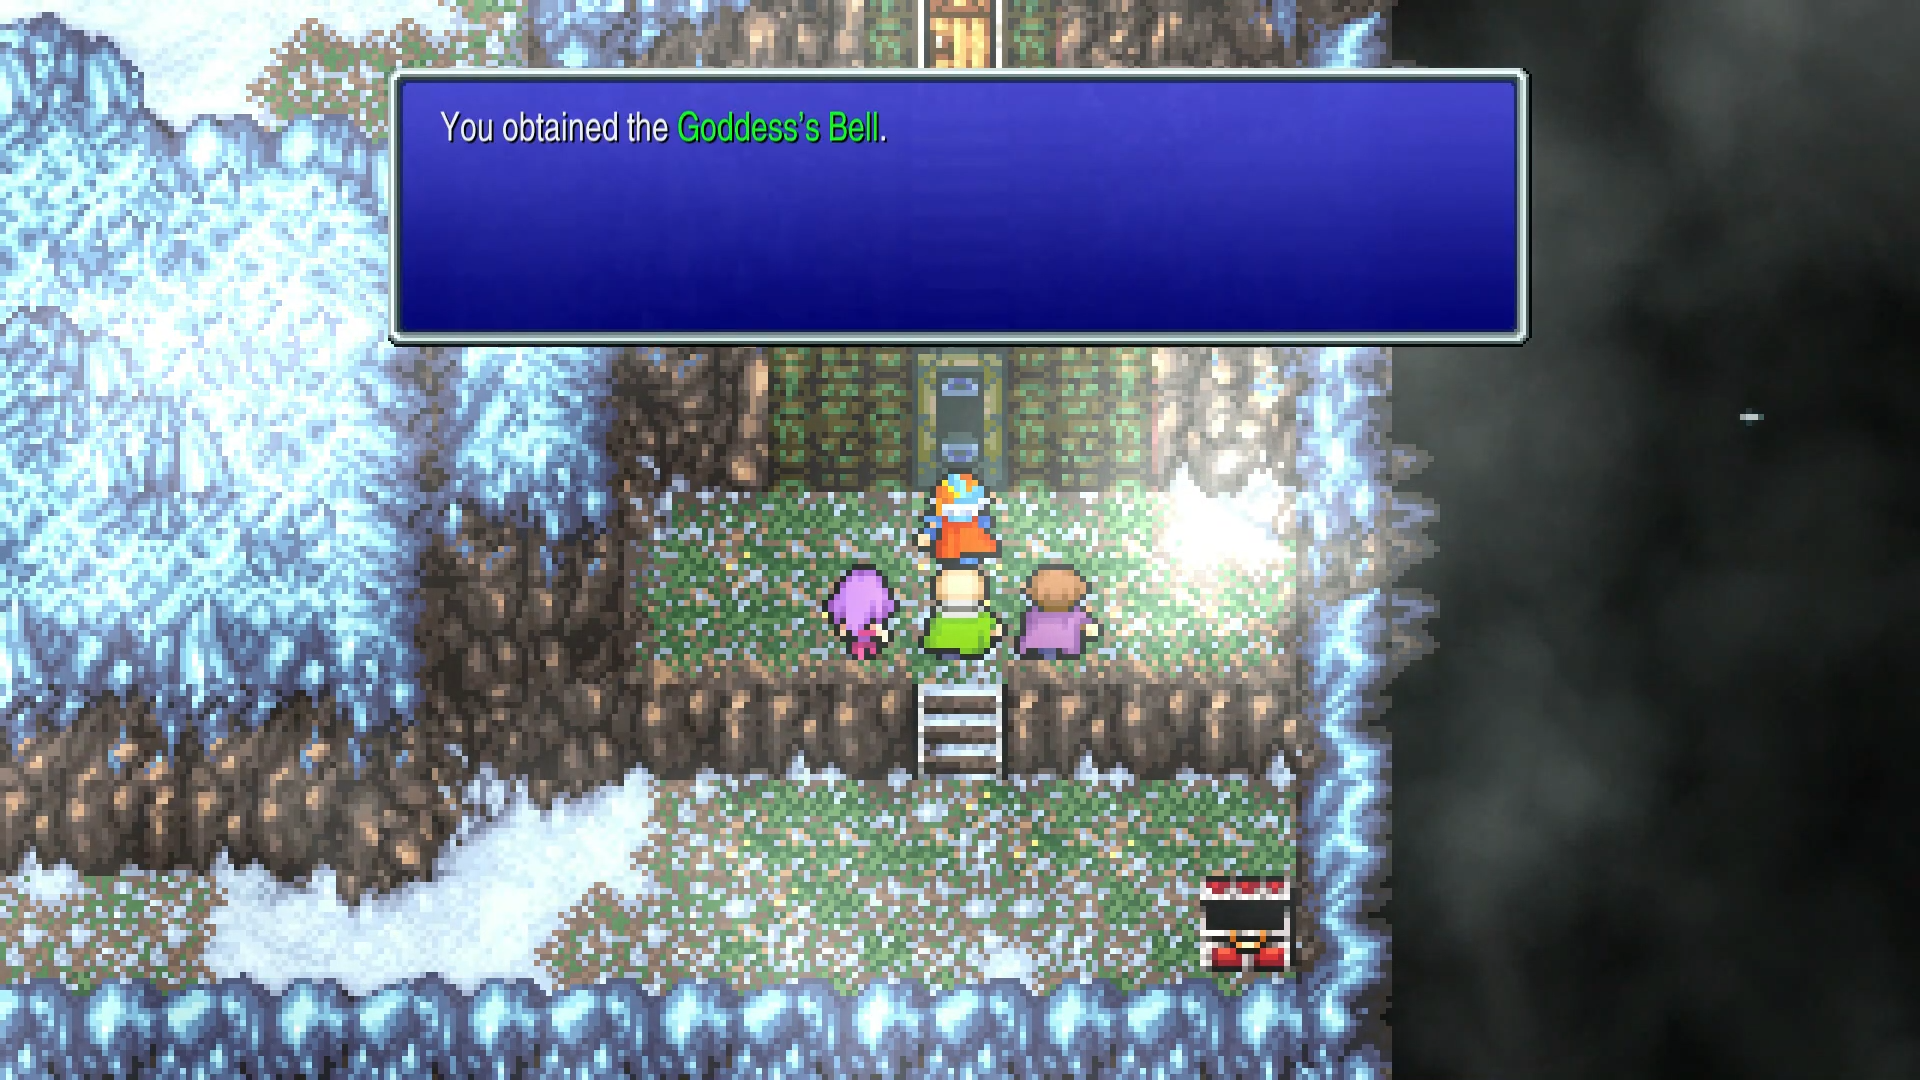
Escaping the Cavern
Head up the stairs and go through the door - this spits you back out at that door from B1 that we skipped earlier. We're right back near the beginning of the dungeon.
Heads up: Josef leaves your party soon. Pixel Remaster auto-unequips departing characters, so you won't lose his gear - but strip him now if you want to use it immediately.
Head north, then right. You'll spot a staircase with a man at the top - Borghen.
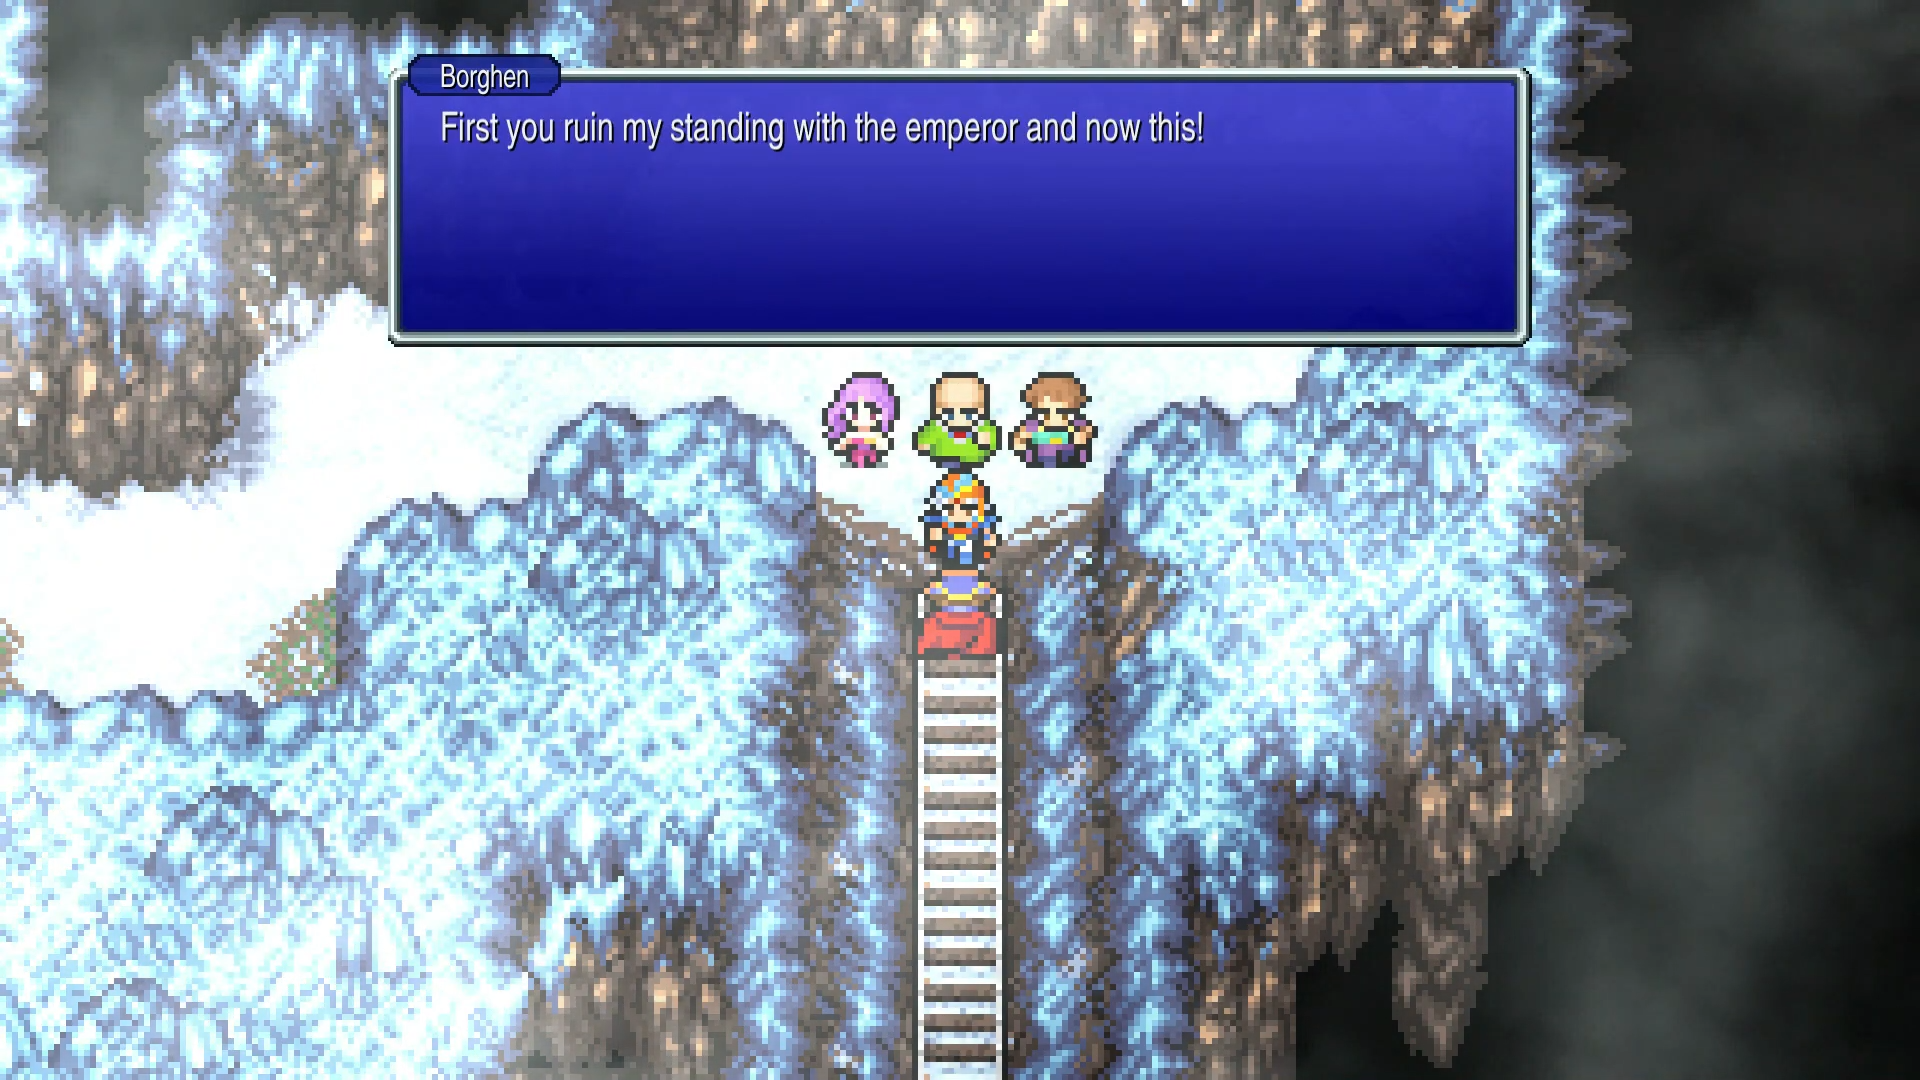
Borghen Boss Fight
Weakness: None | Resists: None
This is a very easy fight. A couple physical attacks and he's gone. You might even get a preemptive strike. Don't waste MP on magic - just auto-attack through this one.
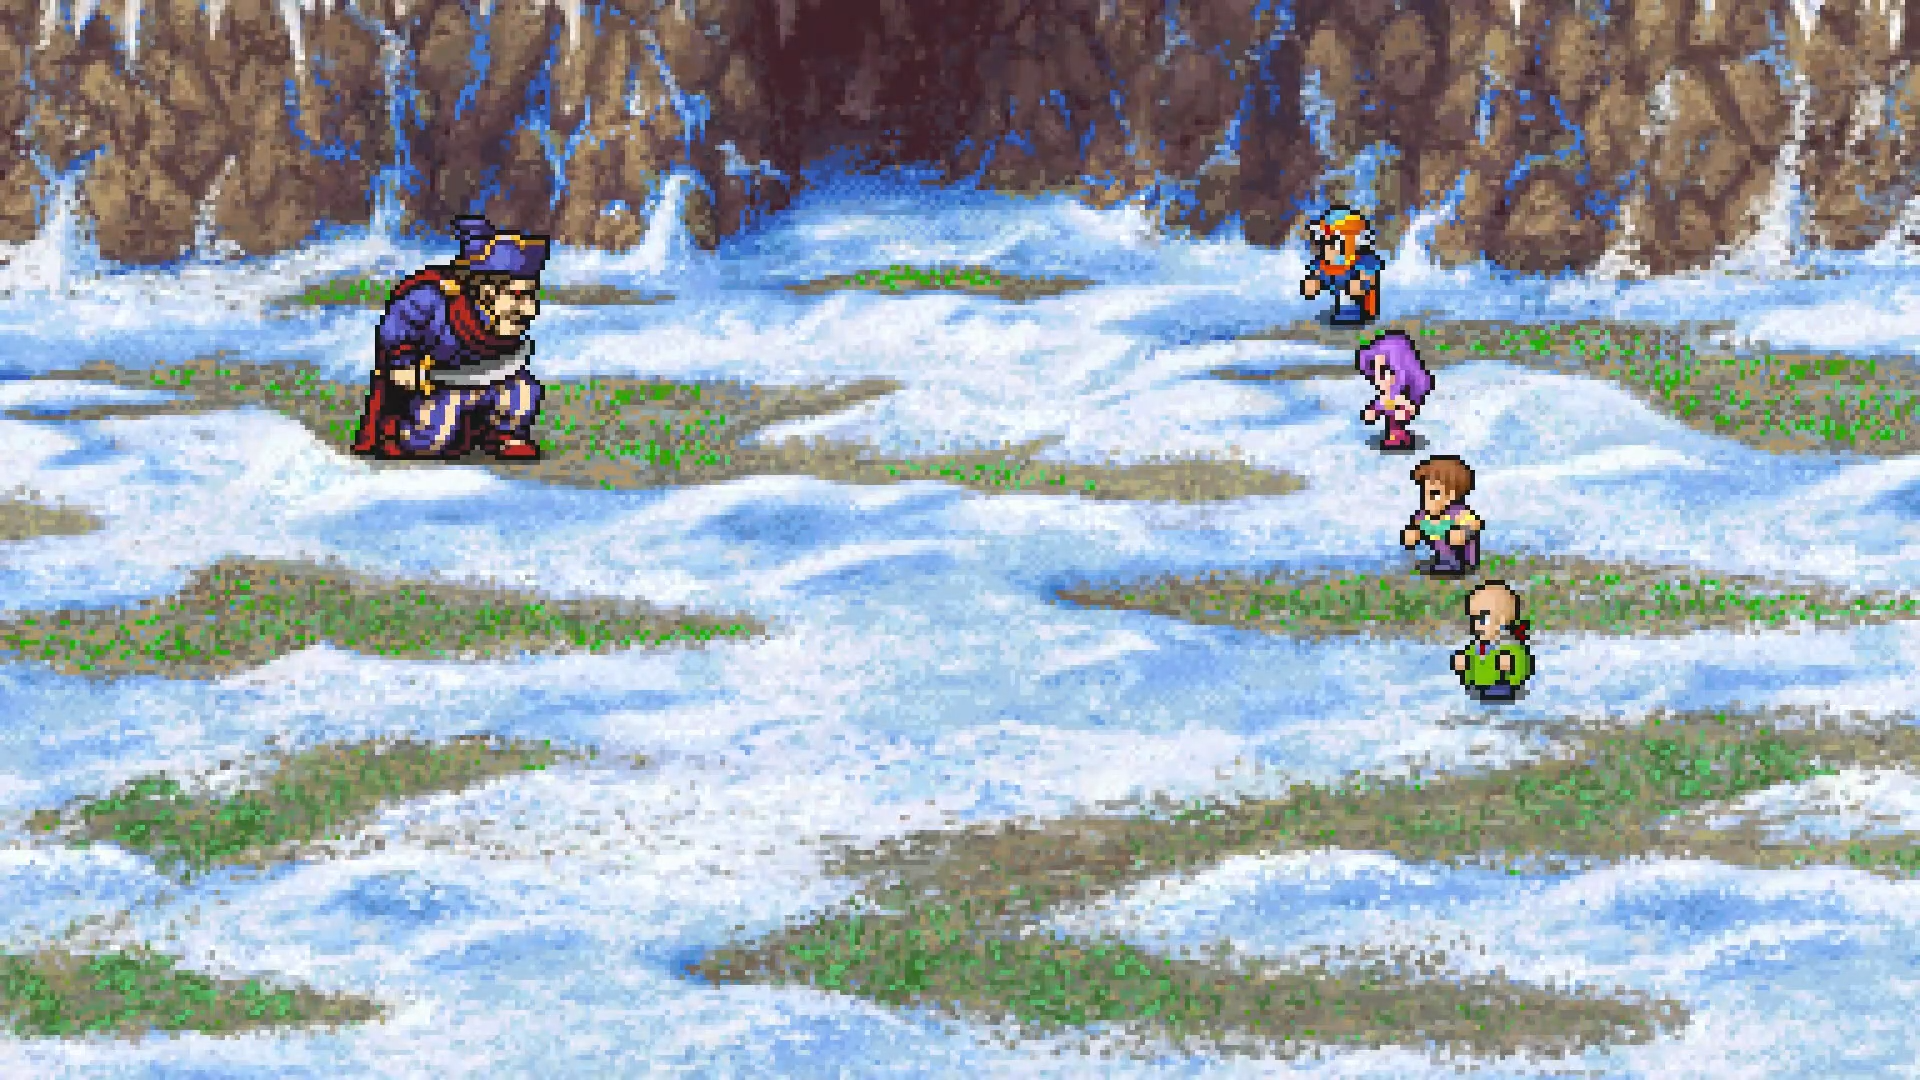
After the fight, Borghen reveals he's booby-trapped the cave - a boulder trap triggers.
Josef's Sacrifice
Warning: Major story event ahead.
The party runs for the exit, but Josef stays behind to hold back the boulder. He tells you to go on without him.
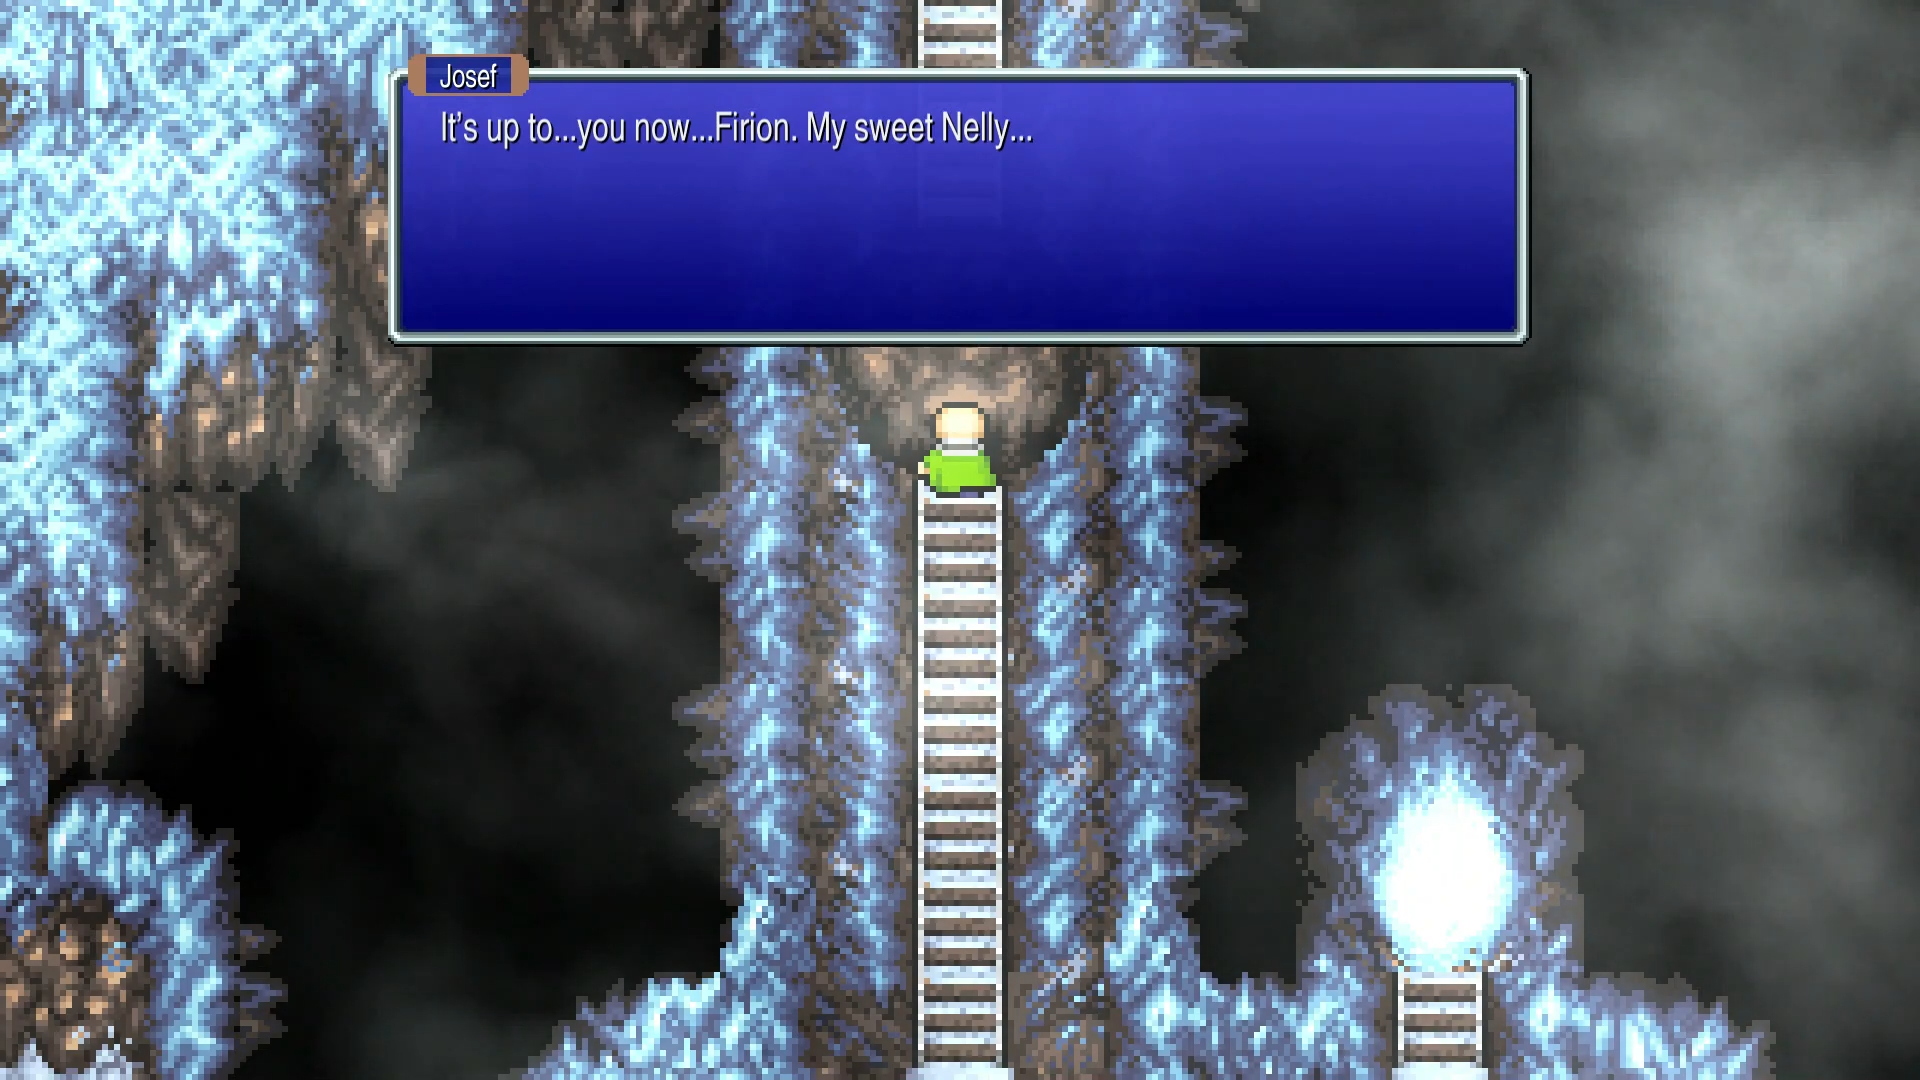
Josef sacrifices himself to save Firion, Maria, and Guy. His last words are for his daughter Nellie.
Return Journey
Back outside, ride the Snowcraft west until you hit grass. Long walk to Poft - use towns as waymarkers:
- Salamand - northwest around the mountains
- Bafsk - continue northwest
- Poft - southwest, follow the mountain range
At Poft, head into the Inn to heal up. Then go to the pub and talk to the guy behind where Cid is sitting (far right table). He'll ask where you want to go - say Kashuan. It costs 400 Gil.
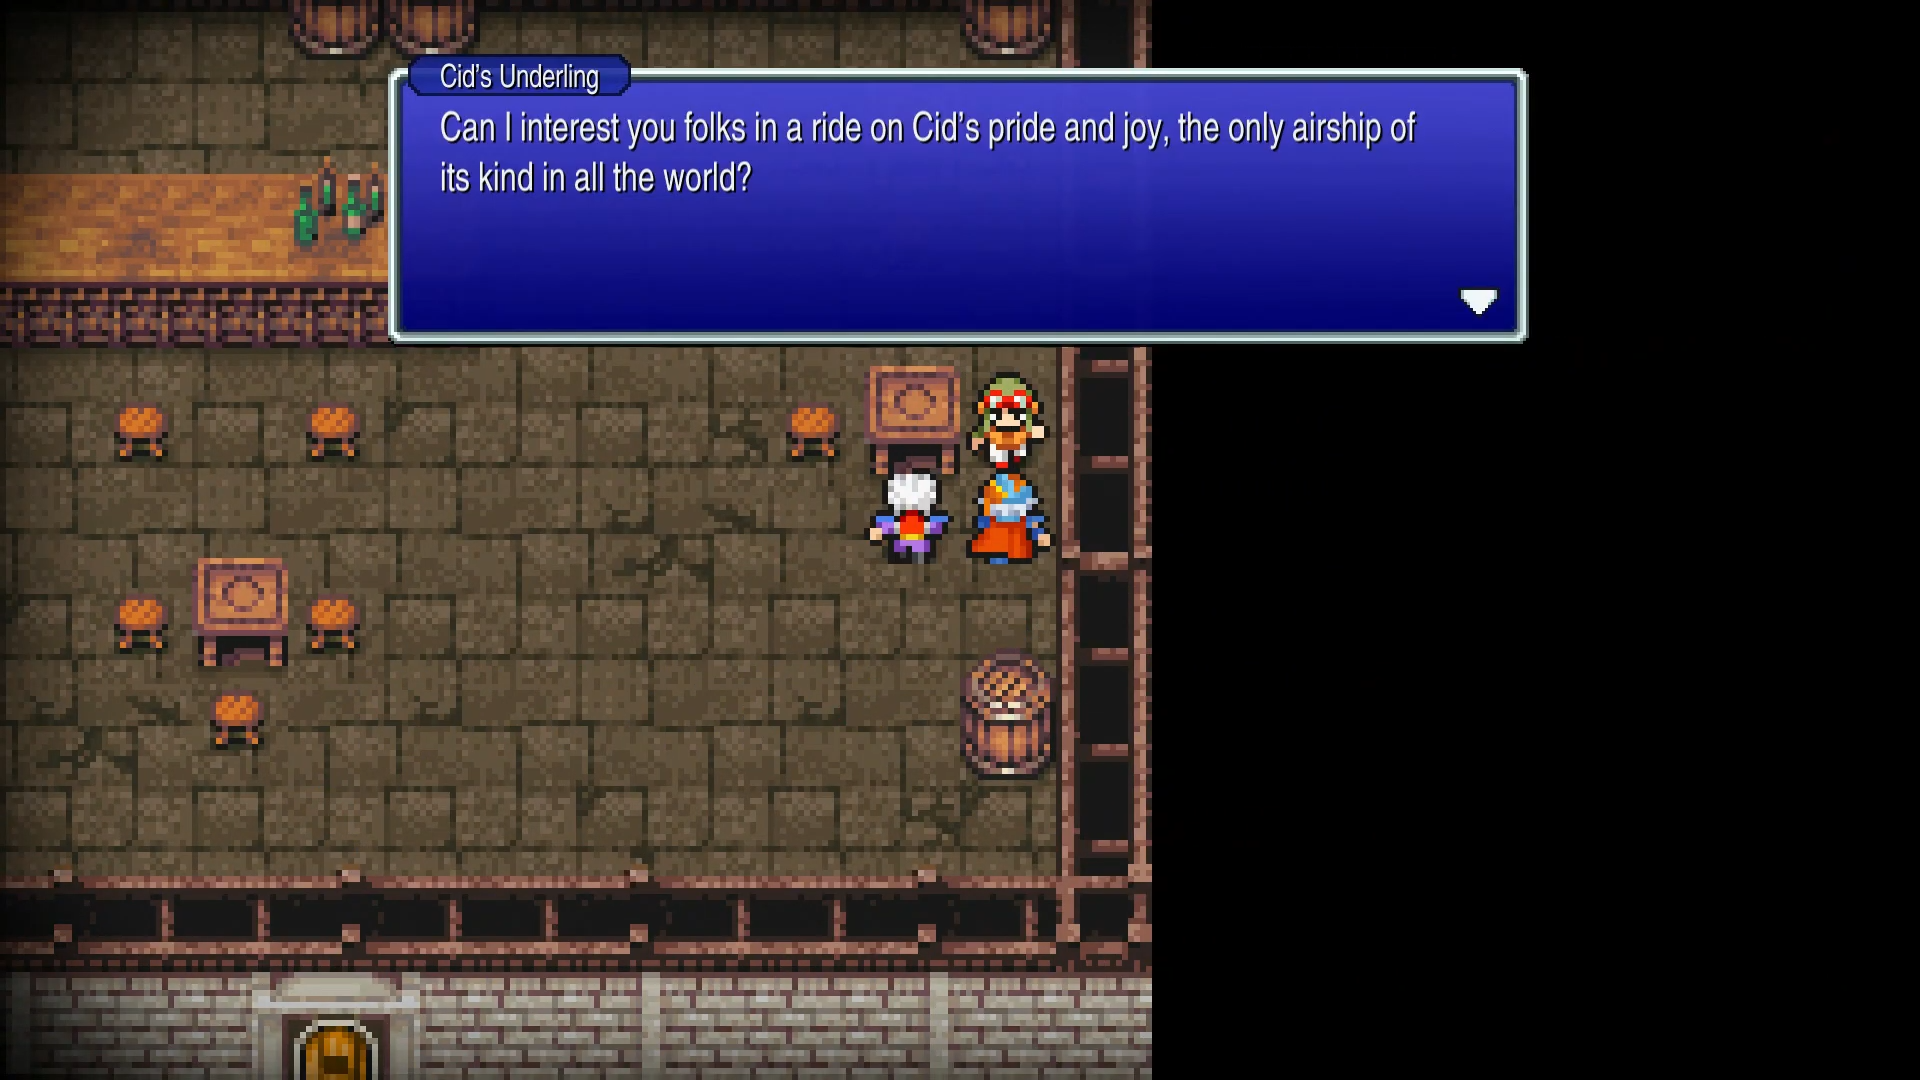
Go outside and interact with Cid's Airship to fly to Kashuan.
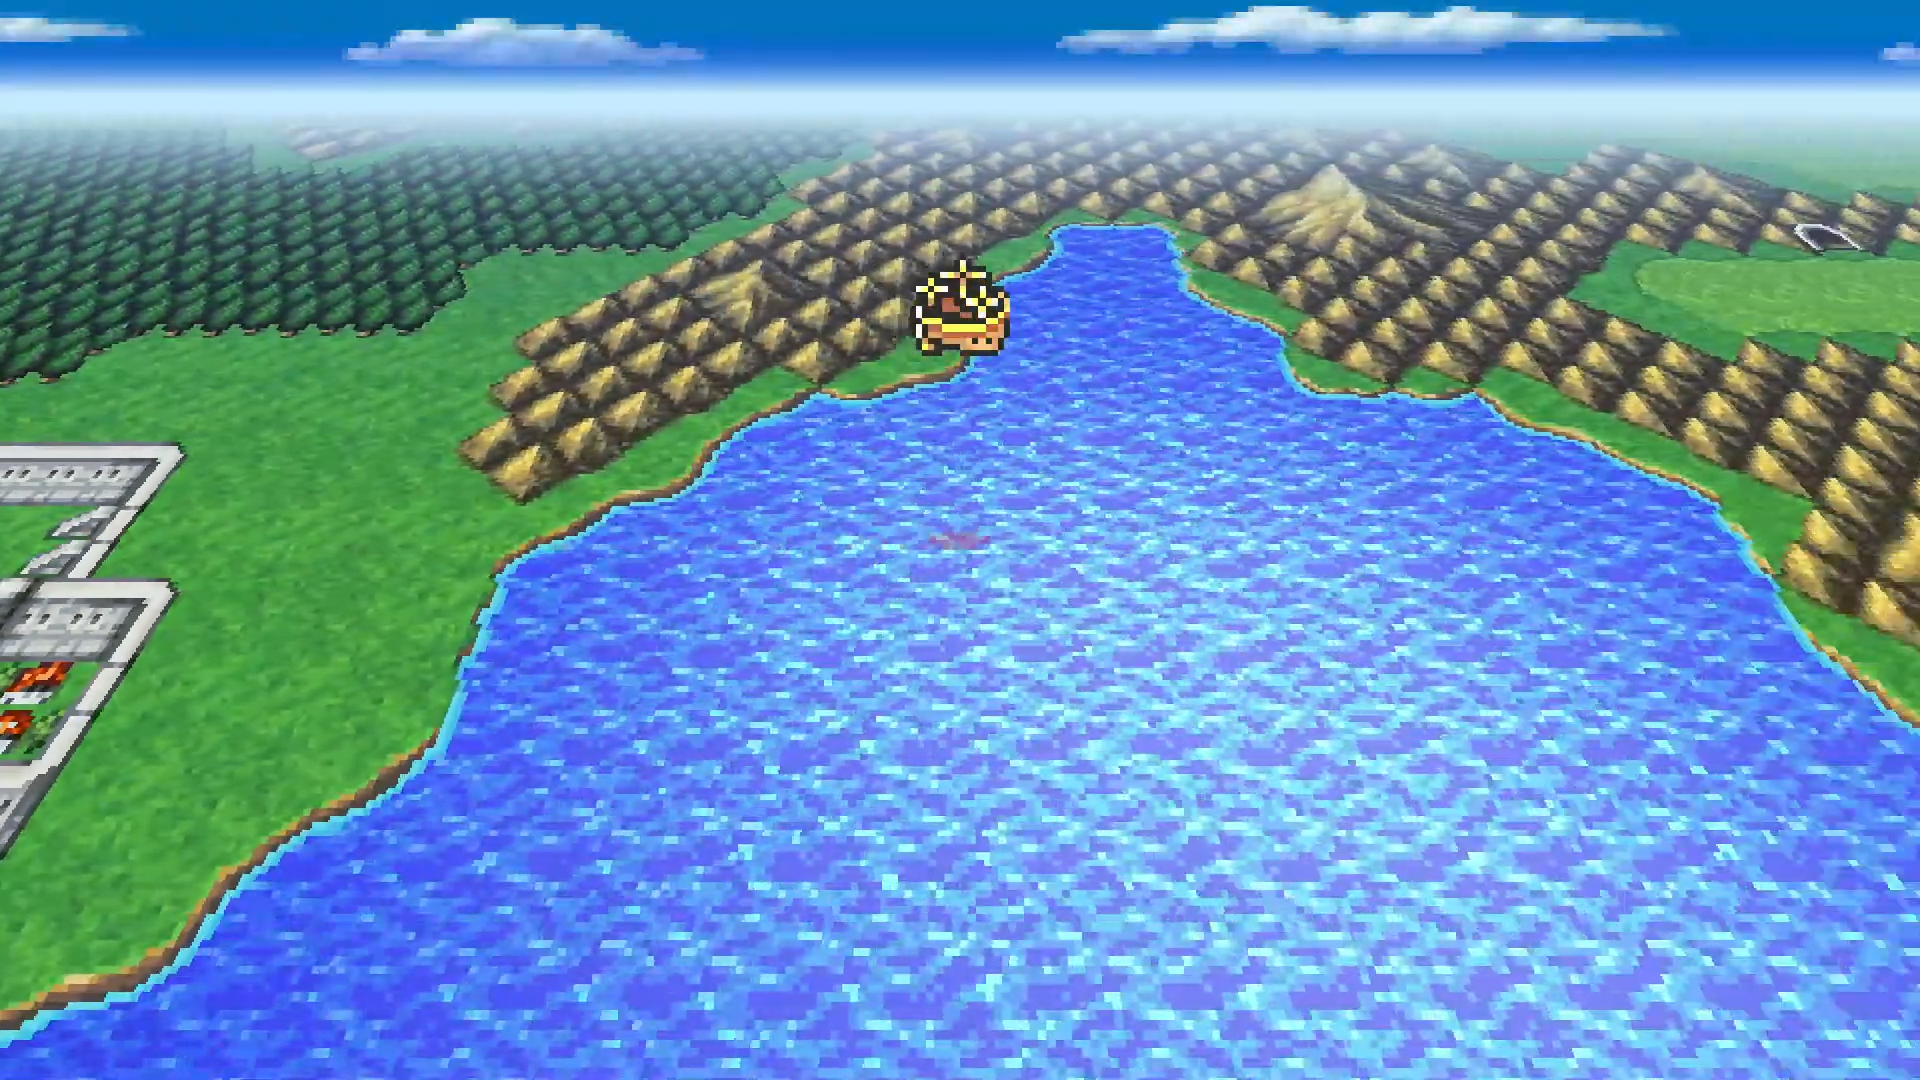
Next: Kashuan Keep
Your destination is Kashuan Keep. When you arrive, head north and go around the fire to interact with the door. Use the Goddess's Bell to unlock it.
Before proceeding, make sure you have:
- The Goddess's Bell in your inventory
- The Pass from Bafsk Cave (needed later for the Dreadnought)
- Blizzard learned on at least two characters
- Stocked up on Potions, Hi-Potions, Antidotes, and Eye Drops
Treasure Chests
Snow Cavern has 13 treasure chests. None are missable - you can return anytime. The Goddess's Bell is obtained from the wall after defeating Adamantoise.


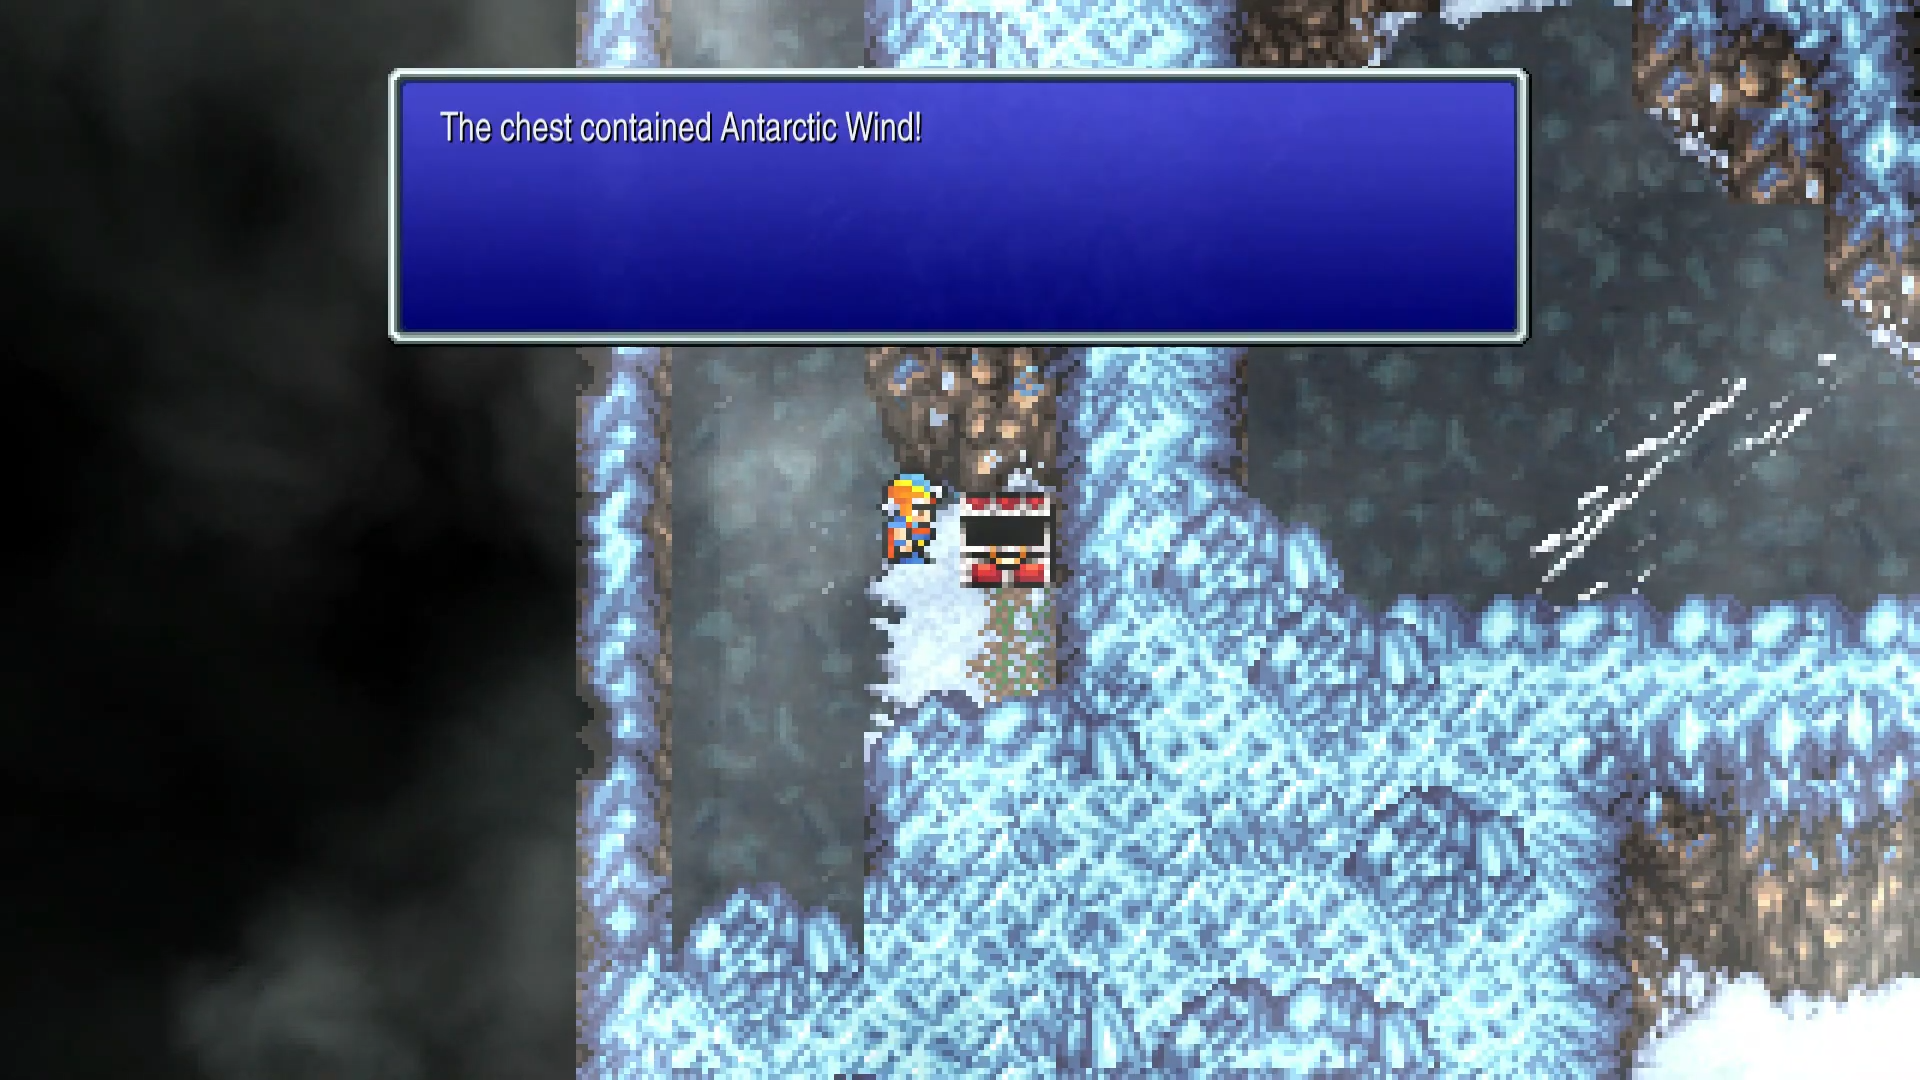


| Item | Location | Image |
|---|---|---|
300 Gil | B1, top left | |
350 Gil | B1, first intersection right | |
Antarctic Wind | B3, loop left and up | |
Battle Axe | B2, bottom right corner | |
Antidote | B2, west from intersection | |
Mythril Mace | B2, further west (monster chest) | |
Potion | B5, top left corner | |
Blizzard Tome | B5, just right of Potion | |
Potion | B5, south from Blizzard Tome | |
Mythril Spear | B5, right of second Potion | |
Mythril Shield | B6, top left corner | |
Ancient Sword | B6, bottom left corner | |
Silver Cuirass | B7, bottom right after secret passage |